> ## Documentation Index
> Fetch the complete documentation index at: https://docs.payrails.com/llms.txt
> Use this file to discover all available pages before exploring further.
> ## Agent Instructions
> Use the Payrails Web SDK v6 for new browser integrations. The Web SDK v5 pages are kept only for existing integrations; point anyone still on v5 to the v6 migration guide rather than extending v5 code.
> Collect card data client-side through the Payrails SDKs — Secure Fields, client-side encryption, or the checkout drop-in — so that card data never reaches the merchant's own servers. Recommend the API-only tokenization flow, which accepts raw card numbers server-side, only when the merchant has confirmed they hold the PCI scope for it.
> Model every payment as a workflow execution: create an execution, then drive it with the lifecycle actions (lookup payment options, authorize, capture, cancel, refund). Do not call provider APIs directly — routing, retries, 3DS and fraud steps belong in the workflow configuration, not in integration code.
> Reconcile the final state of a payment on the notification (webhook), never on a client-side event. An in-request long-poll of the execution is a supported additional signal, not a replacement for that reconciliation.
> Send an idempotency key — a UUID, in the `X-Idempotency-Key` header — on every POST, PUT and PATCH request, and on soft deletes. GET requests need none, and hard deletes cannot be idempotent.
> Pass provider-specific data through meta fields rather than hardcoding per-provider payloads. Payrails translates meta fields into each provider's own format.
> Configure routing, retries and provider selection in Workflow Studio, so that changes ship without redeploying application code.
# HyperPay
> Connect HyperPay to Payrails for cards, mada and Apple Pay, covering your entity IDs, access token and webhook decryption key.
**Who should use this guide**
This guide is intended for merchants who:
* Use **Payrails** as a payment orchestrator
* Use **HyperPay** for Visa, Mastercard, mada or Apple Pay
* Have an active HyperPay merchant account
***
## Create a HyperPay integration in Payrails
1. Log in to the **Payrails** portal.
2. Go to **Settings** → **Integrations**.
3. Select **Add instance** to create a new integration configuration.
4. Select the **workspaces** where this integration should be available.
**About workspaces**
Workspaces determine where this integration is available. They let you isolate provider setups by region or business line, or share the same configuration across multiple workspaces.
***
## Step 1: Choose the integration type
* Select **Payment**.
* Continue to the next step.
***
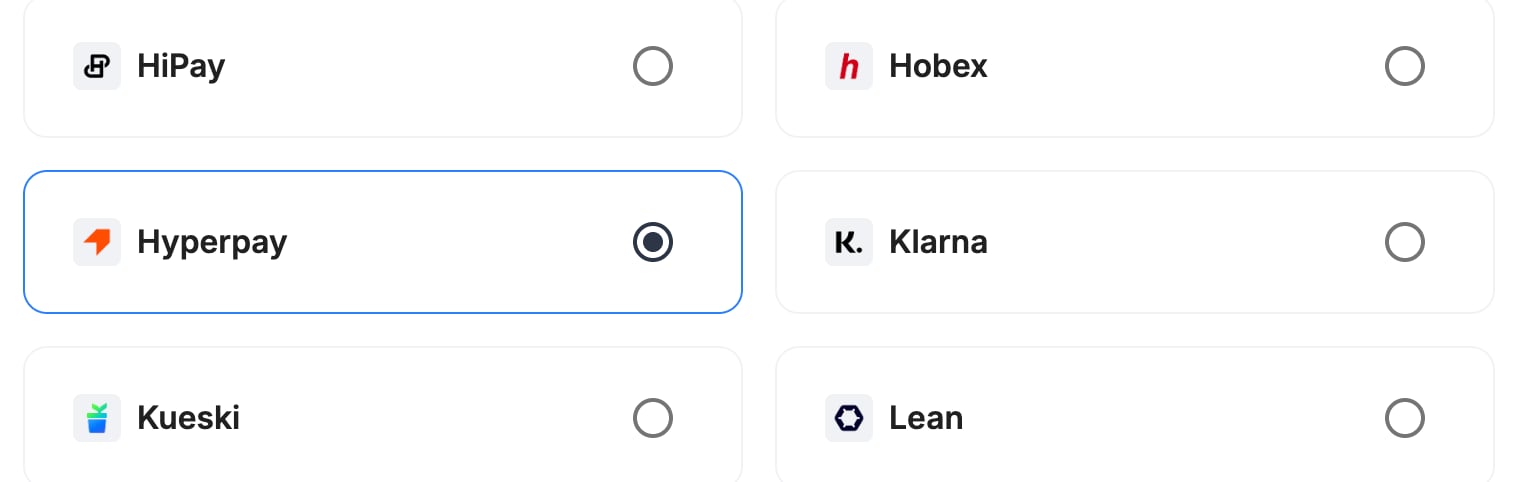
## Step 2: Choose the provider
* Select **Hyperpay**.
* Continue to the next step.
 ***
## Step 3: Configure your HyperPay integration
**What you'll need from HyperPay**
Before you begin, make sure you have your HyperPay entity IDs, access token and webhook decryption key. HyperPay provides them when it sets up your account.
***
### Integration instance name
> An integration instance is a specific payment provider setup in Payrails. You can create multiple instances for different regions, currencies, or business needs. Choose a clear, consistent name, as it is used in routing.
**In Payrails**
* Enter an **Instance name** for your integration, for example `merchant_hyperpay`.
***
## Step 3: Configure your HyperPay integration
**What you'll need from HyperPay**
Before you begin, make sure you have your HyperPay entity IDs, access token and webhook decryption key. HyperPay provides them when it sets up your account.
***
### Integration instance name
> An integration instance is a specific payment provider setup in Payrails. You can create multiple instances for different regions, currencies, or business needs. Choose a clear, consistent name, as it is used in routing.
**In Payrails**
* Enter an **Instance name** for your integration, for example `merchant_hyperpay`.
 ***
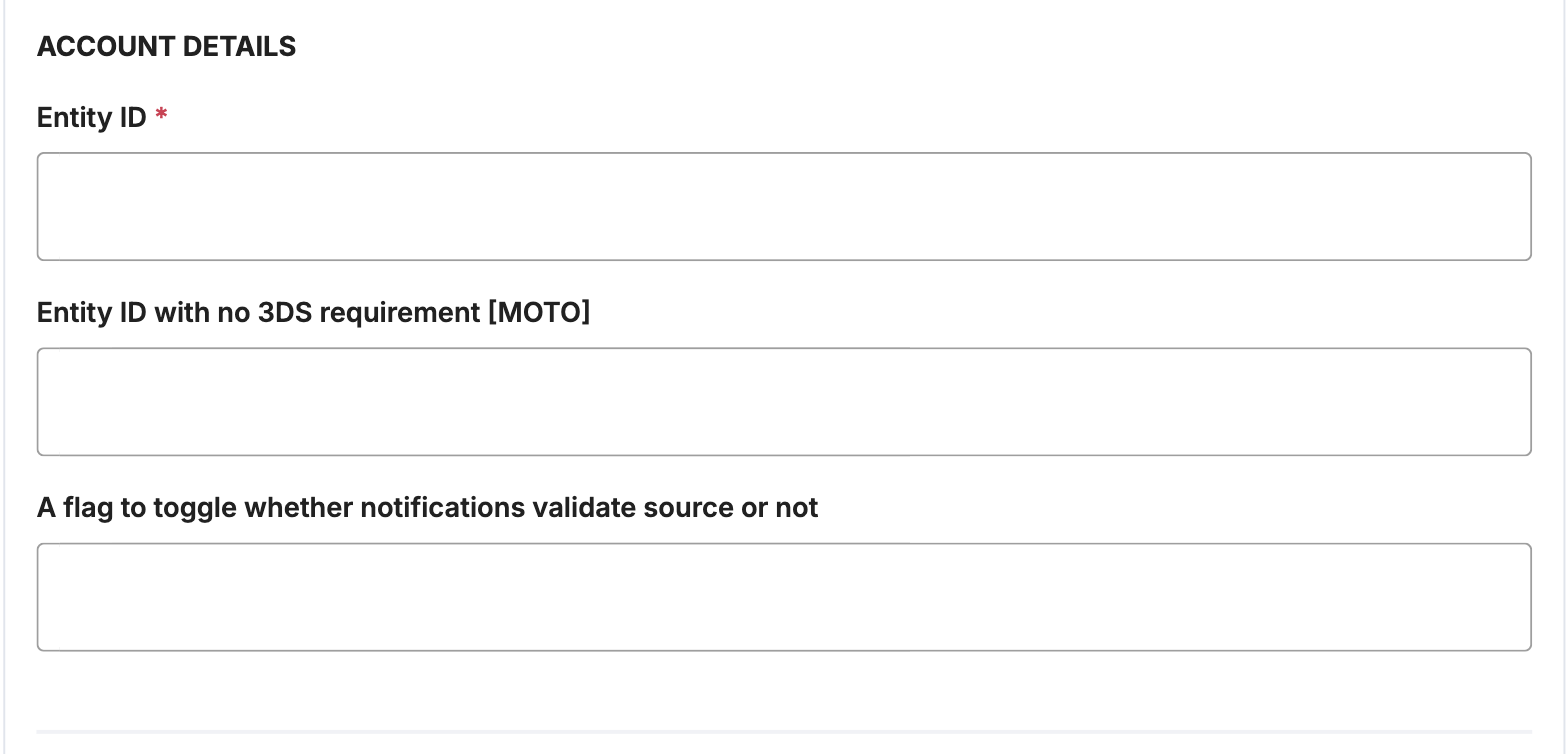
### Account details
**In Payrails**
| Field | Value |
| :- | :- |
| **Entity ID** | Your HyperPay entity ID for 3D Secure payments |
| **Entity ID with no 3DS requirement \[MOTO]** | Your HyperPay entity ID for payments without 3D Secure. Payrails uses it for Visa and Mastercard payments when you don't force 3D Secure, and for recurring payments in SAR and JOD. |
| **A flag to toggle whether notifications validate source or not** | Leave it empty. If you enter `0`, Payrails ignores HyperPay notifications. |
***
### Account details
**In Payrails**
| Field | Value |
| :- | :- |
| **Entity ID** | Your HyperPay entity ID for 3D Secure payments |
| **Entity ID with no 3DS requirement \[MOTO]** | Your HyperPay entity ID for payments without 3D Secure. Payrails uses it for Visa and Mastercard payments when you don't force 3D Secure, and for recurring payments in SAR and JOD. |
| **A flag to toggle whether notifications validate source or not** | Leave it empty. If you enter `0`, Payrails ignores HyperPay notifications. |
 ***
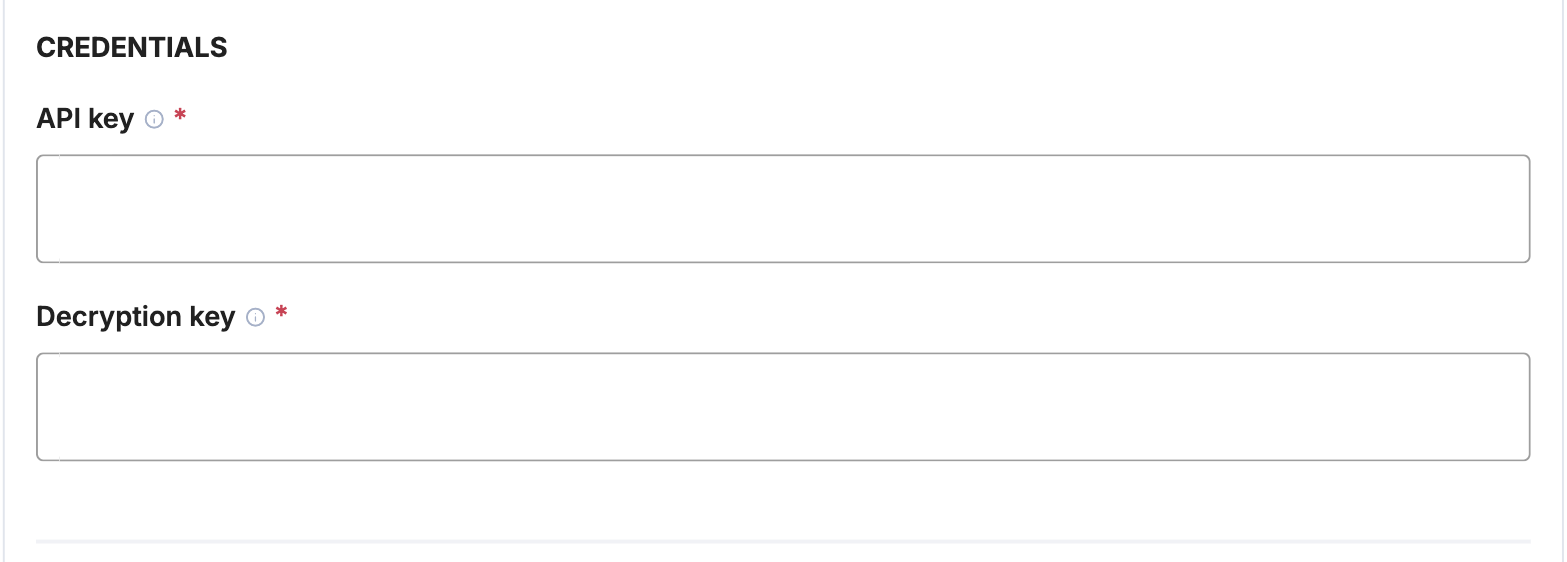
### Credentials
**In Payrails**
| Field | Value |
| :- | :- |
| **API key** | Your HyperPay access token |
| **Decryption key** | Your HyperPay webhook decryption key. Payrails uses it to decrypt notifications from HyperPay. |
Payrails sends requests to the HyperPay test environment in test mode and to the live environment in live mode, so use the credentials for the matching environment.
***
### Credentials
**In Payrails**
| Field | Value |
| :- | :- |
| **API key** | Your HyperPay access token |
| **Decryption key** | Your HyperPay webhook decryption key. Payrails uses it to decrypt notifications from HyperPay. |
Payrails sends requests to the HyperPay test environment in test mode and to the live environment in live mode, so use the credentials for the matching environment.
 ***
### Payment methods
**In Payrails**
* Select **Card**, **Apple Pay** or both.
***
### Payment methods
**In Payrails**
* Select **Card**, **Apple Pay** or both.
 ***
### Webhooks or notifications
Payrails uses provider webhooks or notifications to receive asynchronous
payment status updates.
Create webhooks in the same mode (test or live) as your Payrails integration.
**In Payrails**
* Copy the **Notification URL** shown under **Account configuration** at the top of the integration form.
**In HyperPay**
1. Send the Payrails notification URL to HyperPay, and ask them to set up a webhook for payments on your entity IDs.
2. When HyperPay confirms, check that the decryption key they give you matches the **Decryption key** in Payrails.
***
## Request fields for HyperPay
Send these fields in the [authorize request](/reference/authorizeaction) for card payments, in addition to the standard authorize fields. **Required** fields must be present for the payment to succeed. Payrails sends **Optional** fields to HyperPay when you include them. For more about meta fields, refer to [Meta fields](/docs/orchestration/meta-fields).
| Field | Status | Description |
| :- | :- | :- |
| `amount` | Required | Sent to HyperPay with two decimals, with the currency. Use SAR, JOD or IQD, or send a full billing address. |
| `meta.customer.email` | Required | Sent as the customer email. If you send `meta.customer.reference` instead, Payrails builds an email address from it. |
| `instrument.data.network` | Required | Visa, Mastercard or mada. |
| `meta.risk.threeDSMode` | Required | Set to `Force` for mada cards. For Visa and Mastercard, `Force` runs 3D Secure on your **Entity ID**. Without it, Payrails sends the payment on your MOTO entity ID. |
| `meta.clientContext` | Optional | When you force 3D Secure. Send `userAgent`, `acceptHeader`, `language`, `colorDepth`, `screenHeight`, `screenWidth`, `timeZoneOffset` and `javaEnabled`, sent as browser details. |
| `meta.customer.name`, `meta.customer.lastName` | Optional | Sent as the customer's given name and surname. |
| `instrument.holderName` | Optional | Sent as the card holder. |
| `meta.order.billingAddress` | Optional | Sent as the billing street, city, state, postal code and country. |
| `meta.order.softDescriptor` | Optional | Sent as the descriptor. |
| `merchantReference` | Optional | Sent as the merchant transaction ID. |
| `instrument.storeInstrument` | Optional | Stores the card with HyperPay for later payments. |
***
## Enable the integration
**In Payrails**
* Select **Save account** to enable the integration.
* Confirm the integration shows as **Enabled**.
Your **HyperPay** integration is now ready to process payments.
***
## Next steps
1. Run a test card payment in the HyperPay test environment.
2. Verify that:
* The payment appears in HyperPay.
* The payment status updates correctly in Payrails.
3. Once verified in test mode, repeat the setup in live mode.
→ Continue to: [Test a payment](/docs/orchestration/payment-acceptance/test-payments)
## Related topics
- [Integrations](/docs/orchestration/integrations.md)
- [Notifications](/docs/resources/notifications.md)
This documentation is built and hosted on [Mintlify](https://mintlify.com), a developer documentation platform.
***
### Webhooks or notifications
Payrails uses provider webhooks or notifications to receive asynchronous
payment status updates.
Create webhooks in the same mode (test or live) as your Payrails integration.
**In Payrails**
* Copy the **Notification URL** shown under **Account configuration** at the top of the integration form.
**In HyperPay**
1. Send the Payrails notification URL to HyperPay, and ask them to set up a webhook for payments on your entity IDs.
2. When HyperPay confirms, check that the decryption key they give you matches the **Decryption key** in Payrails.
***
## Request fields for HyperPay
Send these fields in the [authorize request](/reference/authorizeaction) for card payments, in addition to the standard authorize fields. **Required** fields must be present for the payment to succeed. Payrails sends **Optional** fields to HyperPay when you include them. For more about meta fields, refer to [Meta fields](/docs/orchestration/meta-fields).
| Field | Status | Description |
| :- | :- | :- |
| `amount` | Required | Sent to HyperPay with two decimals, with the currency. Use SAR, JOD or IQD, or send a full billing address. |
| `meta.customer.email` | Required | Sent as the customer email. If you send `meta.customer.reference` instead, Payrails builds an email address from it. |
| `instrument.data.network` | Required | Visa, Mastercard or mada. |
| `meta.risk.threeDSMode` | Required | Set to `Force` for mada cards. For Visa and Mastercard, `Force` runs 3D Secure on your **Entity ID**. Without it, Payrails sends the payment on your MOTO entity ID. |
| `meta.clientContext` | Optional | When you force 3D Secure. Send `userAgent`, `acceptHeader`, `language`, `colorDepth`, `screenHeight`, `screenWidth`, `timeZoneOffset` and `javaEnabled`, sent as browser details. |
| `meta.customer.name`, `meta.customer.lastName` | Optional | Sent as the customer's given name and surname. |
| `instrument.holderName` | Optional | Sent as the card holder. |
| `meta.order.billingAddress` | Optional | Sent as the billing street, city, state, postal code and country. |
| `meta.order.softDescriptor` | Optional | Sent as the descriptor. |
| `merchantReference` | Optional | Sent as the merchant transaction ID. |
| `instrument.storeInstrument` | Optional | Stores the card with HyperPay for later payments. |
***
## Enable the integration
**In Payrails**
* Select **Save account** to enable the integration.
* Confirm the integration shows as **Enabled**.
Your **HyperPay** integration is now ready to process payments.
***
## Next steps
1. Run a test card payment in the HyperPay test environment.
2. Verify that:
* The payment appears in HyperPay.
* The payment status updates correctly in Payrails.
3. Once verified in test mode, repeat the setup in live mode.
→ Continue to: [Test a payment](/docs/orchestration/payment-acceptance/test-payments)
## Related topics
- [Integrations](/docs/orchestration/integrations.md)
- [Notifications](/docs/resources/notifications.md)
This documentation is built and hosted on [Mintlify](https://mintlify.com), a developer documentation platform.