


Who should use this guideThis guide is intended for merchants who:
- Use Payrails as a payment orchestrator
- Use RazorPay for card payments in India
- Have access to the RazorPay Dashboard
Create a RazorPay integration in Payrails
- Log in to the Payrails portal.
- Go to Settings → Integrations.
- Select New integration.
Step 1: Choose the provider
- Search for RazorPay and select it.
- Select Next step.
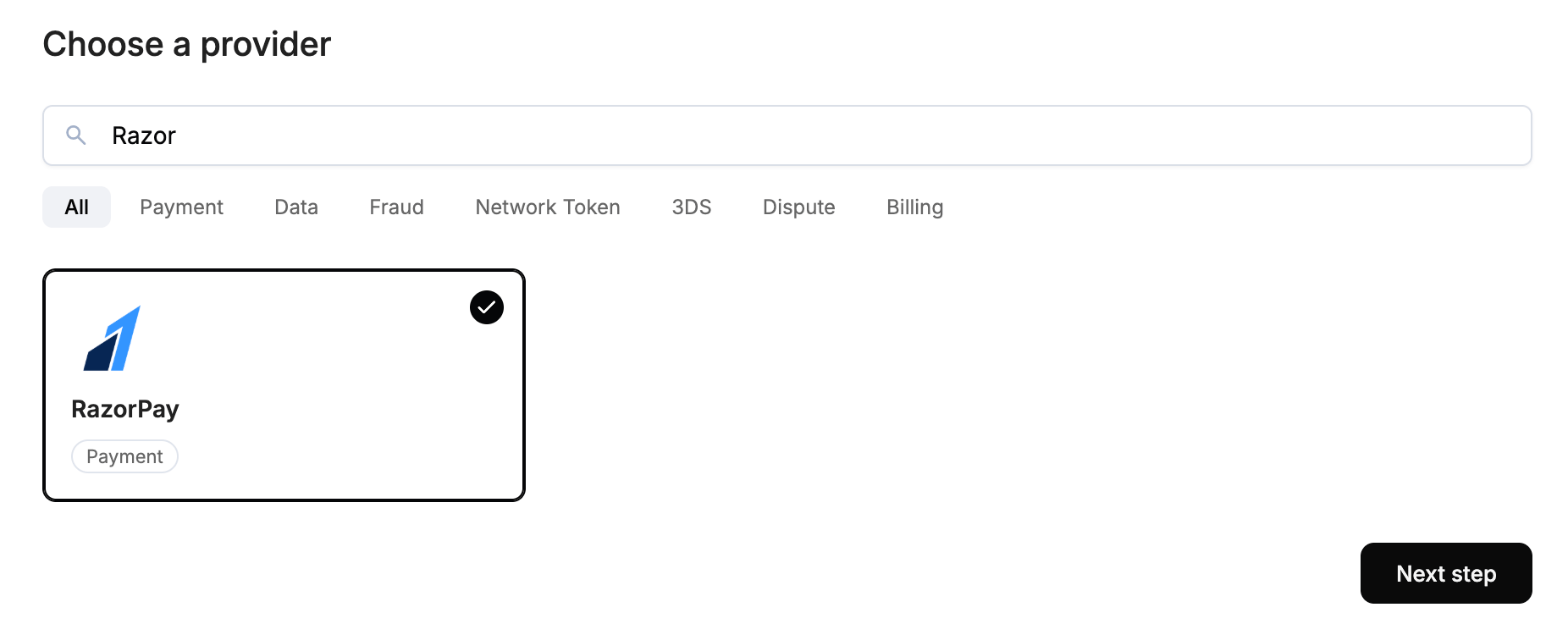
Step 2: Enter basic information
In Payrails- Integration type: keep Payment selected.
- Workspaces: select the workspaces where this integration should be available.
- Select Next step.
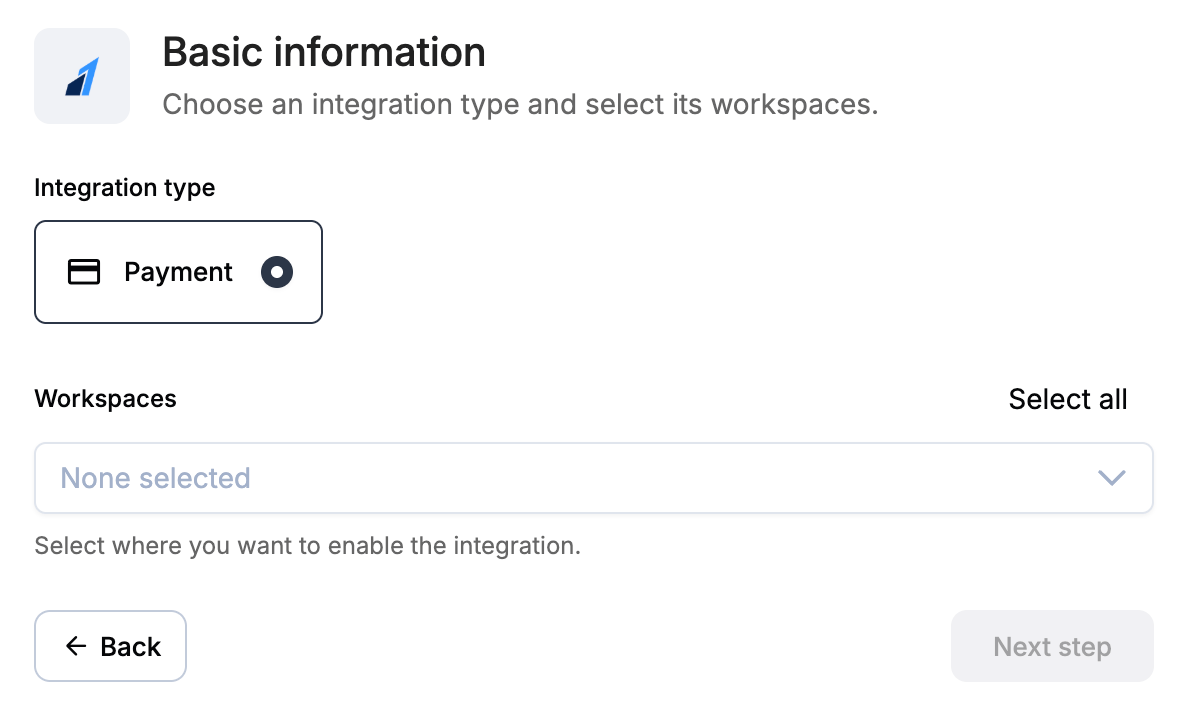
About workspacesWorkspaces determine where this integration is available. They let you isolate provider setups by region or business line, or share the same configuration across multiple workspaces.
Step 3: Connect your RazorPay account
Name the integration
In Payrails- Integration instance name: enter a clear, consistent name, for example
merchant_razorpay. Routing uses this name, so include the region or environment when you run more than one RazorPay integration.

Create an OAuth app in RazorPay
Each merchant connects RazorPay through an OAuth app of its own. In Payrails- Copy the OAuth redirect URL from the RazorPay account section. Use it exactly as shown.
- Log in to the RazorPay Dashboard.
- Create an OAuth app. Use the development client for test mode and the production client for live mode.
- Add the Payrails OAuth redirect URL to the app’s redirect URLs, exactly as shown.
- Copy the app’s client ID and client secret.
Credentials
In Payrails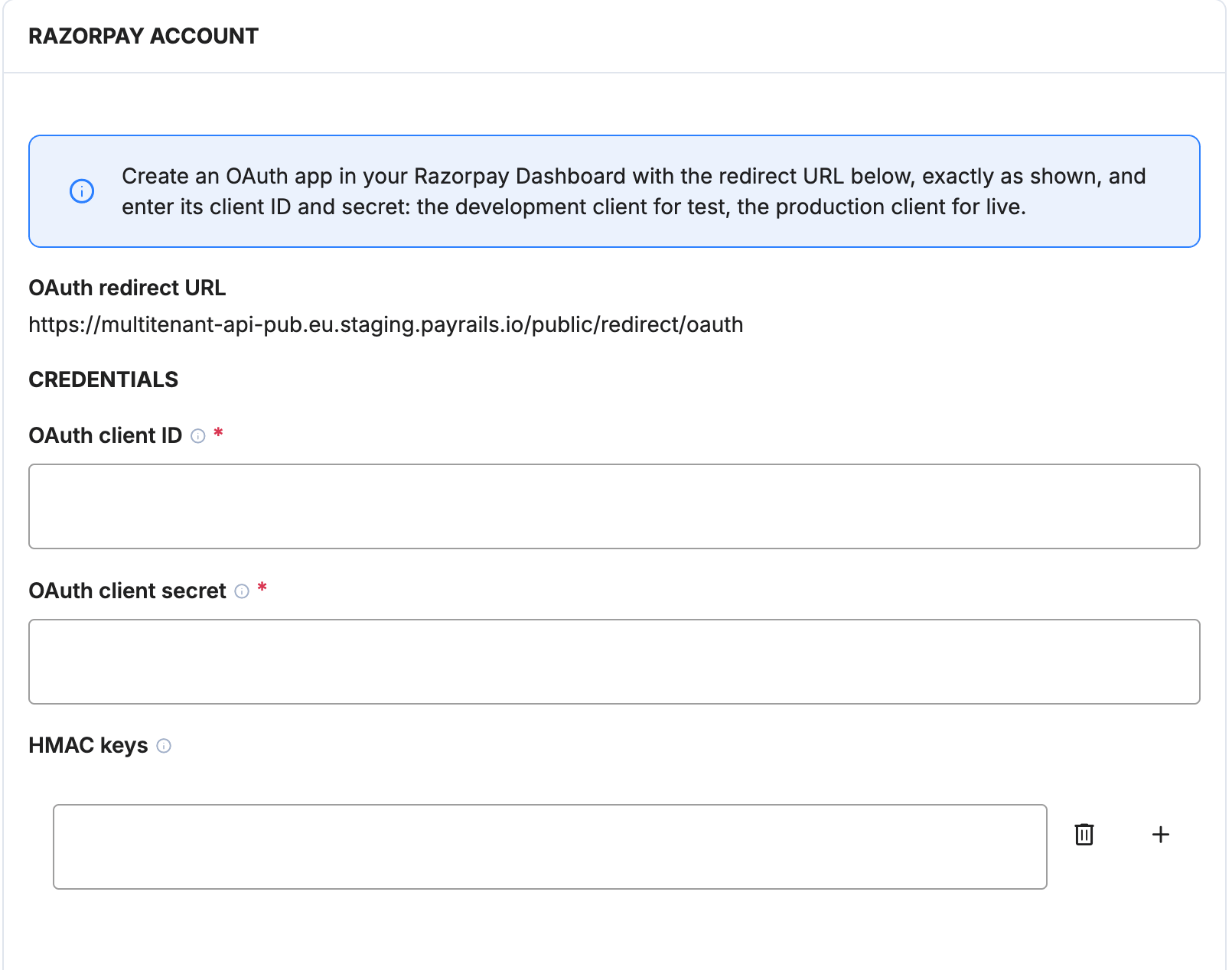
Payment methods
In Payrails- Select Card.
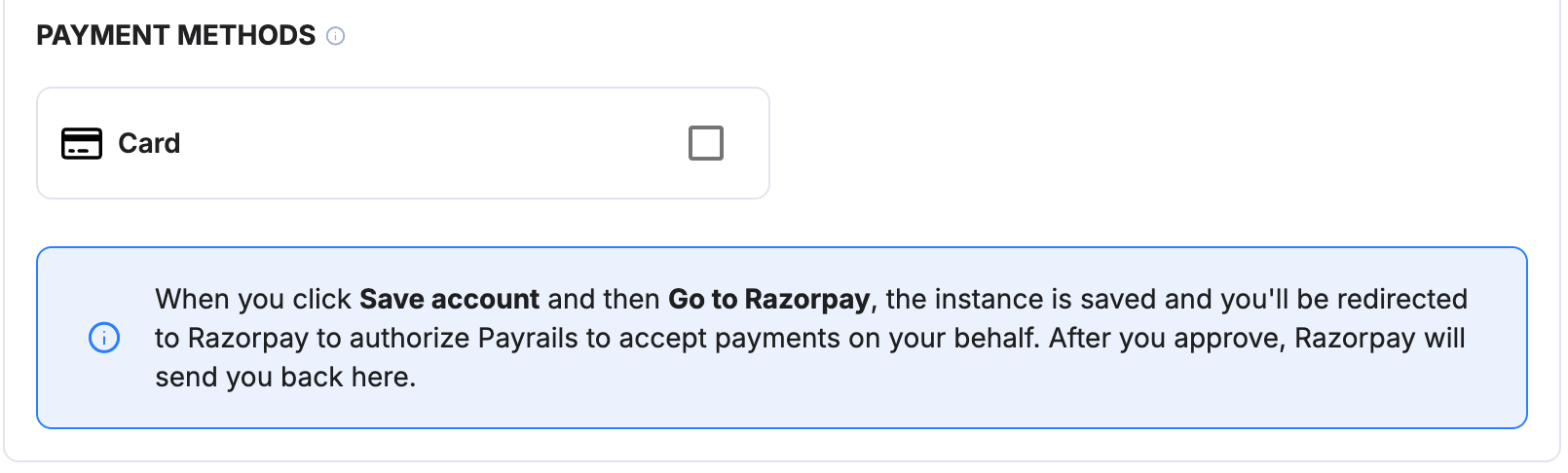
- Ask RazorPay to turn on server-to-server card payments on your account. Without it, RazorPay refuses every payment request.
Connect the account
In Payrails- Select Save account, then Go to Razorpay. Payrails saves the integration as a draft before it opens RazorPay.
- In RazorPay, sign in, and approve Payrails.
- RazorPay sends you back to the portal. Payrails connects the account, then enables the integration.
Reconnecting an accountA connected integration keeps its client ID. To use a different OAuth app, create a new integration. If RazorPay stops accepting the connection, select the same RazorPay account again through the same flow to store a fresh authorization.
Webhooks or notifications
Payrails uses provider webhooks or notifications to receive asynchronous
payment status updates.
- Copy the Notification URL from the Account configuration section.
- Enter the secret you plan to use in HMAC keys.
- Log in to the RazorPay Dashboard and switch to the mode that matches your integration.
- Go to Accounts & Settings → Webhooks, and add a webhook.
- Webhook URL: paste the Payrails notification URL.
- Secret: enter the same value you entered in HMAC keys.
- Events: select
payment.captured,payment.failed,refund.processedandrefund.failed. Also selectpayment.authorizedwhen you capture payments manually.
RazorPay specific meta fields
Select View fields to see the meta fields this integration uses. Request fields for RazorPay describes them.Additional data
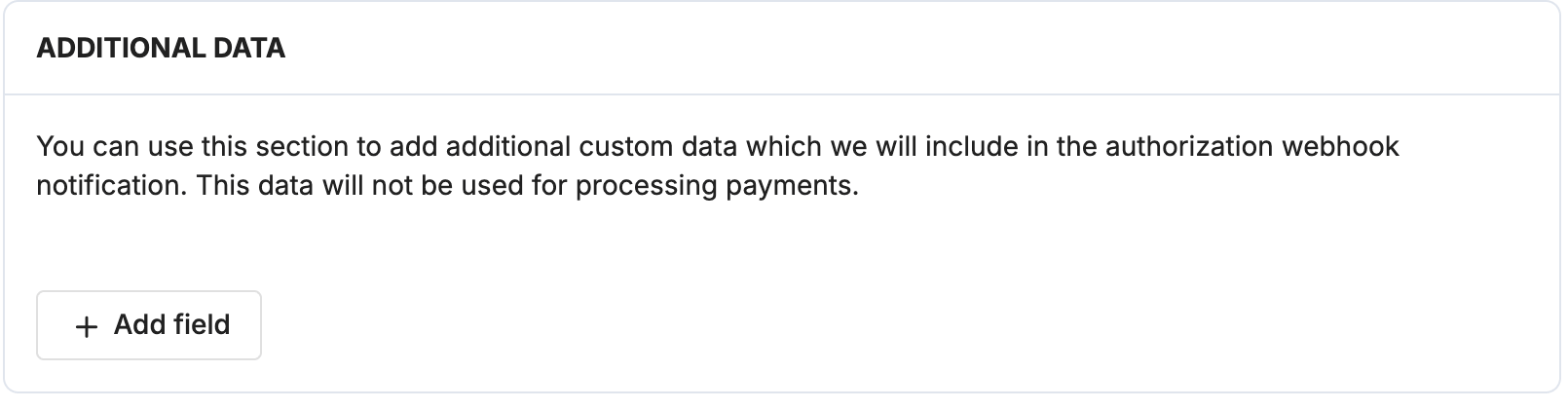
In Payrails- Optional. Select Add field to add key-value pairs that Payrails includes in the authorization webhook notification. Payrails doesn’t use them to process RazorPay payments.
Request fields for RazorPay
Send these fields in the authorize request for card payments, in addition to the standard authorize fields. Required fields must be present for the payment to succeed. Payrails sends Optional fields to RazorPay when you include them. For more about meta fields, refer to Meta fields.How RazorPay handles cards
- RazorPay authenticates card payments with 3D Secure. The response includes the redirect to the RazorPay bank page, and the customer returns to Payrails when they finish.
- RazorPay supports instant and manual capture. With manual capture, you capture the full authorized amount within 5 days. RazorPay releases a payment you don’t capture in time, and Payrails then marks it as canceled.
- You can refund a captured payment in full or in part, as many times as you need up to the captured amount. Refunds use normal speed, and a refund can stay pending until RazorPay sends its
refund.processedorrefund.failednotification. RazorPay can’t refund a payment more than six months old. - A RazorPay account that accepts domestic cards only refuses international cards.
- Payrails reports RazorPay’s failure reasons as Payrails result codes.
Save cards and recurring payments
Save a card
SetstoreInstrument to true on the first payment. When the payment succeeds, Payrails saves the RazorPay card token as a payment instrument. For later customer-initiated payments, authorize with the saved paymentInstrumentId. The customer still completes 3D Secure.
Register a recurring payment
For payments in INR, a first payment that stores the card forSubscription or UnscheduledCardOnFile also registers a card mandate with RazorPay. Send the first payment with:
Charge a recurring payment
Call authorize a payment with the savedpaymentInstrumentId and meta.order.processingType set to Subscription or UnscheduledCardOnFile. Send meta.customer.email and meta.customer.phone, and use INR. The cardholder isn’t present, so you send no browser fields.
RazorPay debits only after it notifies the customer of the upcoming debit, so the payment stays pending until the debit. Payrails settles it from the RazorPay notification or a status check.
Enable the integration
In Payrails- Confirm the integration shows as Enabled.
Next steps
- Run a test payment in RazorPay test mode. Use a test card from the RazorPay documentation, and select Success or Failure on the RazorPay test bank page.
- Verify that:
- The payment appears in the RazorPay Dashboard.
- The payment status updates correctly in Payrails.
- Once verified in test mode, repeat the setup in live mode.