

Key Concepts
Workflows
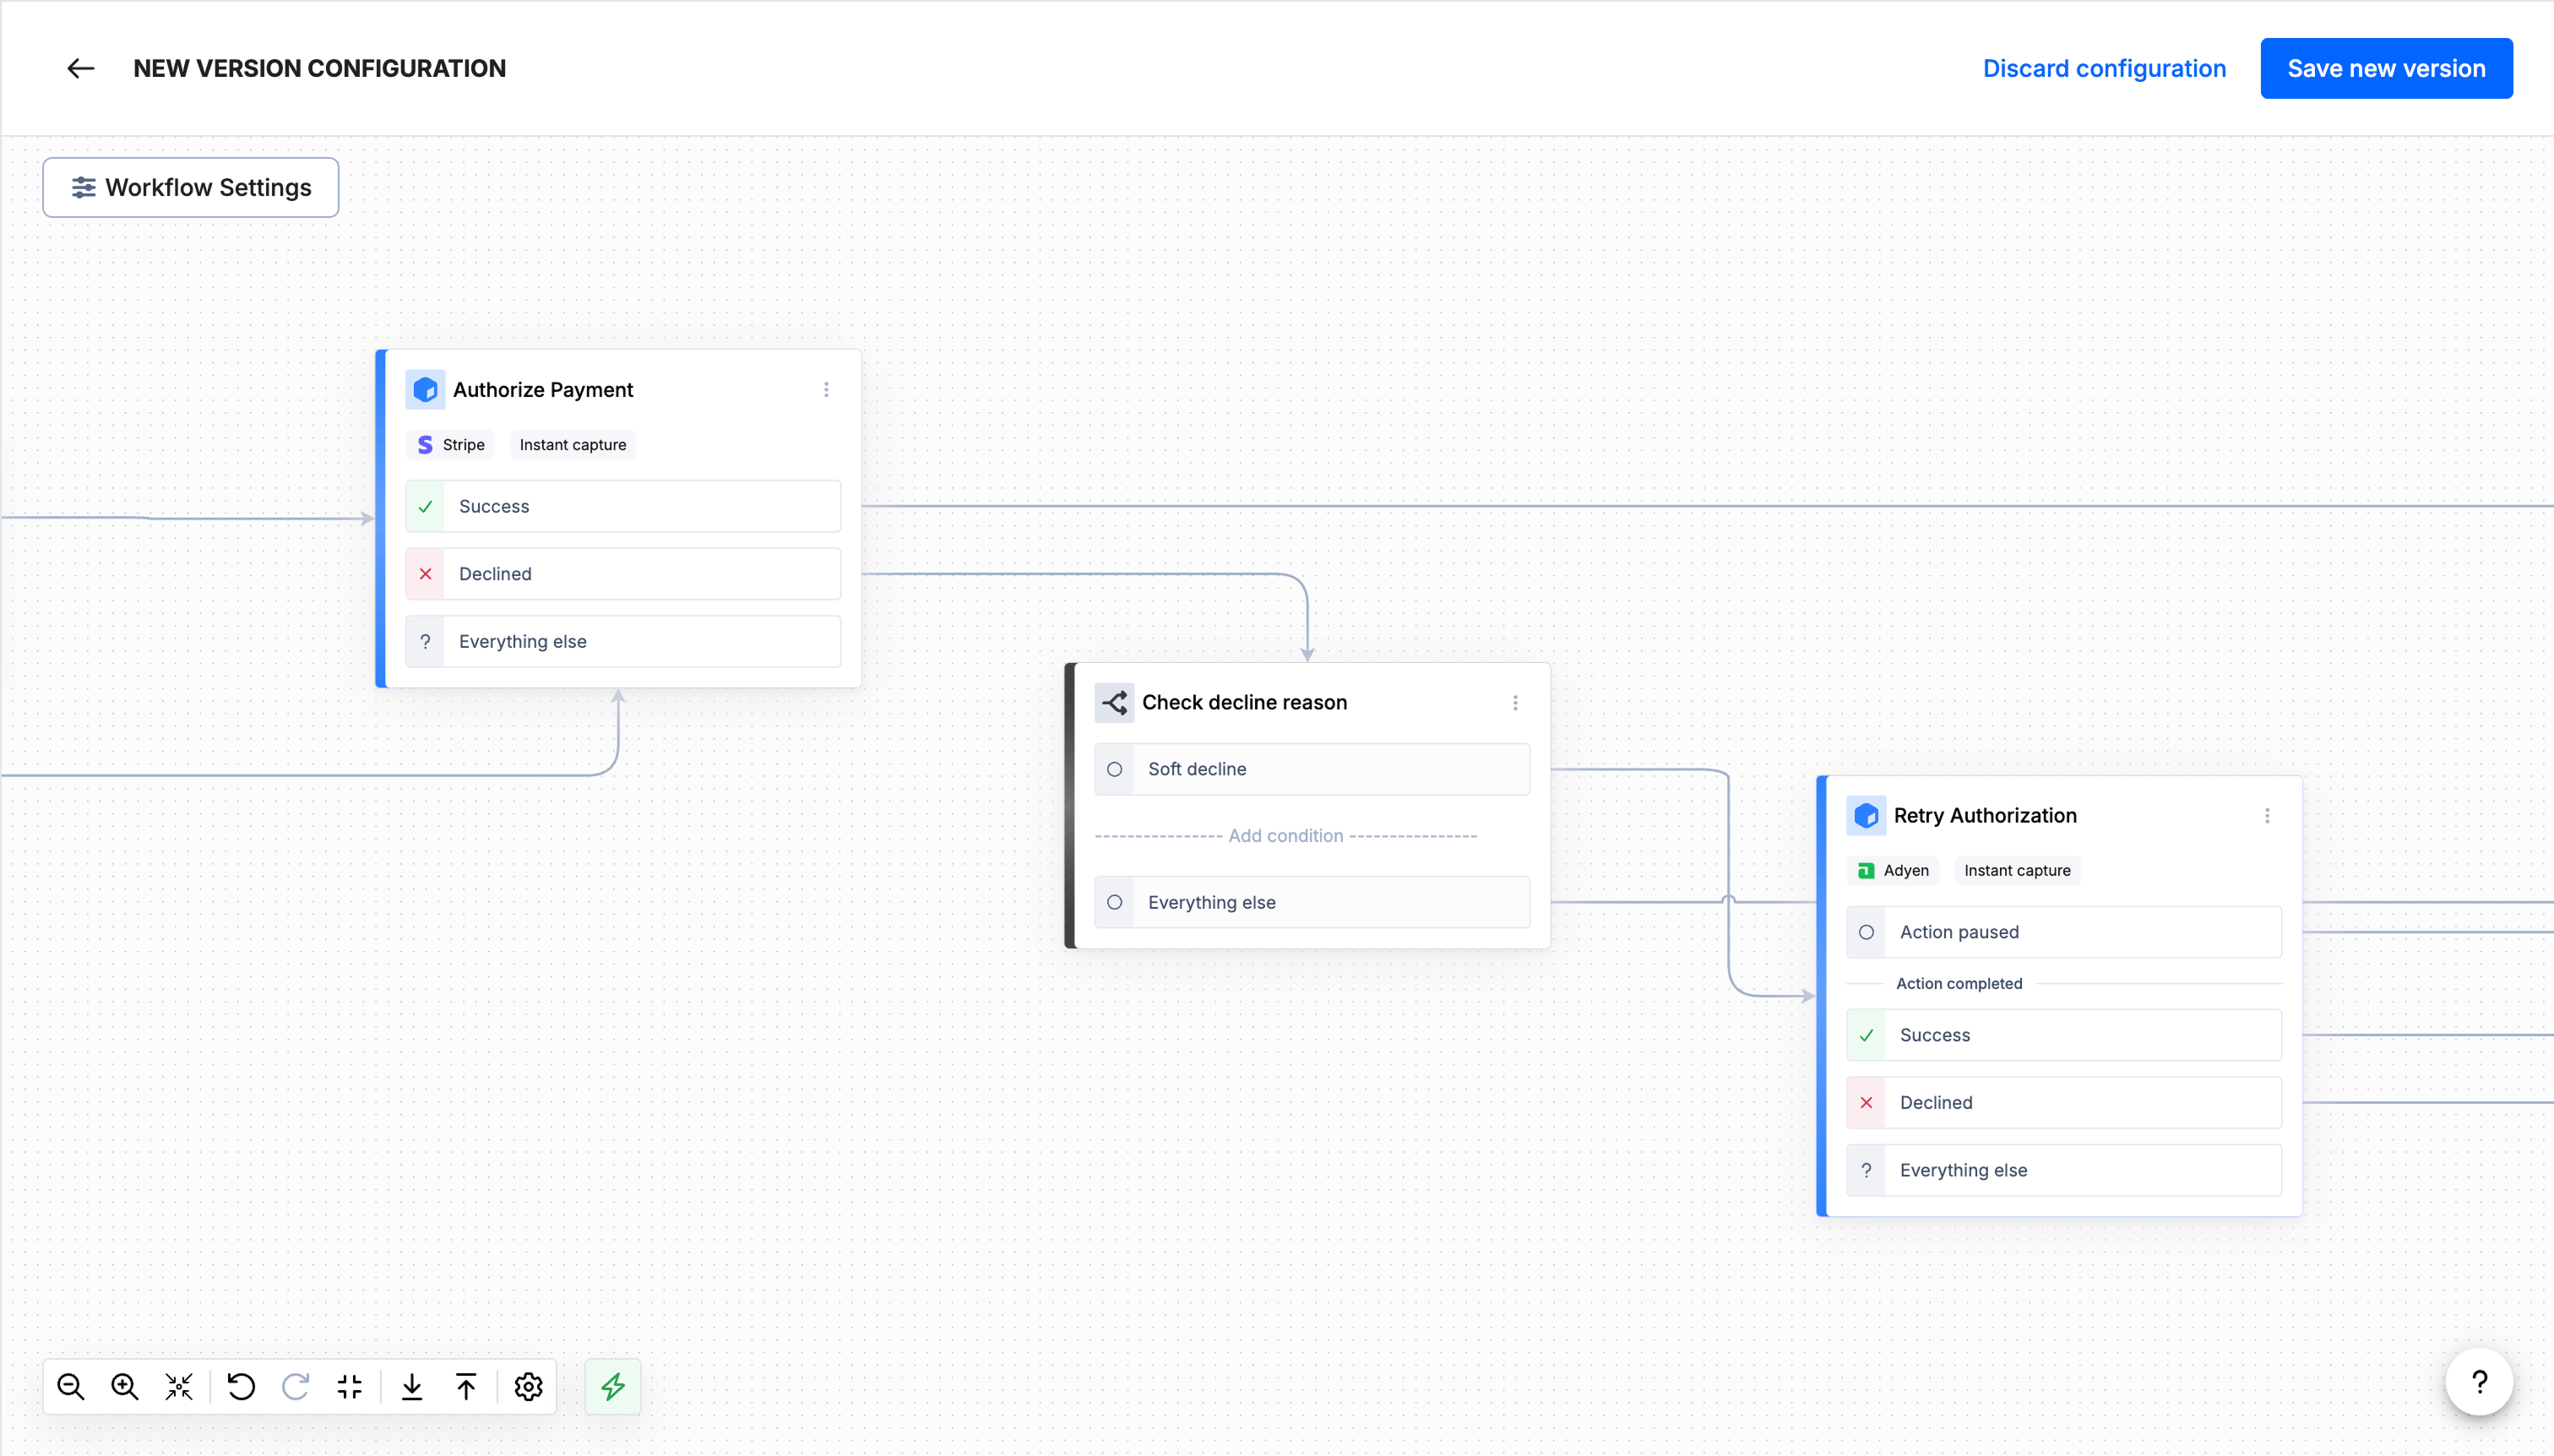
A workflow is a sequence of steps that execute in order when a payment event occurs. Workflows flow in one direction, from a single entry point through one or more operations, ending at terminal steps. Every workflow belongs to a specific merchant configuration and can be activated or deactivated independently.Triggers
A trigger is the entry point of a workflow. Every workflow starts with exactly one trigger, which determines what event or API call initiates the workflow execution. For example, the Start Authorize trigger fires when an authorization request is received. There are eight available triggers:Actions
Actions are the operational steps in your workflow. Each action performs a specific task, such as authorizing a payment, running a fraud check, or sending a notification. You add actions to the canvas and connect them after a trigger or after the outcome of a previous action. There are twelve available actions:
Actions that support provider selection allow you to choose which payment provider handles that step. You configure the provider in the step’s settings panel.
Conditions
Conditions let you branch your workflow into different paths based on rules you define. When a condition step executes, it evaluates each branch’s rules in order and follows the first branch that matches. Every condition includes a default branch that executes when no other branch matches.Outcomes
Most action steps produce outcomes that determine what happens next. Outcomes represent the result of an action and each outcome creates a separate connection point on the step. You connect the next step to the appropriate outcome. Common outcomes include:- Completed — The action finished successfully.
- Paused — The action is waiting for an external event before it can continue.
- Requested — The action has been submitted and is pending processing.
- Updated — The action received an update (available on Authorize, Capture, Cancel, and Refund).
How Workflows Execute
When a payment event matches a workflow’s trigger, the workflow begins executing from the trigger step. The platform follows the connection lines from step to step, executing each action and evaluating each condition along the way.- The trigger fires — An incoming request or event matches the workflow’s trigger.
- Steps execute in sequence — The platform moves along connection lines, executing each step it encounters.
- Outcomes determine the path — After each action completes, the platform follows the connection line attached to the resulting outcome.
- Conditions branch the flow — When the platform reaches a condition step, it evaluates the rules and follows the matching branch.
- The workflow ends — Execution stops when it reaches a step with no outgoing connection lines.
Best Practices
- Always add a Notify step on every terminal path. Whether the workflow succeeds or encounters a failure, the final step on each path should be a Notify action. This ensures your systems are always informed of the workflow outcome.
- Start simple. Begin with a straightforward workflow (for example, trigger to action to notify) and add complexity incrementally.
- Use conditions to handle edge cases. Rather than creating separate workflows for different scenarios, use condition steps to branch within a single workflow.
- Test before activating. Review your workflow on the canvas to make sure every outcome has a connected next step and every terminal path ends with Notify.
When to Use Workflow Studio
Use Workflow Studio when you need to:- Define payment processing logic — Set up how authorizations, captures, refunds, and other payment operations are handled.
- Add fraud prevention — Insert fraud checks and 3DS verification into your payment flows.
- Handle multiple providers — Route payment operations to specific providers based on conditions.
- React to events — Build workflows that respond to dispute updates or payment status changes.
- Customize notification behavior — Control when and how your systems are notified about payment outcomes.