

Who should use this guideThis guide is intended for merchants who:
- Use Payrails as a chargeback
- Use Nuvei Disputes
Create and configure a Nuvei integration in Payrails
- Log in to the Payrails portal.
- Go to Settings → Integrations.
- Select Add instance to create a new Nuvei integration configuration.
- Select the workspaces where this integration should be available.
About workspacesWorkspaces determine where this integration is available. They let you isolate provider setups by region or business line, or share the same configuration across multiple workspaces.
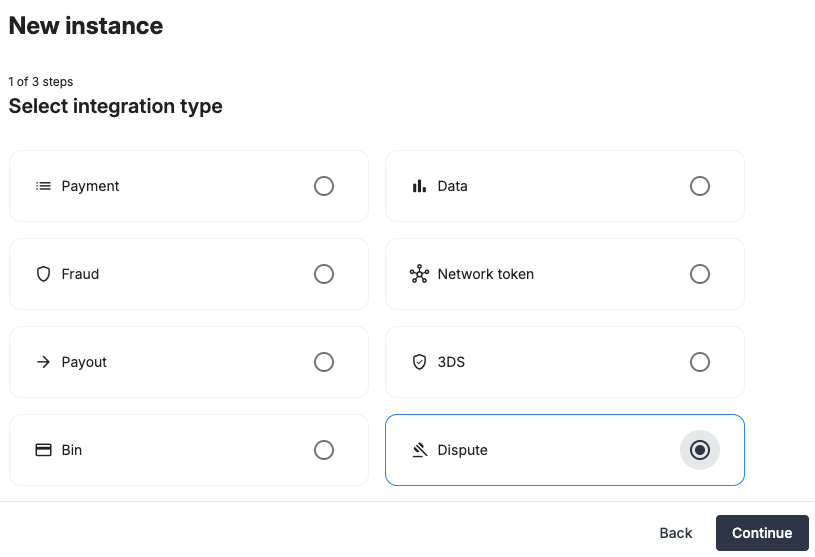
Step 1: Choose the integration type
- Select Dispute and continue to the next step.
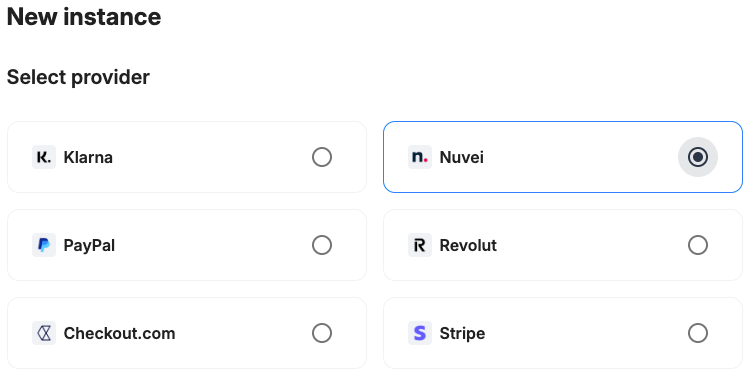
Step 2: Choose the provider
- Select Nuvei and continue to the next step.
Step 3: Configure your Nuvei integration
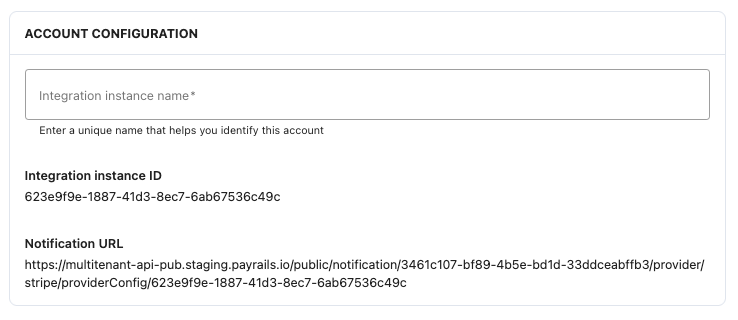
Integration instance name
In Payrails- Enter an Instance name for your integration.
Merchant Nuvei site ID and merchant site ID
In Nuvei- Go to Settings → Business.
-
On the Account details tab, copy the client ID and site ID.
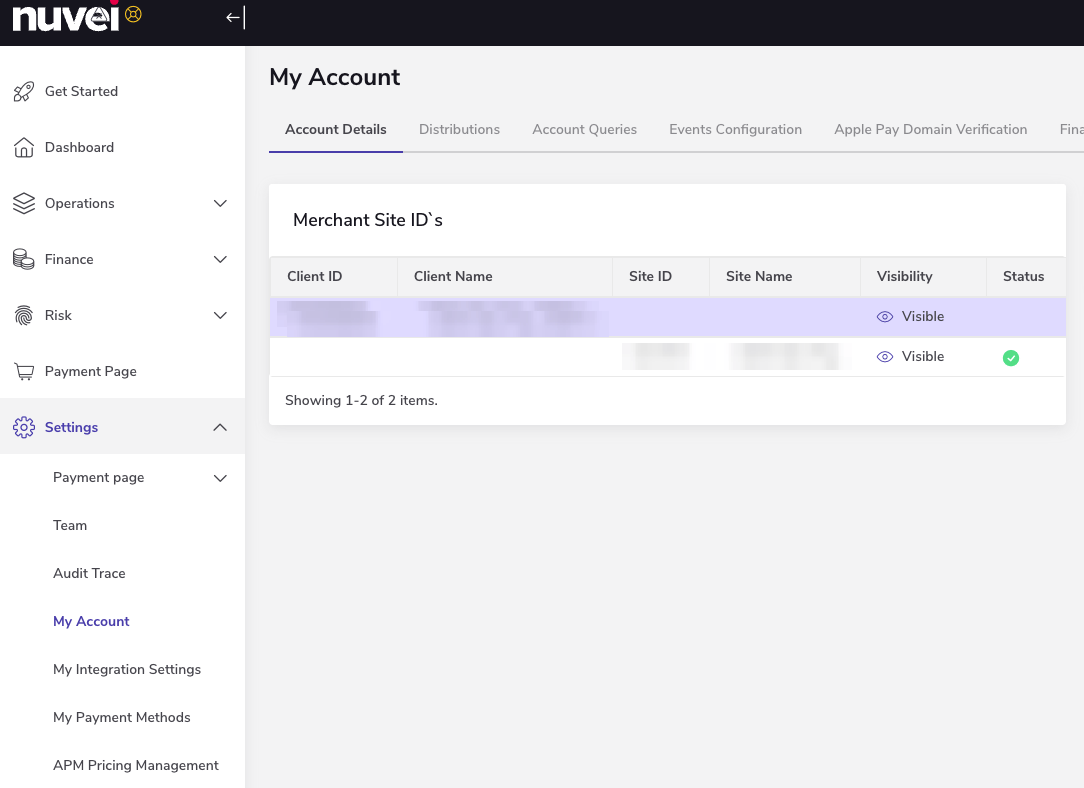
- Paste the value into the merchant site ID and site ID fields.
Processing entity ID
In Nuvei- With Developer role, locate Settings and select Rest 2.0 API credentials.
- Copy the entity ID.
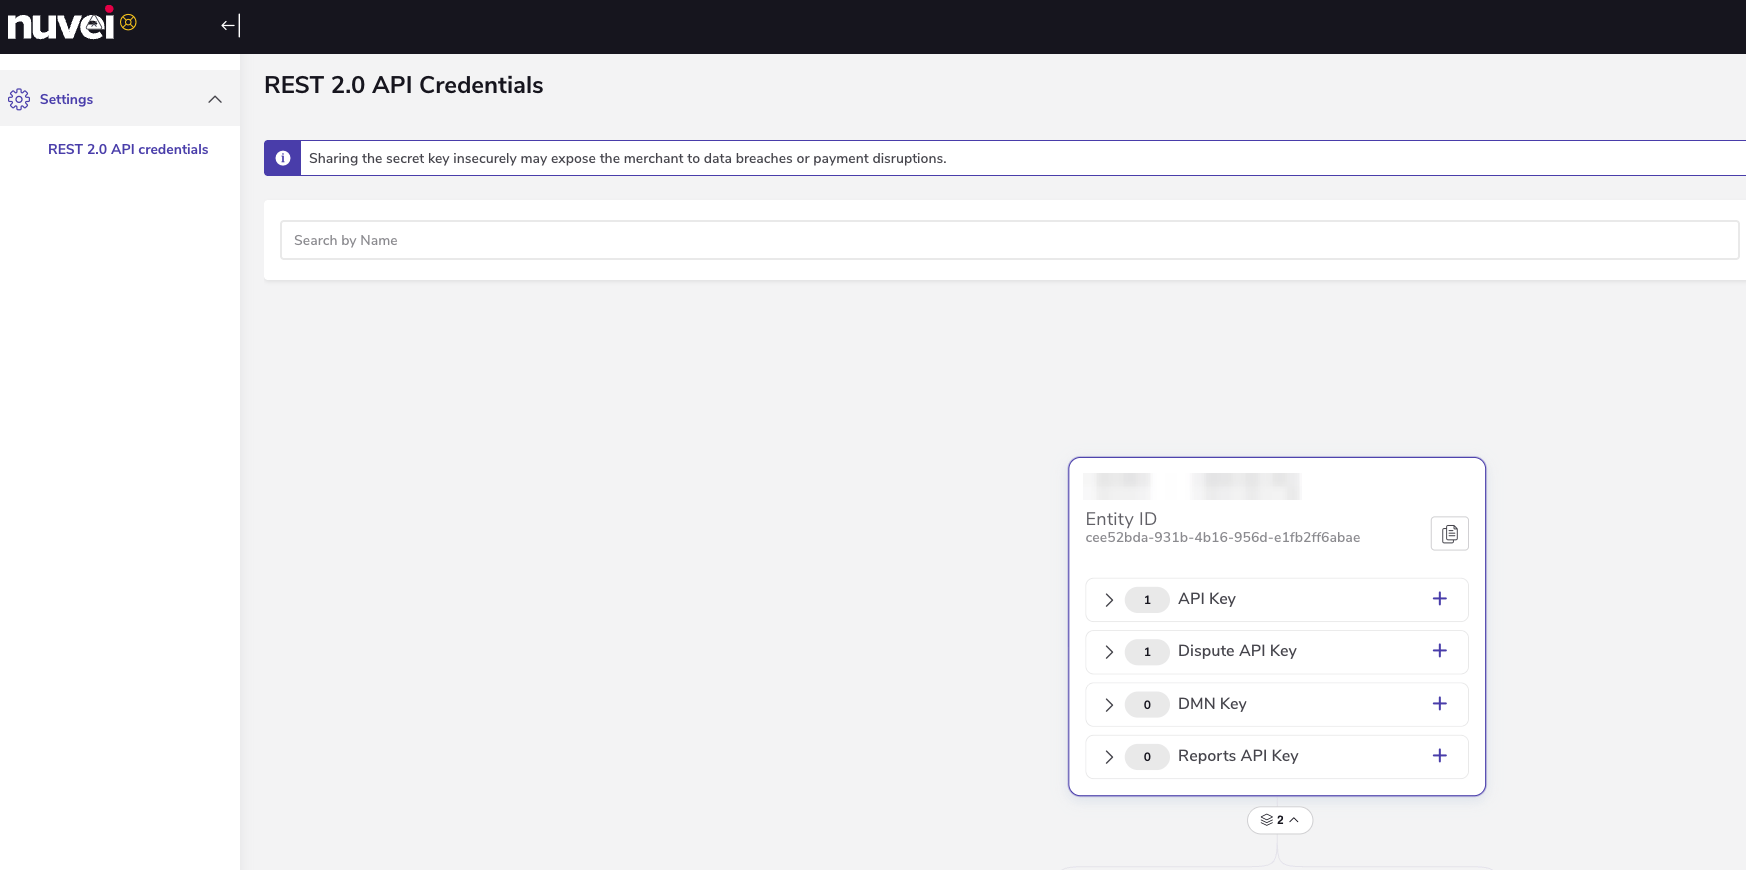
- Paste the value into the Processing enity field.
API key and Dispute Rest 2.0 API key
In Nuvei- With Developer role, locate Settings and select Rest 2.0 API credentials.
- Generate the keys API key and Dispute API key.
- Copy the generated API key and Dispute API key.
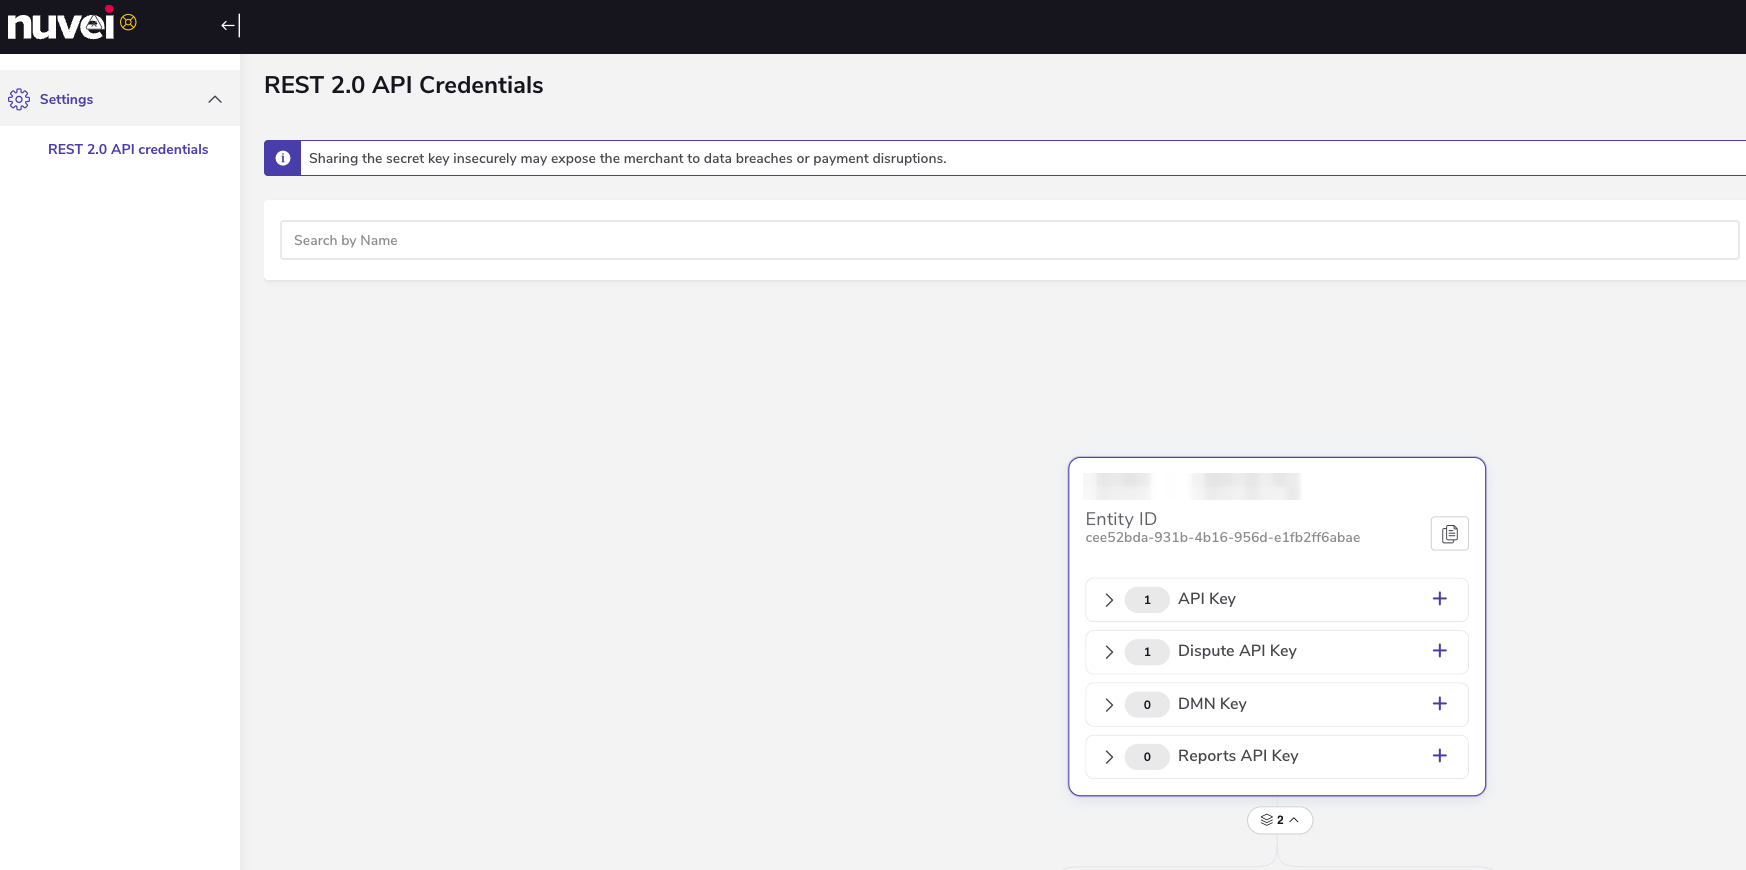
- Paste the value into the API key and Dispute API key fields.
DMN
Payrails uses Nuvei DMN to receive asynchronous chargeback status updates.
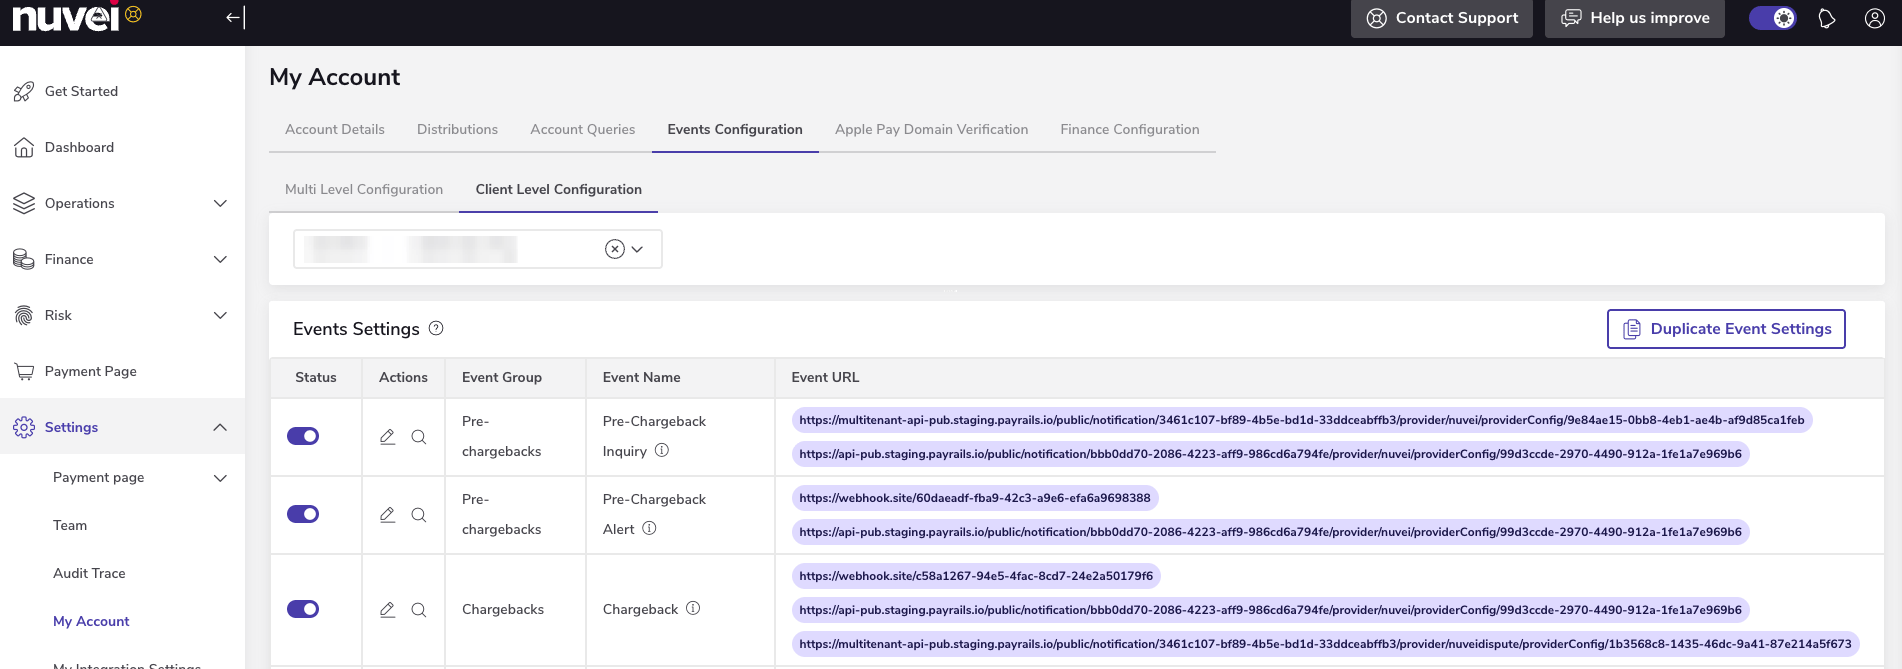
- Go to Settings → My Account → Events configuration → Client level configuration.
- Select the Client.
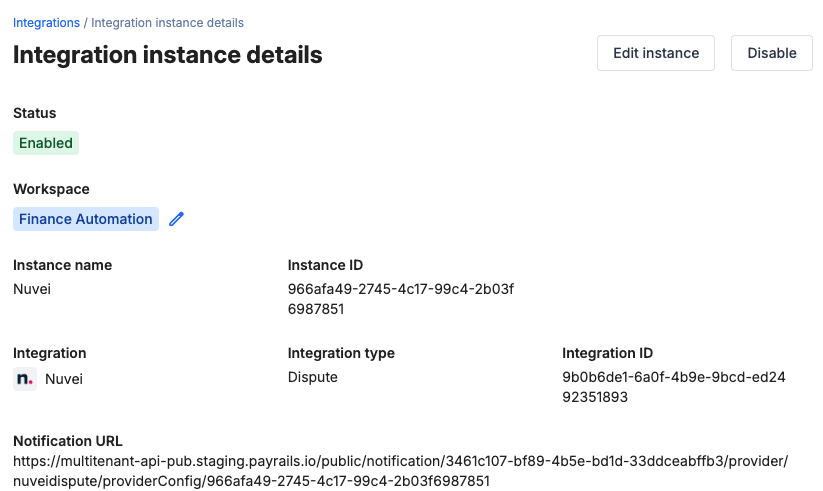
- Copy the Notification URL from the Account configuration section.
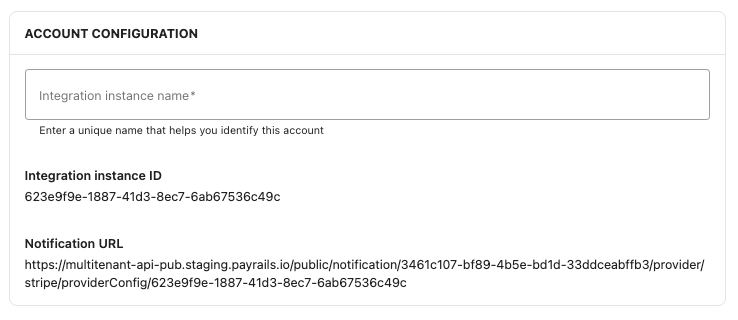
- Configure the destination:
- Paste the Payrails Notification URL in Chargebacks events settings
-
Enable the Chargebacks events settings
Enable the integration
In Payrails- Select Save account to enable the integration.
Next steps
- Run a test payment triggering a chargeback using a Nuvei test card.
- Verify that:
- The dispute appears in Nuvei.
- The chargeback status updates correctly in Payrails.
- Once verified in test mode, repeat the setup in live mode.