

Who should use this guideThis guide is intended for merchants who:
- Use Payrails as a payment orchestrator
- Use Stripe Payments and want to onboard their Stripe account using a one-click flow that automatically imports their credentials.
Create and configure a Stripe integration in Payrails
Following are the initial steps to setup stripe:- Log in to the Payrails portal.
- Go to Settings → Integrations.
- Select Add instance to create a new Stripe integration configuration.
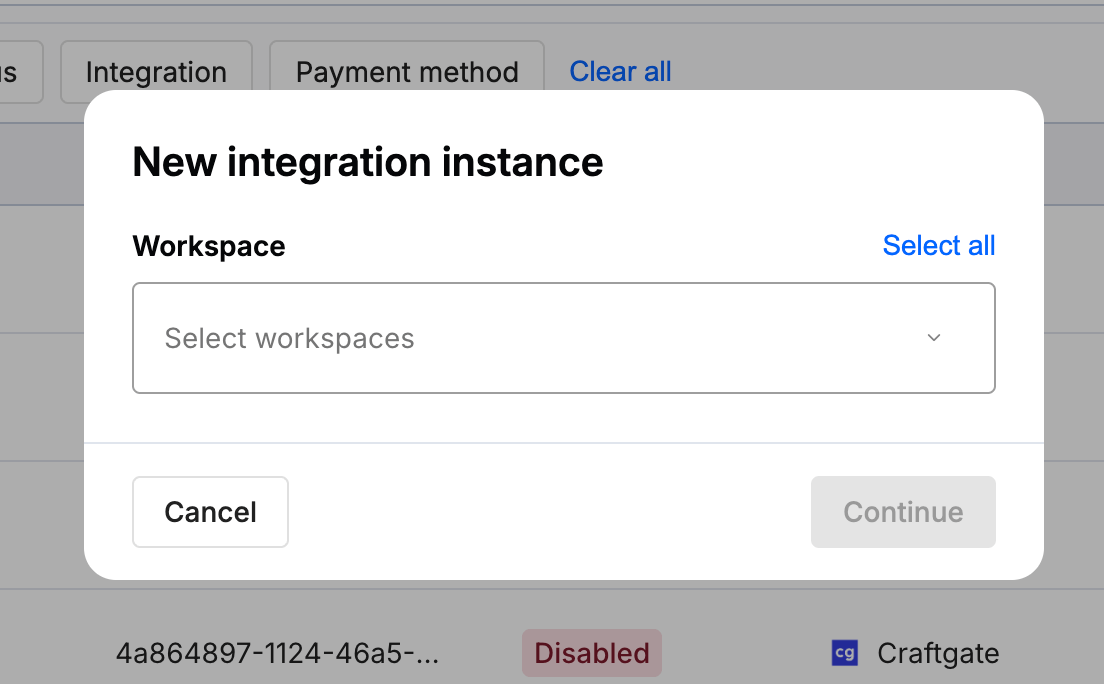
- Select the workspaces where this integration should be available.
About workspacesWorkspaces determine where this integration is available. They let you isolate provider setups by region or business line, or share the same configuration across multiple workspaces.
Step 1: Choose the integration type
Select Payment as integration type and continue to the next step.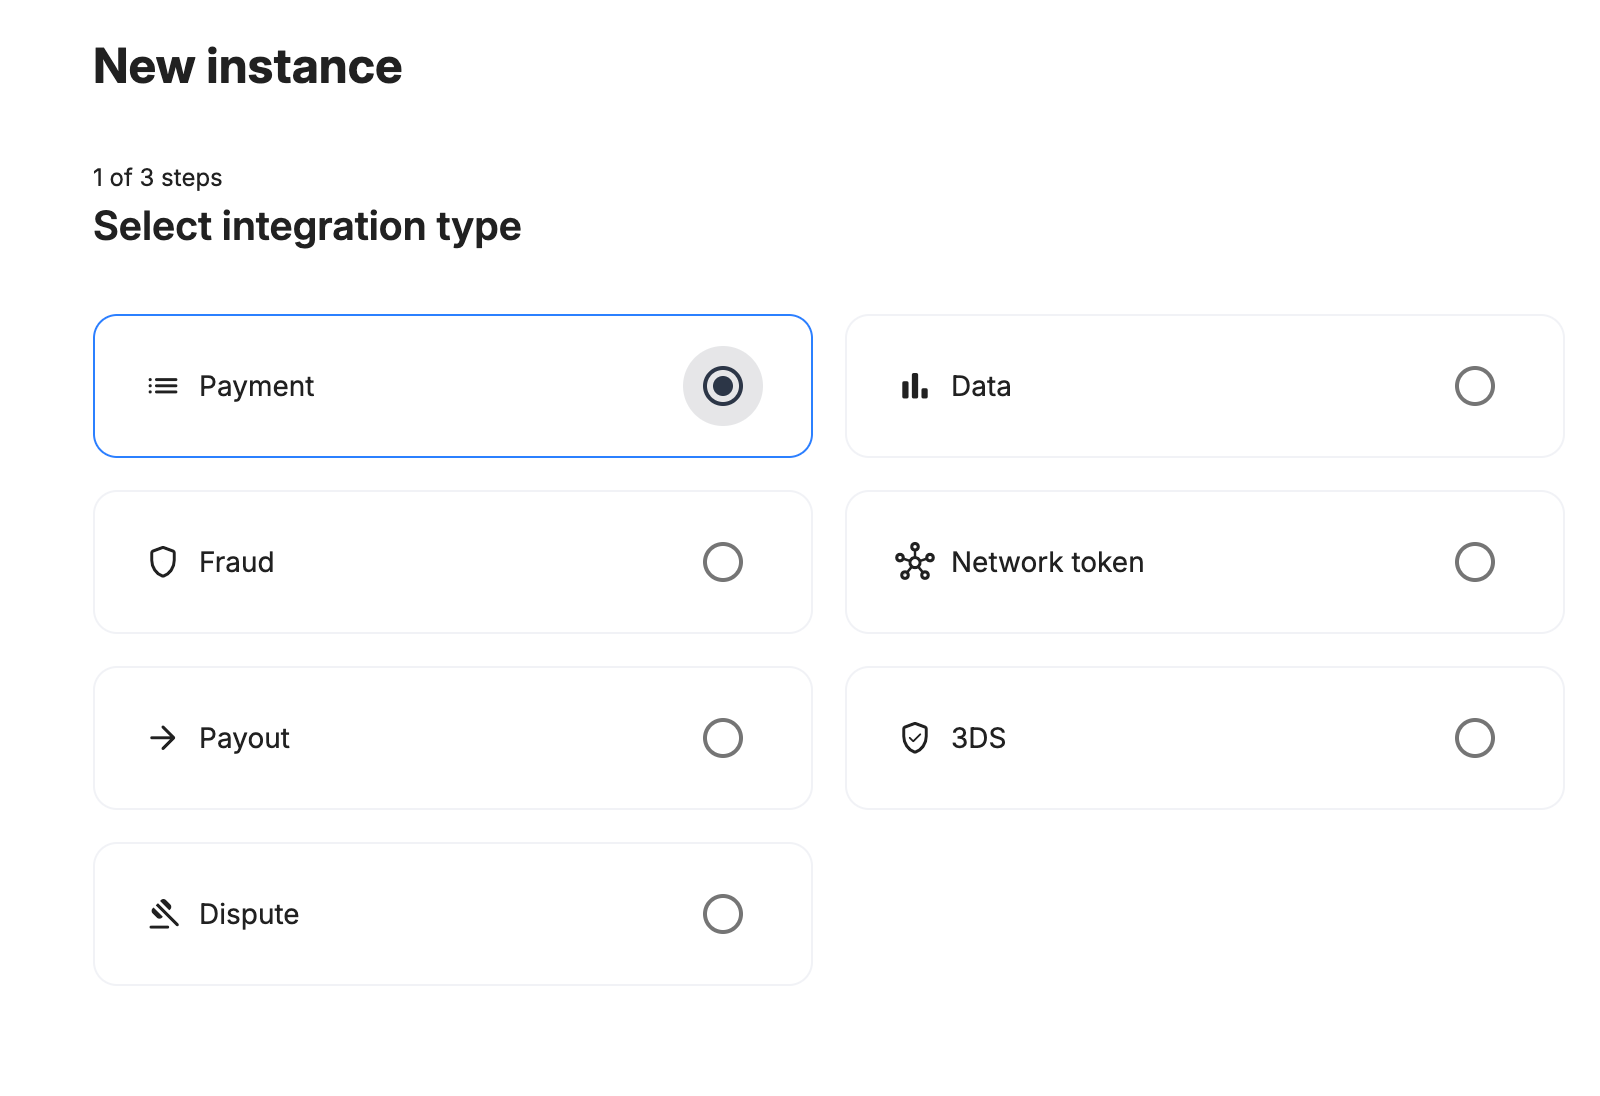
Step 2: Choose the provider
Select Stripe and continue to the next step.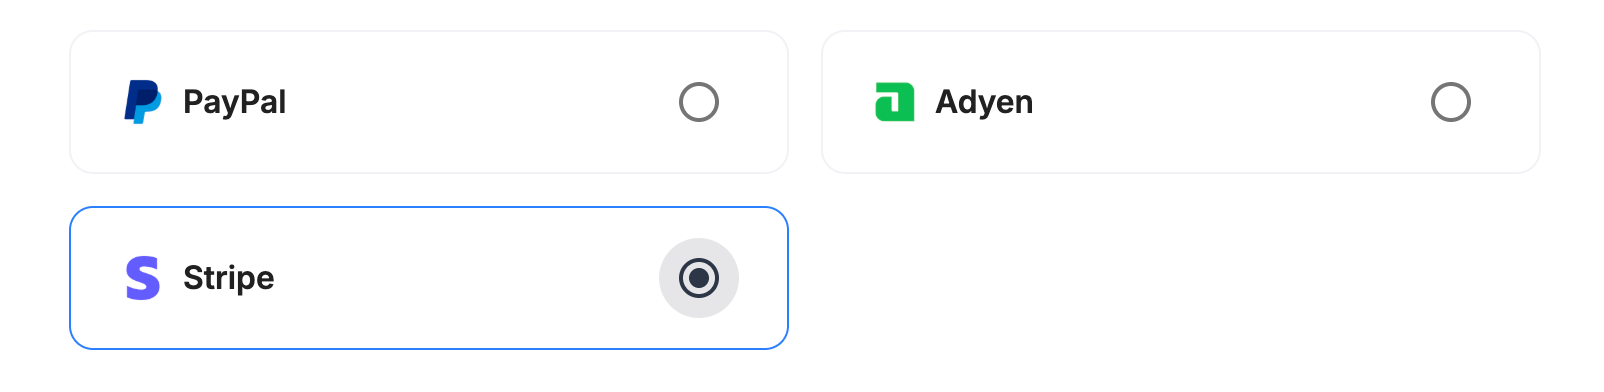
Step 3: Configure your Stripe integration
Payrails connects to your Stripe account through Stripe’s OAuth flow, so you don’t copy any API keys or webhook secrets.Integration instance name
An integration instance is a specific payment provider setup in Payrails. You can create multiple instances for each provider based on region, currency, or business needs. Choose a clear, consistent name, as it is used in routing. In Payrails- Enter an Instance name for your integration.
Select payment methods
Under Payment methods, select the payment methods you want to enable.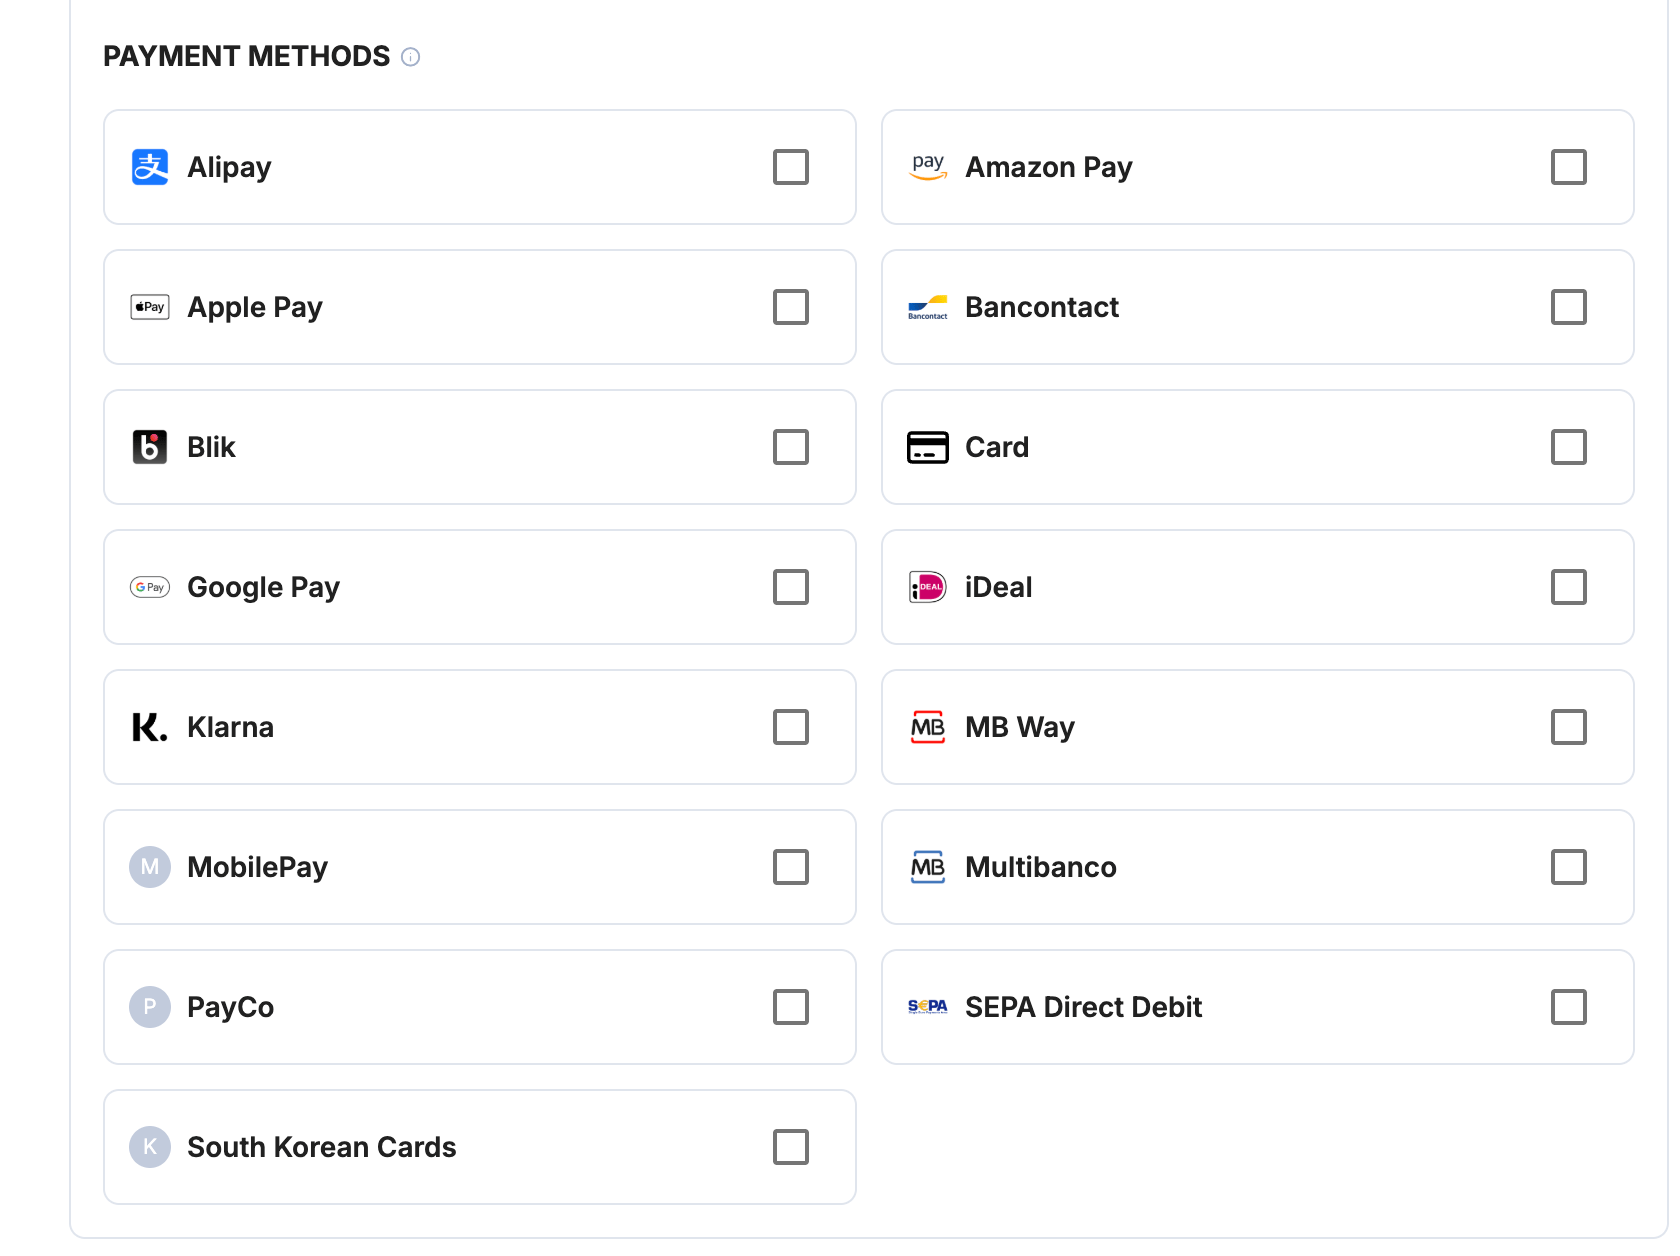
Connect your Stripe account
Select Save account. A dialog will open explaining the next step.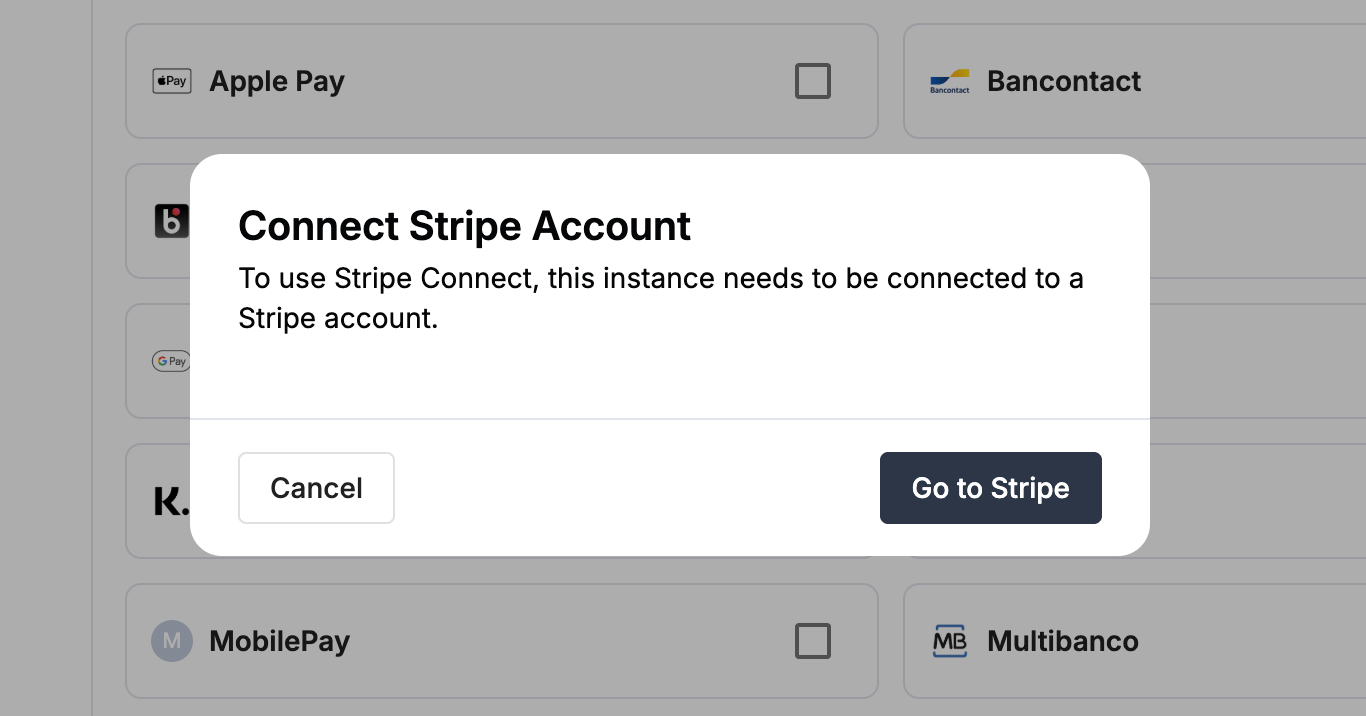

- Sign in with the Stripe account you want to connect, if you’re not already signed in.
- Review the permissions Payrails is requesting and authorize Payrails.
- The popup closes automatically and Payrails imports your Stripe credentials in the background.
- When saving completes, you land on the main window where you can see the success message and later on redirected to integration’s details page with the Enabled status.
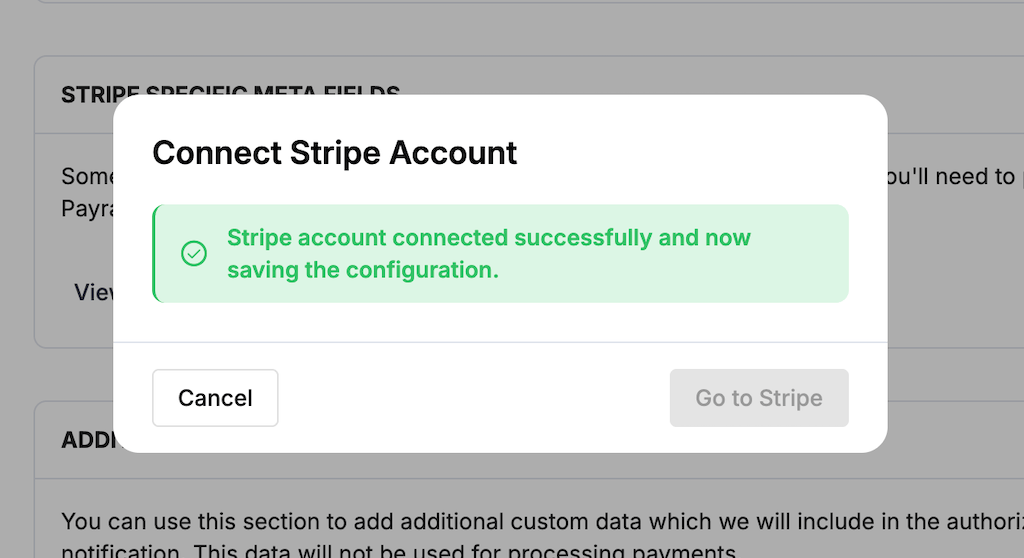
Editing an existing Stripe integration
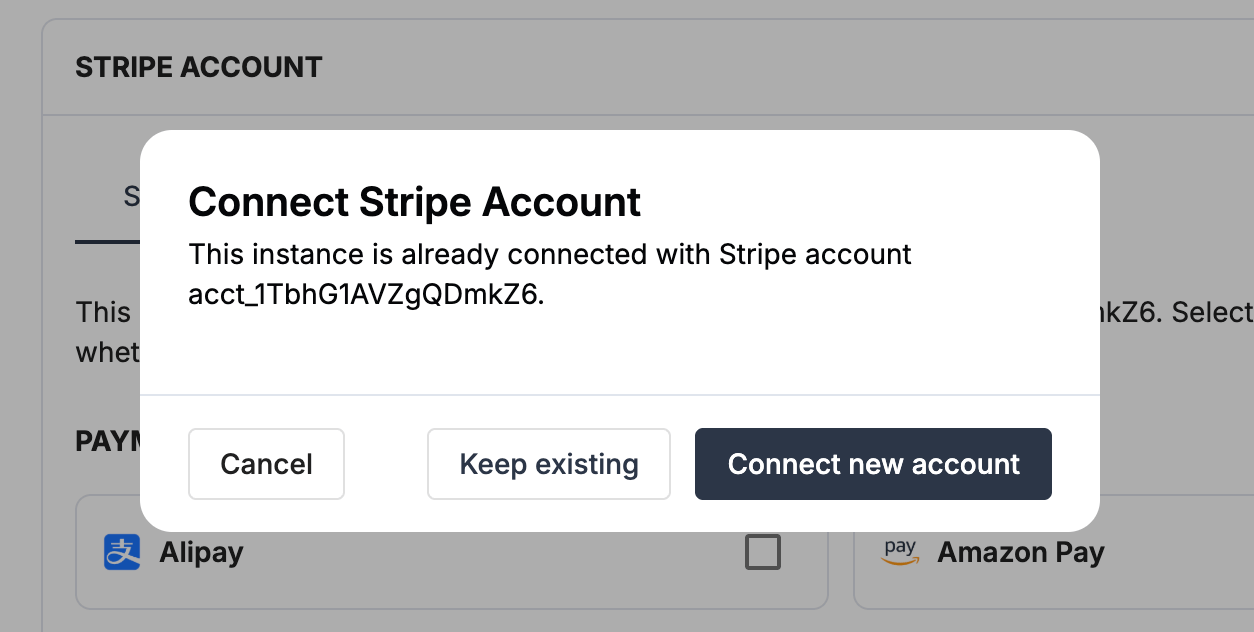
In edit mode, when you re-open a Stripe Connect integration, the configuration screen identifies the currently connected Stripe account ID and lets you choose between keeping the existing connection or connecting a different Stripe account. When you select Save account, a dialog offers two options:- Keep existing — preserve the current connection.
- Connect new account — start a fresh OAuth flow with a different Stripe account.
Request fields for Stripe
Send these fields in the authorize request for card payments, in addition to the standard authorize fields. Required fields must be present for the payment to succeed. Payrails sends Optional fields to Stripe when you include them. For more about meta fields, refer to Meta fields.Configure Stripe settings
Some Stripe integration settings change how Payrails processes your payments. The portal shows the same description when you hover over each setting.Statement descriptor suffix
Statement Descriptor (Suffix) controls how Payrails sends the soft descriptor frommeta.order.softDescriptor in your payment request. For more about meta fields, refer to Meta fields.
Turn this on if your Stripe account has a shortened descriptor set. The setting has no effect on payments without a soft descriptor.
Embedded SEPA Direct Debit
By default, customers paying with SEPA Direct Debit go to a page hosted by Stripe to confirm the mandate. Turn on Embedded under SEPA Direct Debit in Payment methods to complete the payment on your own checkout page instead. Payrails saves the mandate for future debits.Stripe Connect
When you connect through Stripe’s OAuth flow, Payrails turns on Stripe Connect for the integration and processes payments on your connected Stripe account. You don’t need an API key, and the setting doesn’t appear in the form.Next steps
- Run a test payment using a Stripe test card.
- Verify that:
- The payment appears in Stripe.
- The payment status updates correctly in Payrails.
- Once verified in test mode, repeat the setup in live mode.