

Who should use this guideThis guide is intended for merchants who:
- Use Payrails as a payment orchestrator
- Use Adyen Payments
- Are approved to process raw card data
How to request access to raw card data processing
How to request access to raw card data processing
- Email support@adyen.com and copy pcisupport@adyen.com. 2. Optionally copy the Payrails Support team. 3. In your request, confirm that Payrails will act as the payment orchestrator and handle card data processing. 4. Include:
- The WS user associated with your Adyen account * The Payrails PCI compliance document
Create and configure an Adyen integration in Payrails
- Log in to the Payrails portal.
- Go to Settings → Integrations.
- Select Add instance to create a new Adyen integration configuration.
- Select the Workspaces where this integration should be available.
About WorkspacesWorkspaces determine where this integration is available. They let you isolate provider setups by region or business line, or share the same configuration across multiple Workspaces.
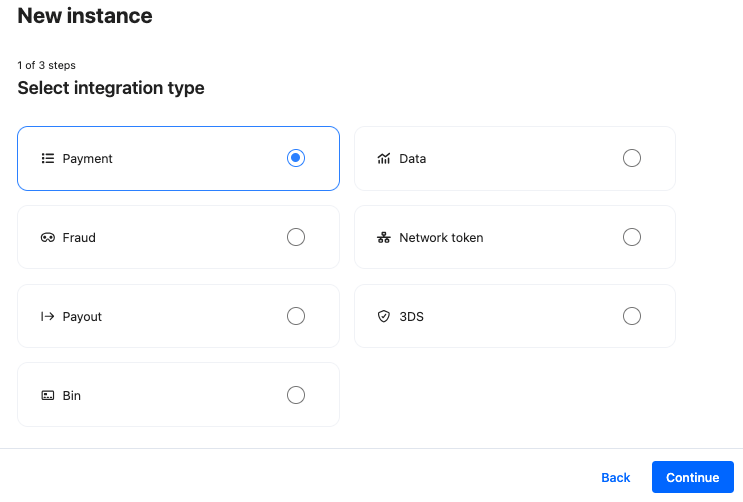
Step 1: Choose the integration type
- Select Payment and continue to the next step.
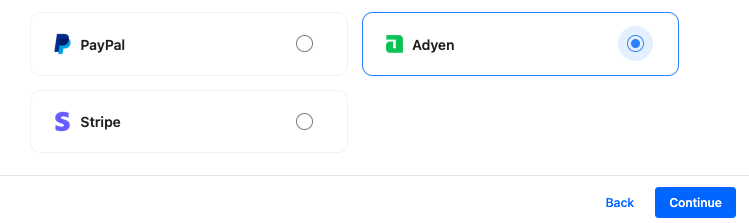
Step 2: Choose the provider
- Select Adyen and continue to the next step.
Step 3: Configure your Adyen integration
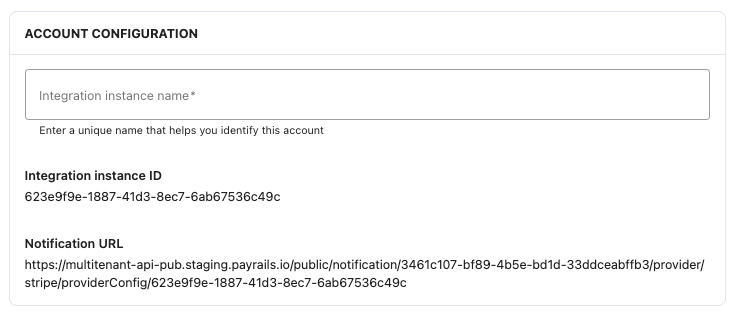
Integration instance name
An integration instance is a specific payment provider setup in Payrails. You can create multiple instances for each provider based on region, currency, or business needs. Choose a clear, consistent name, as it is used in routing.In Payrails
- Enter an Instance name for your integration.
Merchant account name
In Adyen- Log in to your Adyen dashboard.
- Click the company logo or name in the top-left corner.
- From the list of merchant accounts, copy the Merchant account name
(not the company account).
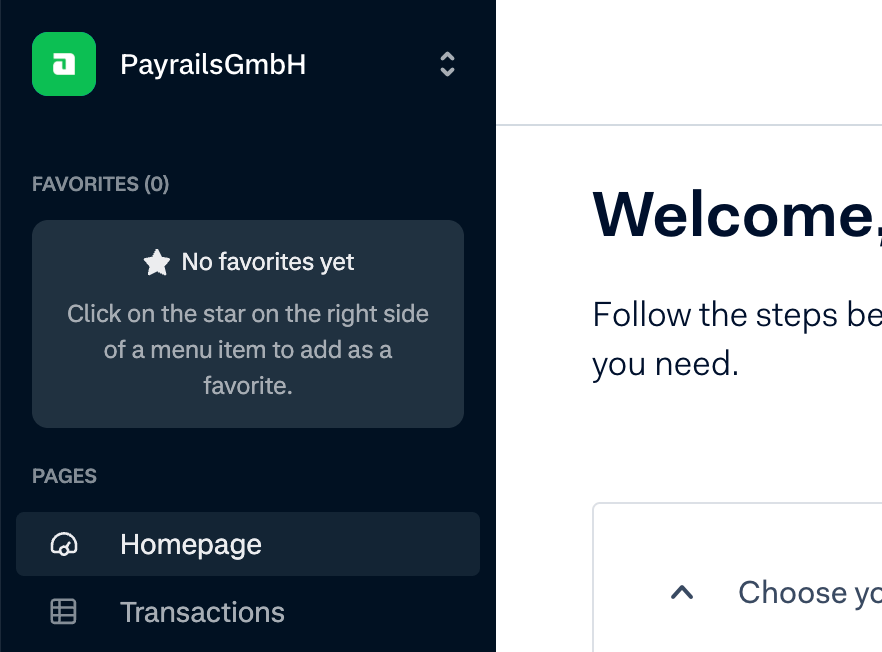
- Paste the value into the Merchant account name field.
Prefix (production only)
The prefix is required in production but not in staging. You can leave
this field blank in staging environments.
- Go to Developers → API URLs.
- Copy the Prefix value.
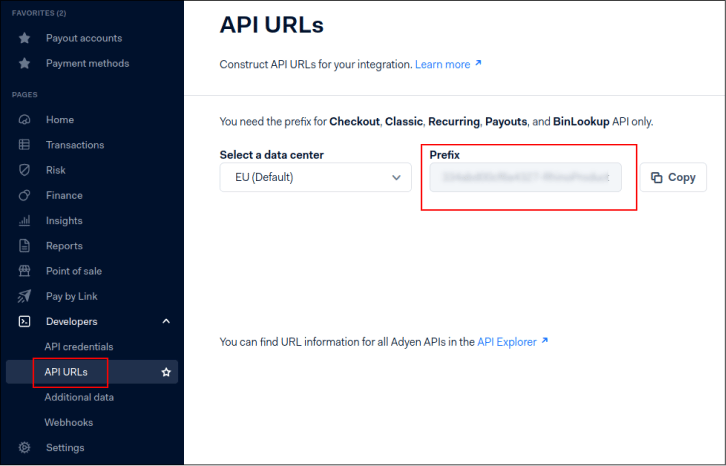
- Paste the value into the Prefix field.
API key
In Adyen- Go to Developers → API credentials.
- Select Create new credential.
- Choose Web Service User.
- Create the credential and copy the API key.
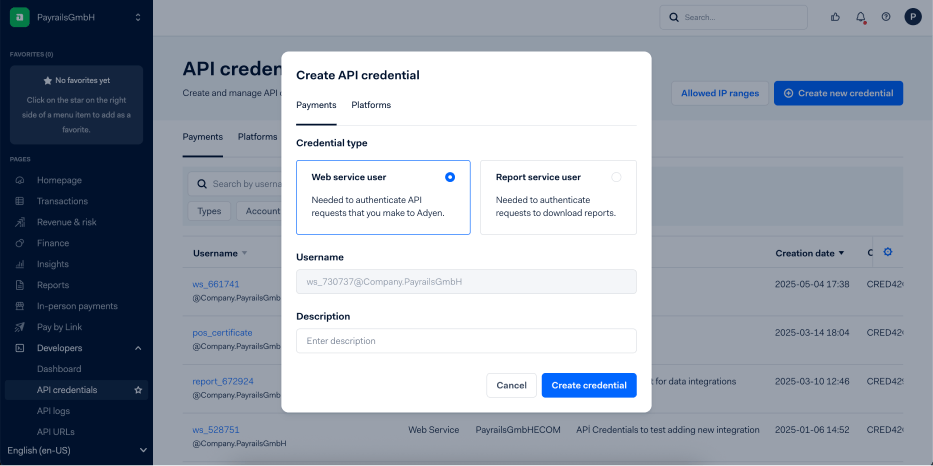
- Paste the value into the API key field.
HMAC key (webhook signing key)
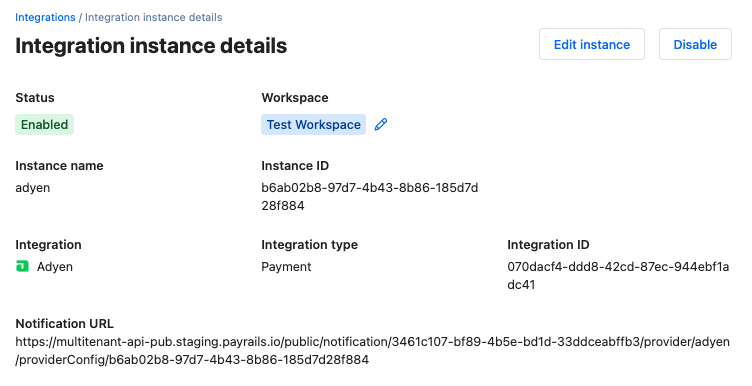
In Payrails- Copy the Notification URL from the webhook section.
- Go to Developers → Webhooks.
- Create a new Standard webhook.
- Select only the merchant account you are configuring.
- Paste the Payrails notification URL into the URL field.
- In Security, generate a new HMAC key and copy it.
- In Events, enable all standard events.
- Save the webhook configuration.
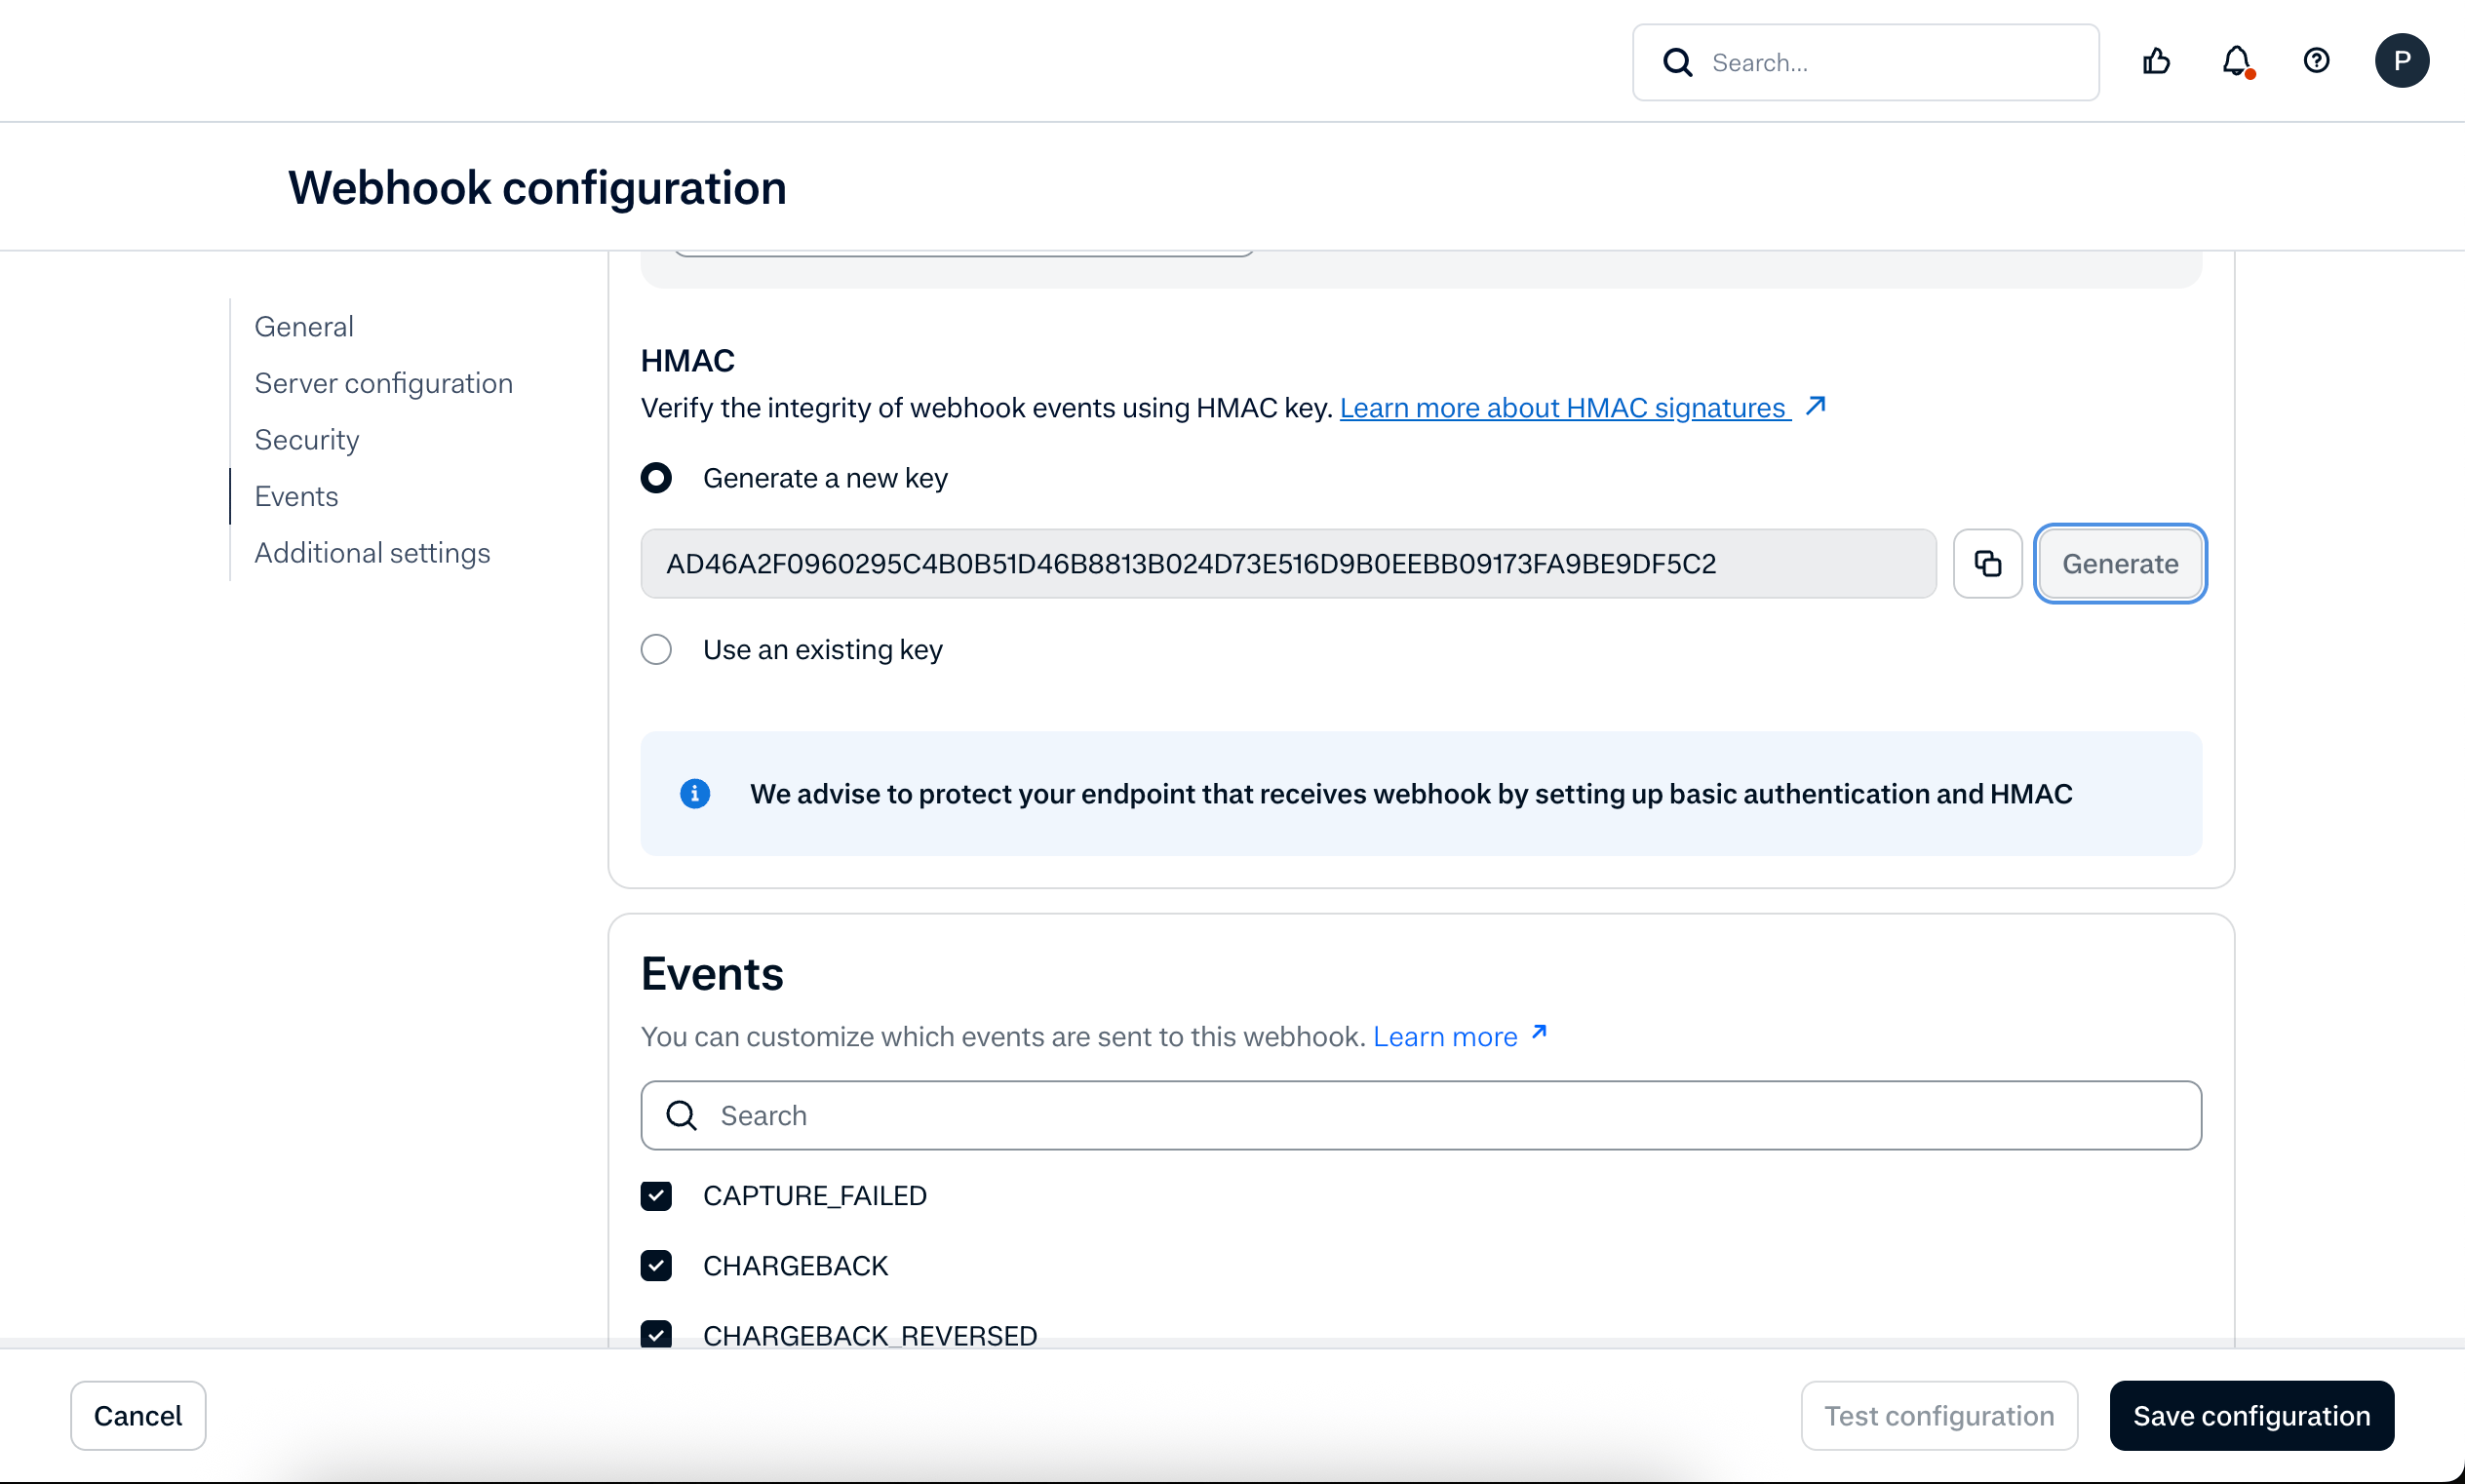
- Paste the HMAC key into the HMAC key field.
- Return to the integration overview after your changes are saved.
Payment methods
In Payrails- Select the payment methods that should be enabled for this integration.
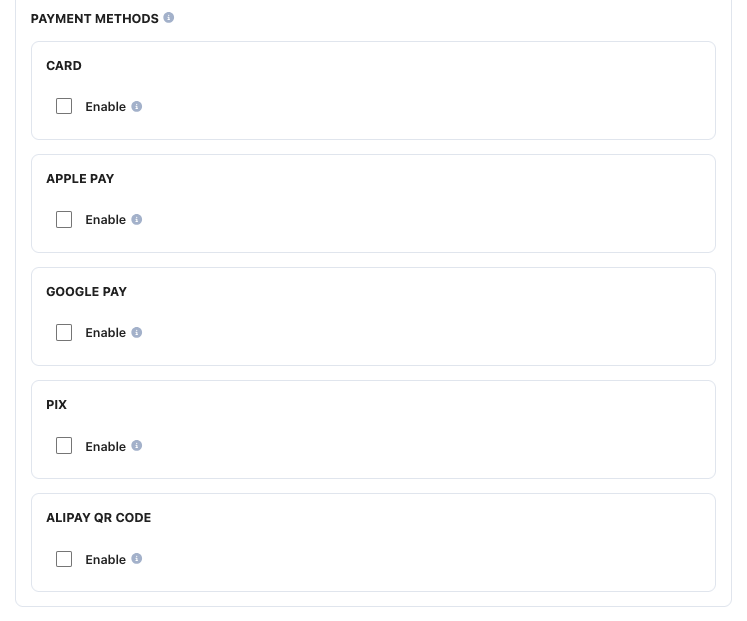
Checkout API version (v69 or v72)
About this settingPayrails supports two Adyen Checkout API versions: v69 (default) and v72. The version is set per provider instance, so you can control exactly which integration uses which version.
- Under your Adyen integration instance, locate the Checkout API version field.
- Choose v69 (default) or v72.
Saving a brand-new card as
CardOnFile does not require a CVC — this only applies when charging a card that was previously saved. Subscription and UnscheduledCardOnFile payments never require a CVC.- Enable v72 on a staging provider instance first and run your full payment flows end to end (new card, saved card, subscriptions, refunds, MOTO/wallet if used).
- In production, create a new Adyen provider instance on v72 rather than switching your existing v69 instance, and route a small share of traffic to it.
- Gradually increase traffic to the v72 instance over a few days while monitoring authorization rates and error codes.
RollbackSwitching a provider instance’s Checkout API version back to v69 takes effect on the next payment immediately — no deployment or code change required.
Request fields for Adyen
Send these fields in the authorize request for card payments, in addition to the standard authorize fields. Required fields must be present for the payment to succeed. Payrails sends Optional fields to Adyen when you include them. For more about meta fields, refer to Meta fields.Enable the integration
In Payrails- Select Save account Save the configuration to enable the integration.
Next steps
- Run a test payment using an Adyen test card.
- Verify that:
- The payment appears in Adyen.
- The payment status updates correctly in Payrails.
- Once verified in test mode, repeat the setup in live mode.