

Who should use this guideThis guide is intended for merchants who:
- Use Payrails as a payment orchestrator
- Use Checkout.com Payments
- Are approved to process raw card data
Create and configure a Checkout.com integration in Payrails
- Log in to the Payrails portal.
- Go to Settings → Integrations.
- Select Add instance to create a new Checkout.com integration configuration.
- Select the Workspaces where this integration should be available.
About WorkspacesWorkspaces determine where this integration is available. They let you isolate provider setups by region or business line, or share the same configuration across multiple Workspaces.
Step 1: Choose the integration type
- Select Payment.
- Continue to the next step.
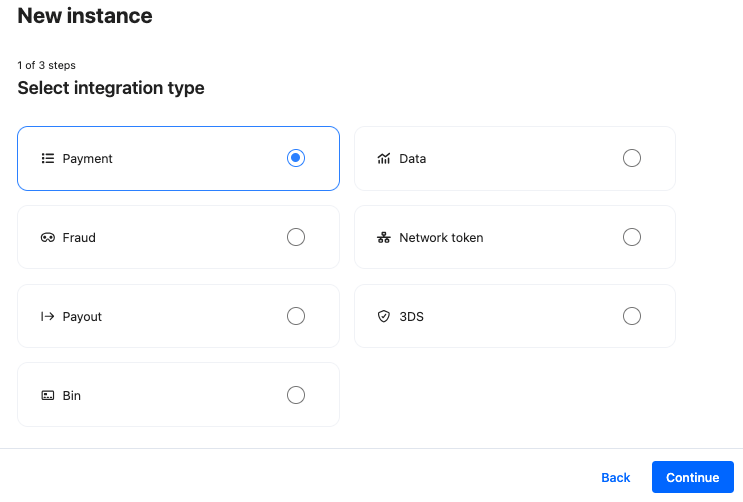
Step 2: Choose the provider
- Select Checkout.com.
- Continue to the next step.
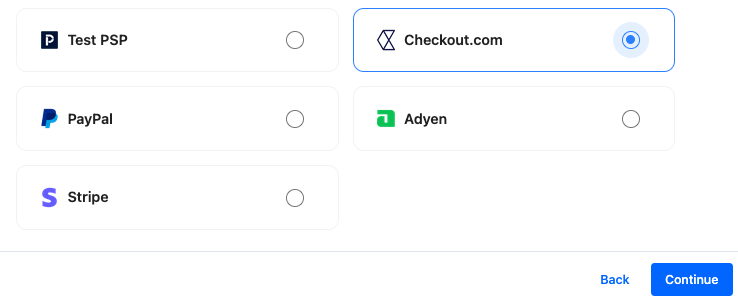
Step 3: Configure your Checkout.com integration
Integration instance name
An integration instance is a specific payment provider setup in Payrails. You can create multiple instances for each provider based on region, currency, or business needs. Choose a clear, consistent name, as it is used in routing.In Payrails
- Enter an Instance name for your integration.
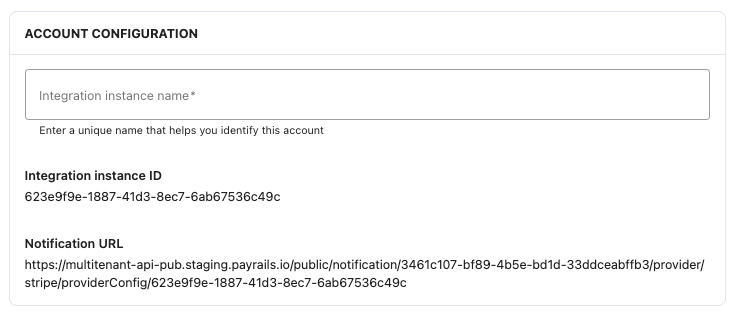
Account details
In Checkout.com- Sign in to the Checkout.com Dashboard.
- Locate your Processing Channel ID in the account or processing channel settings.
- Copy the Processing Channel ID (
pc_XXXX).
- Paste the value into the Processing Channel ID field.
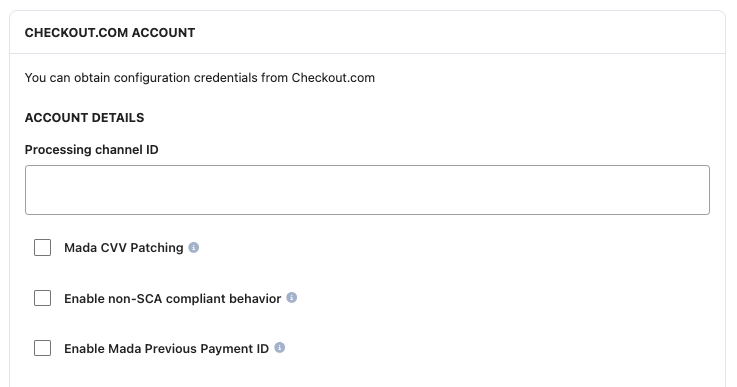
API credentials
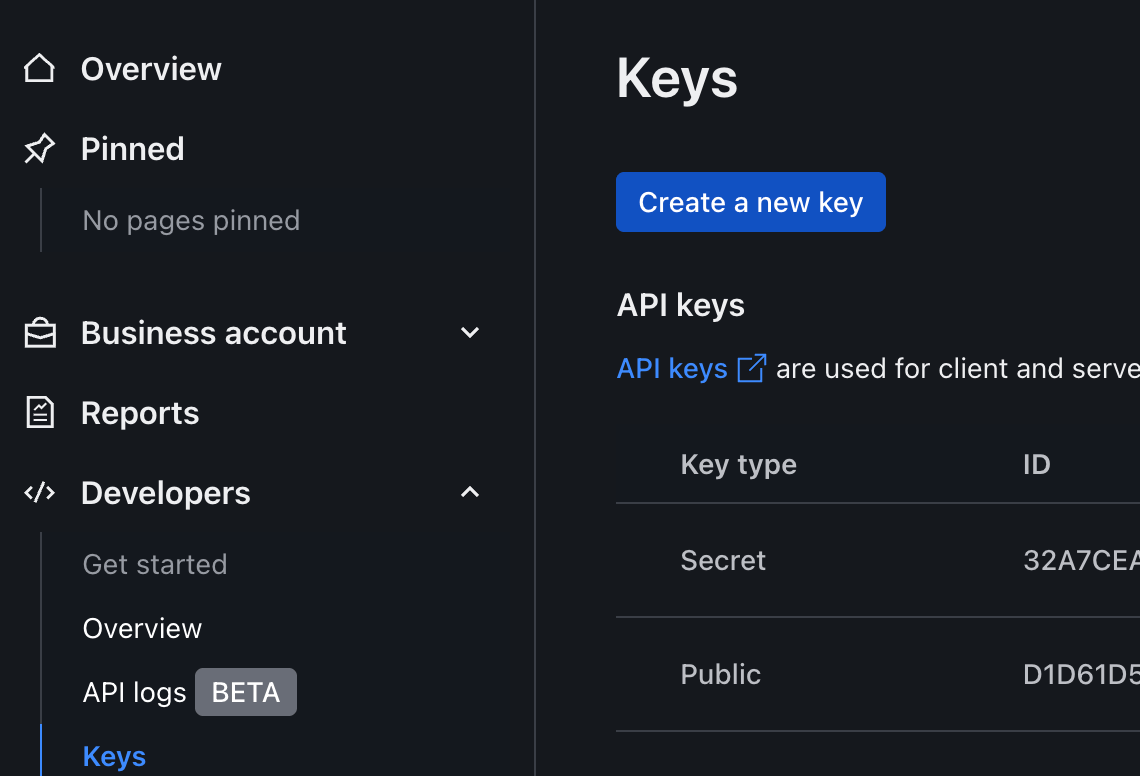
- Go to Developers.
- Select Create new key.
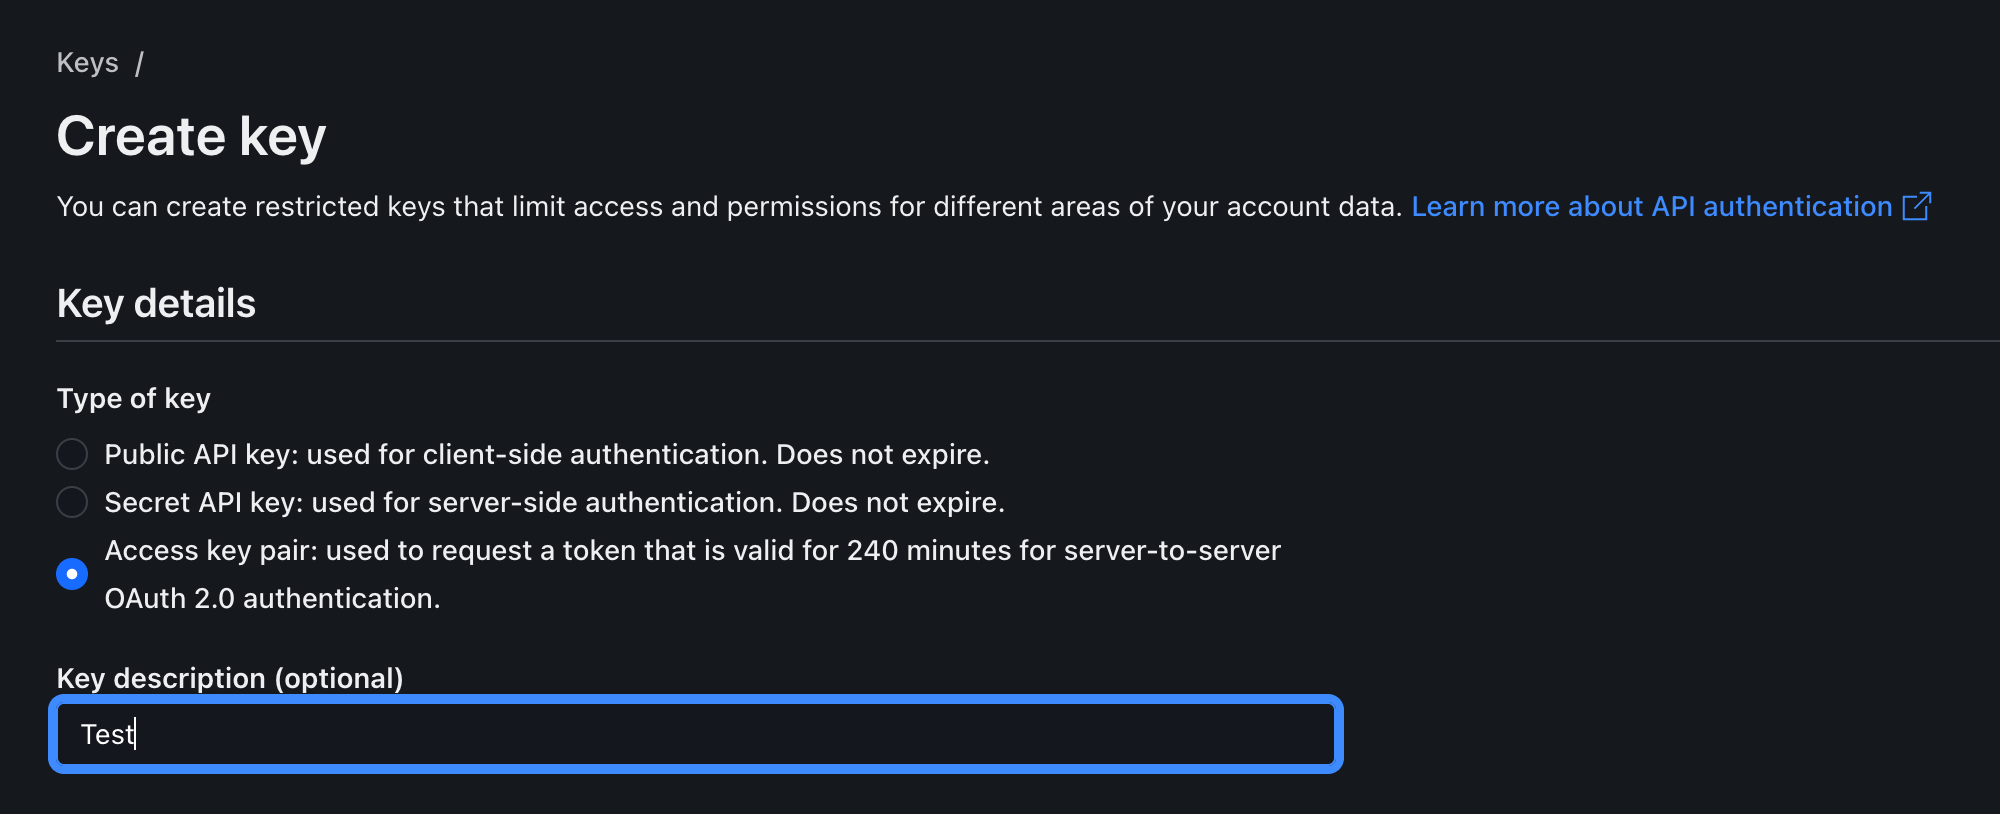
- In Key details, select Access key pair.
- Add a Description to help identify the key.
-
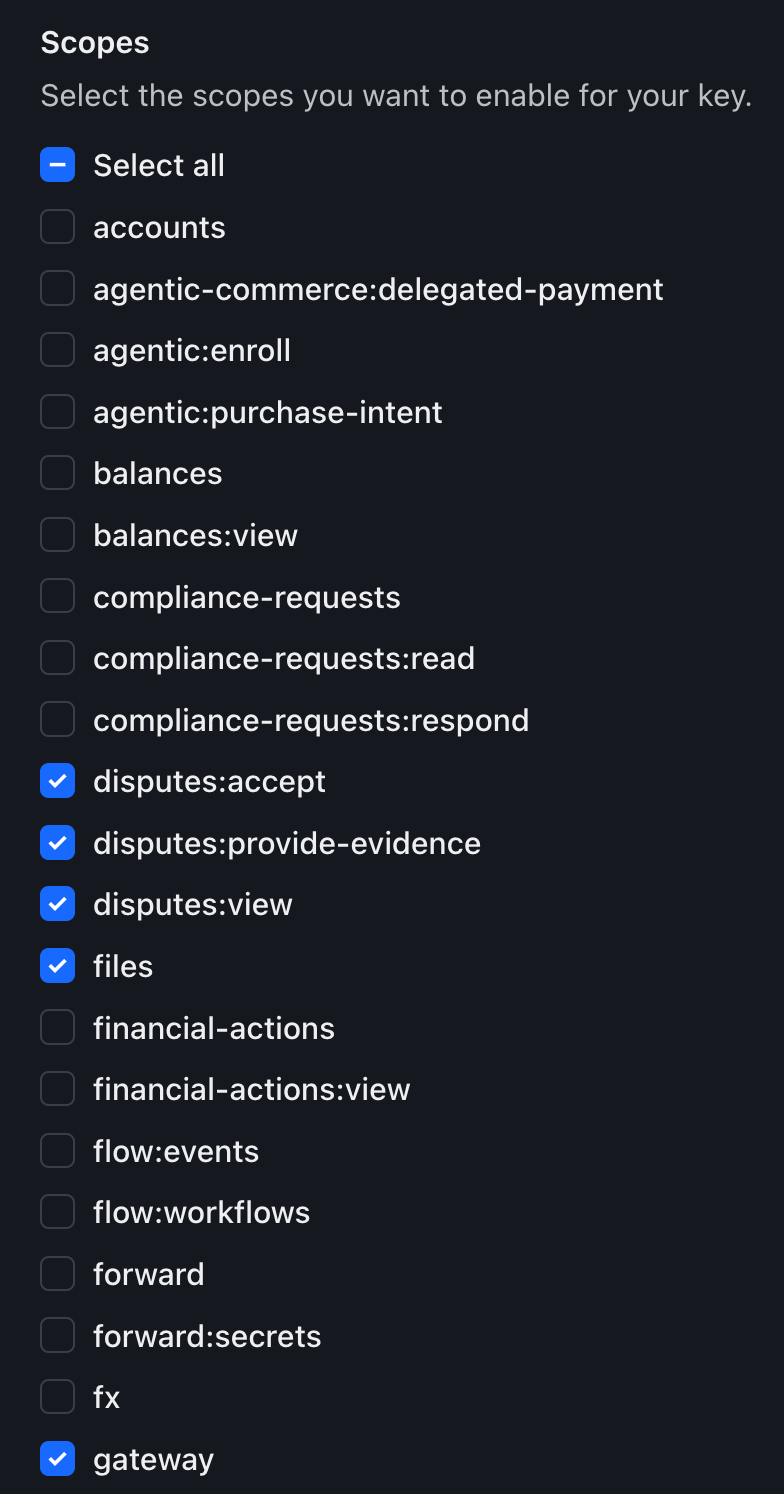
Under Scopes → Customise → Custom scopes, enable:
-
disputes:accept -
disputes:provide-evidence -
disputes:view -
files -
gateway -
sessions:app -
sessions:browser -
vault:instrument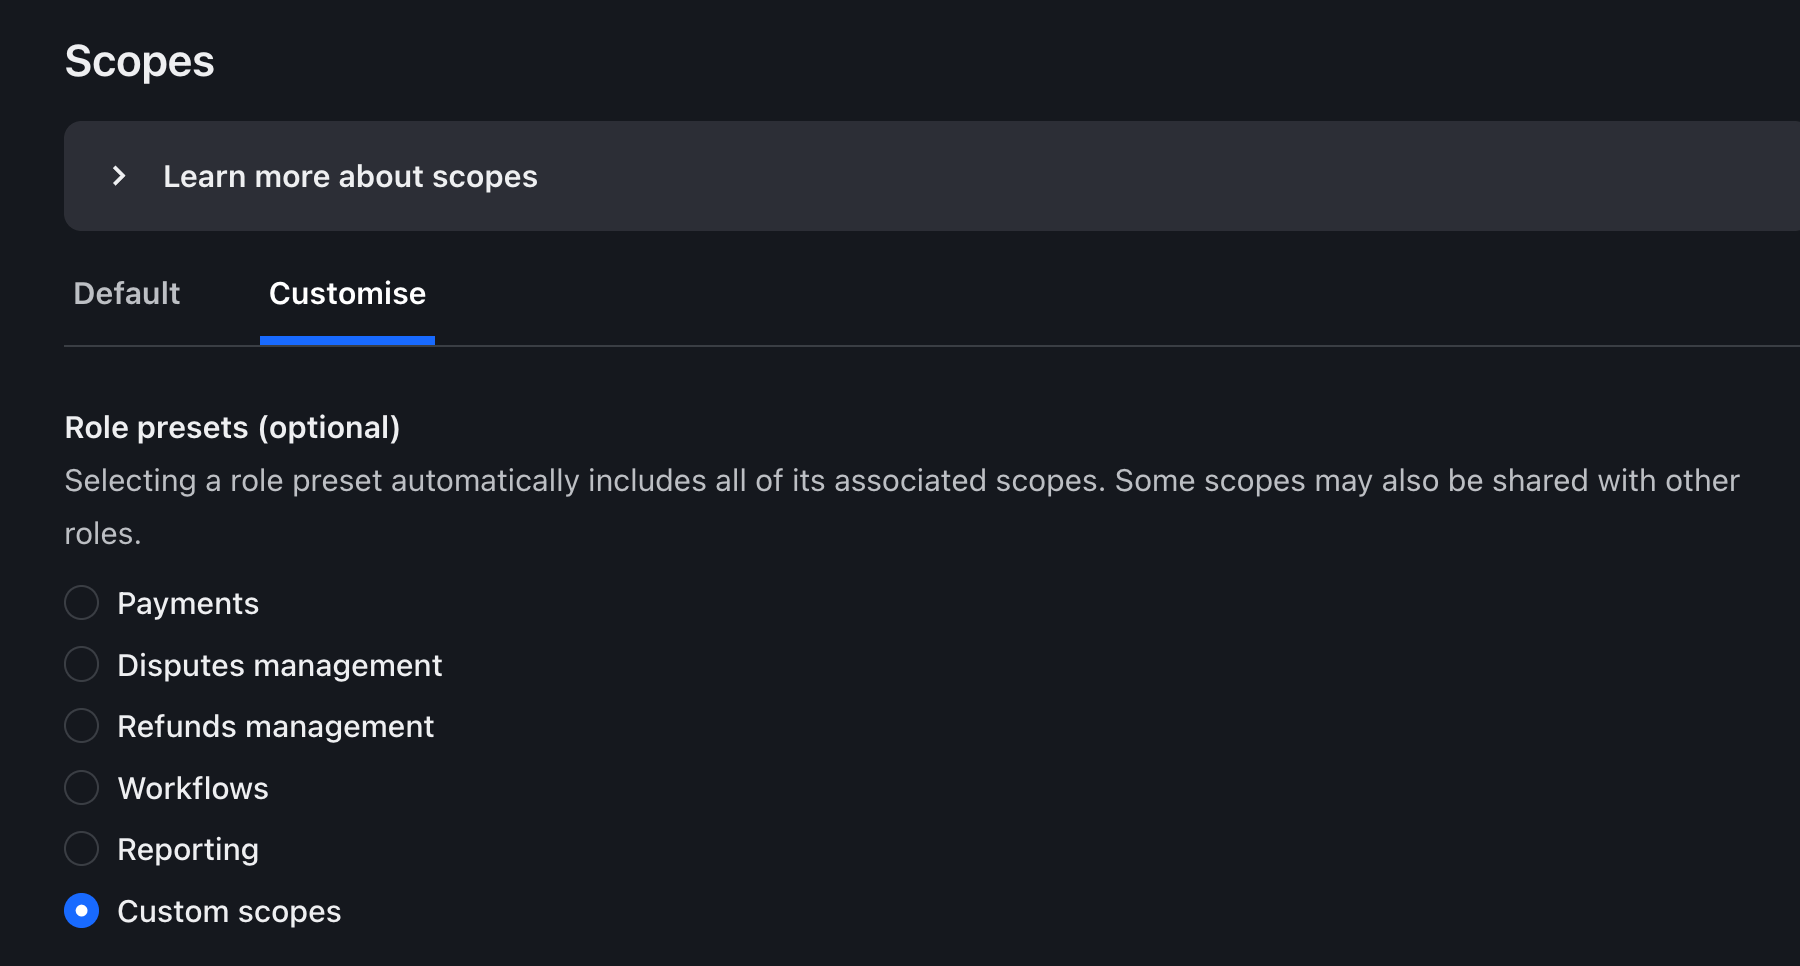
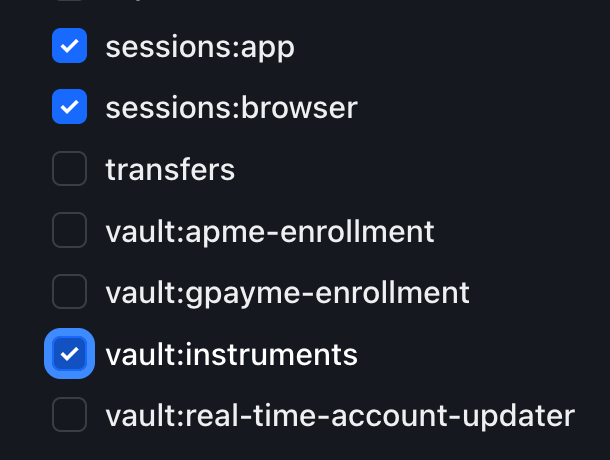
-
- Select Allow any processing channel (or restrict if required).
-
If needed, locate your Processing Channel ID here (
pc_XXX). - Select Create new key.
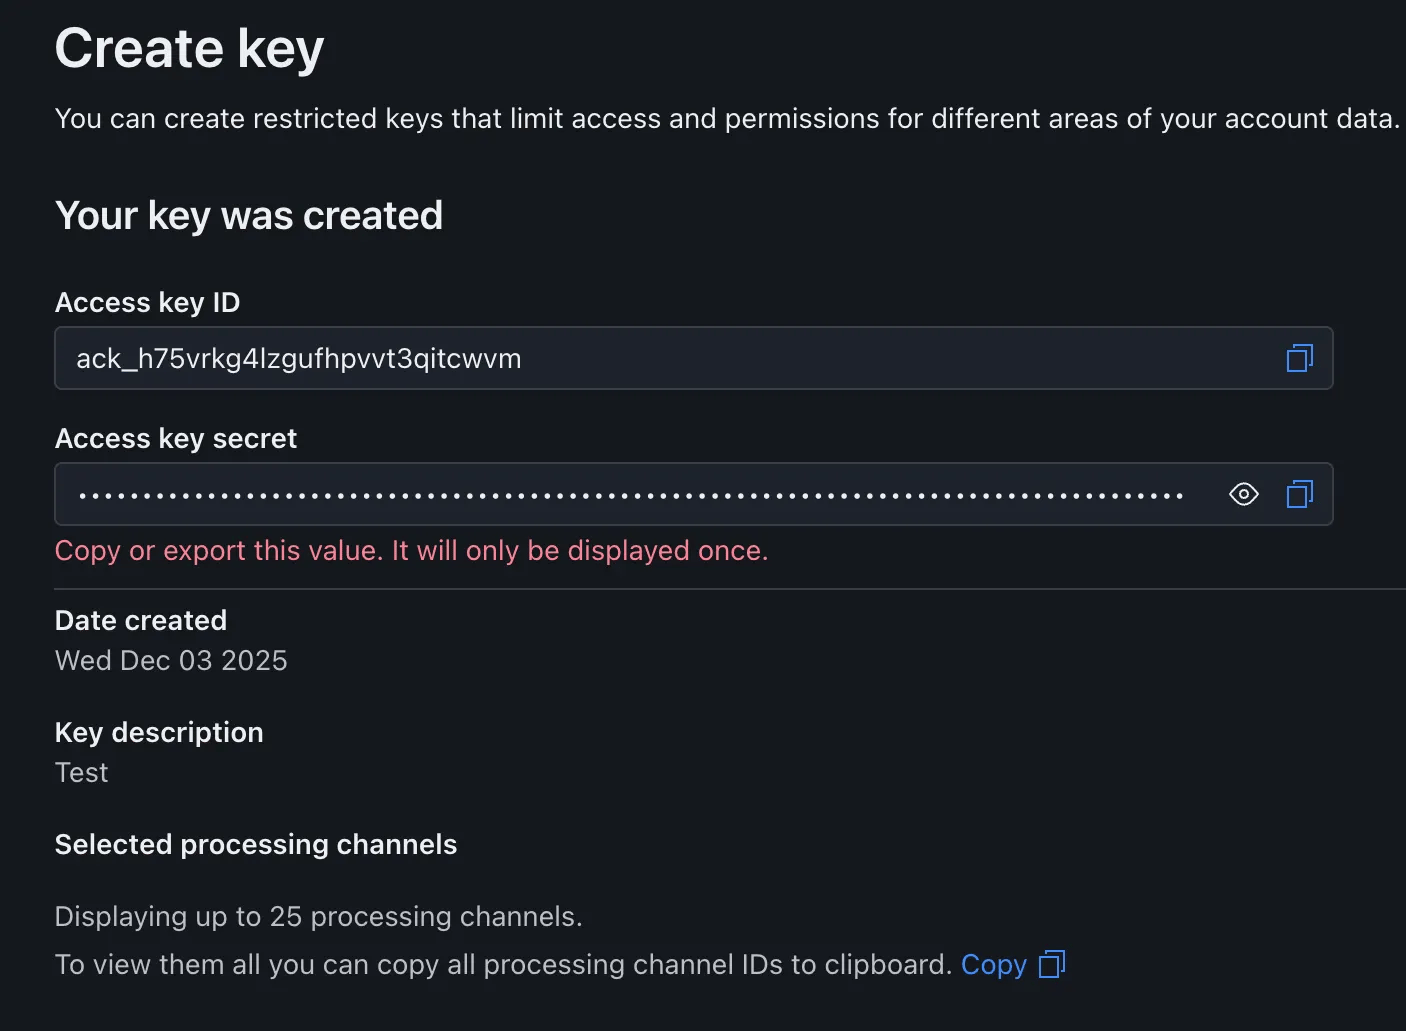
- Copy the Access Key ID and Access Key Secret.
- Paste the credentials into the corresponding fields.
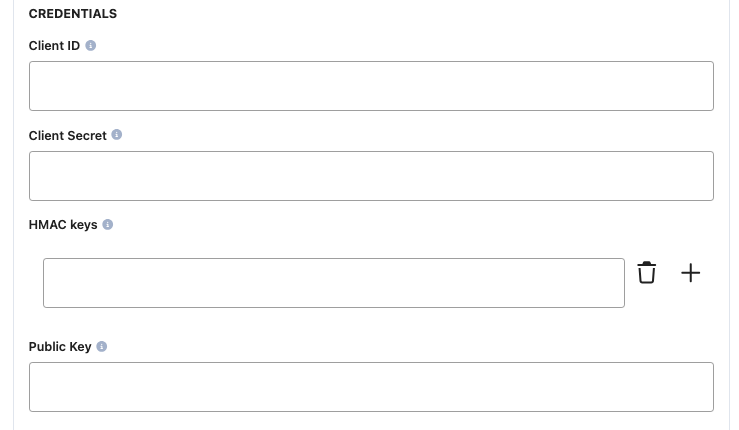
Webhooks (notifications)
In Checkout.com- Go to Developers → Webhooks.
- Select New webhook.
- Enter a name for the webhook.
-
Paste the Notification URL from Payrails.
- Generate a Signature key.
-
Select:
- All events
- All entities
- All processing channels
- Save the webhook.
- Paste the Signature key into the HMAC key field.
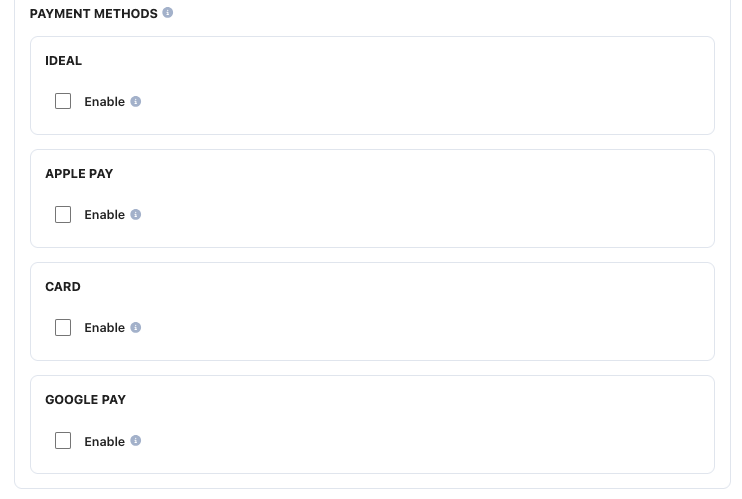
Payment methods
In Payrails- Select the payment methods that should be enabled for this integration.
Request fields for Checkout.com
Send these fields in the authorize request for card payments, in addition to the standard authorize fields. Required fields must be present for the payment to succeed. Payrails sends Optional fields to Checkout.com when you include them. For more about meta fields, refer to Meta fields.Configure Checkout.com settings
Some Checkout.com integration settings change how Payrails processes your payments. The portal shows the same description when you hover over each setting. You find them under Account details.User-defined fields
UDF1 to UDF4 choose what Payrails sends in each of the four Checkout.com user-defined fields. Payrails sends them in the paymentmetadata on authorize, capture, refund and void, so you can search and report on them in Checkout.com.
For more about meta fields, refer to Meta fields.
Mada CVV Patching
Turn on Mada CVV Patching if you process local mada cards and collect the CVV again when a customer pays with a saved card. Payrails then adds that CVV to the customer-initiated payment it sends with the stored Checkout.com card. Without a newly collected CVV, the setting has no effect.Enable Mada Previous Payment ID
On merchant-initiated payments, Payrails sends a previous payment ID that links the payment to the customer’s earlier payment. By default it’s the card’s network transaction reference. Turn on Enable Mada Previous Payment ID to send the ID of the last successful Checkout.com payment on the card instead, for mada cards.Enable non-SCA compliant behavior
Enable non-SCA compliant behavior changes two things on card and Google Pay payments:- When your request forces 3D Secure, Payrails asks Checkout.com for no challenge instead of a mandated challenge.
- On a first payment that saves the card for subscription or unscheduled payments, Payrails sends the payment type as regular.
Enable the integration
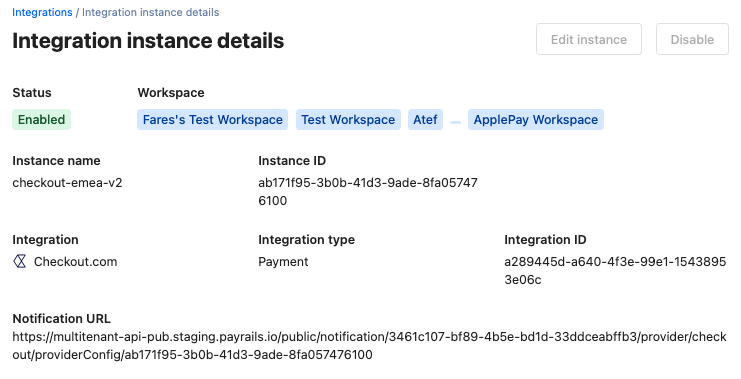
In Payrails- Select Save account to enable the integration.
Next steps
- Run a test payment using a supported Checkout.com test card.
- Verify that:
- The payment appears in Checkout.com.
- The payment status updates correctly in Payrails.
- Once verified in test mode, repeat the setup in live mode.