

Who should use this guideThis guide is intended for merchants who:
- Use Payrails as a payment orchestrator
- Use PayPlug to accept card payments in EUR
Create and configure a PayPlug integration in Payrails
Follow these steps to set up PayPlug:- Log in to the Payrails portal.
- Go to Settings → Integrations → Payments.
- Select Add instance to create a new PayPlug integration configuration.
- Select the workspaces where this integration should be available.
About workspacesWorkspaces determine where this integration is available. They let you isolate provider setups by region or business line, or share the same configuration across multiple workspaces.
Step 2: Choose the provider
Select PayPlug and continue to the next step.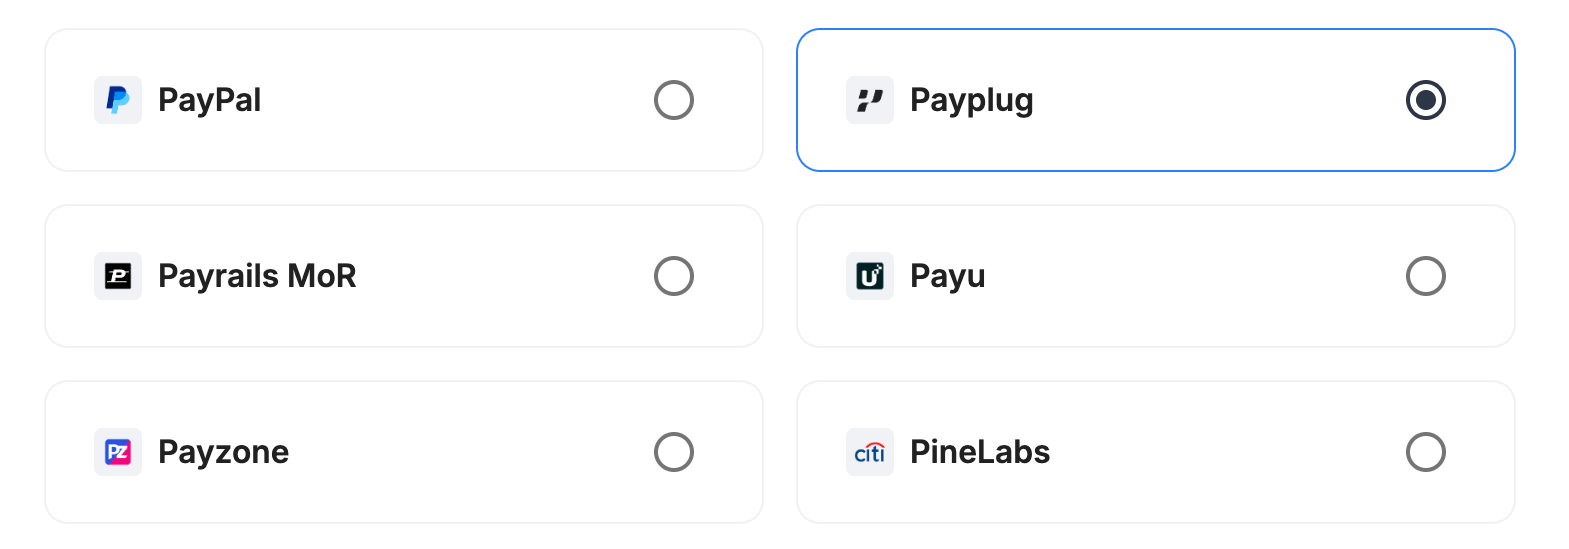
Step 3: Configure your PayPlug integration
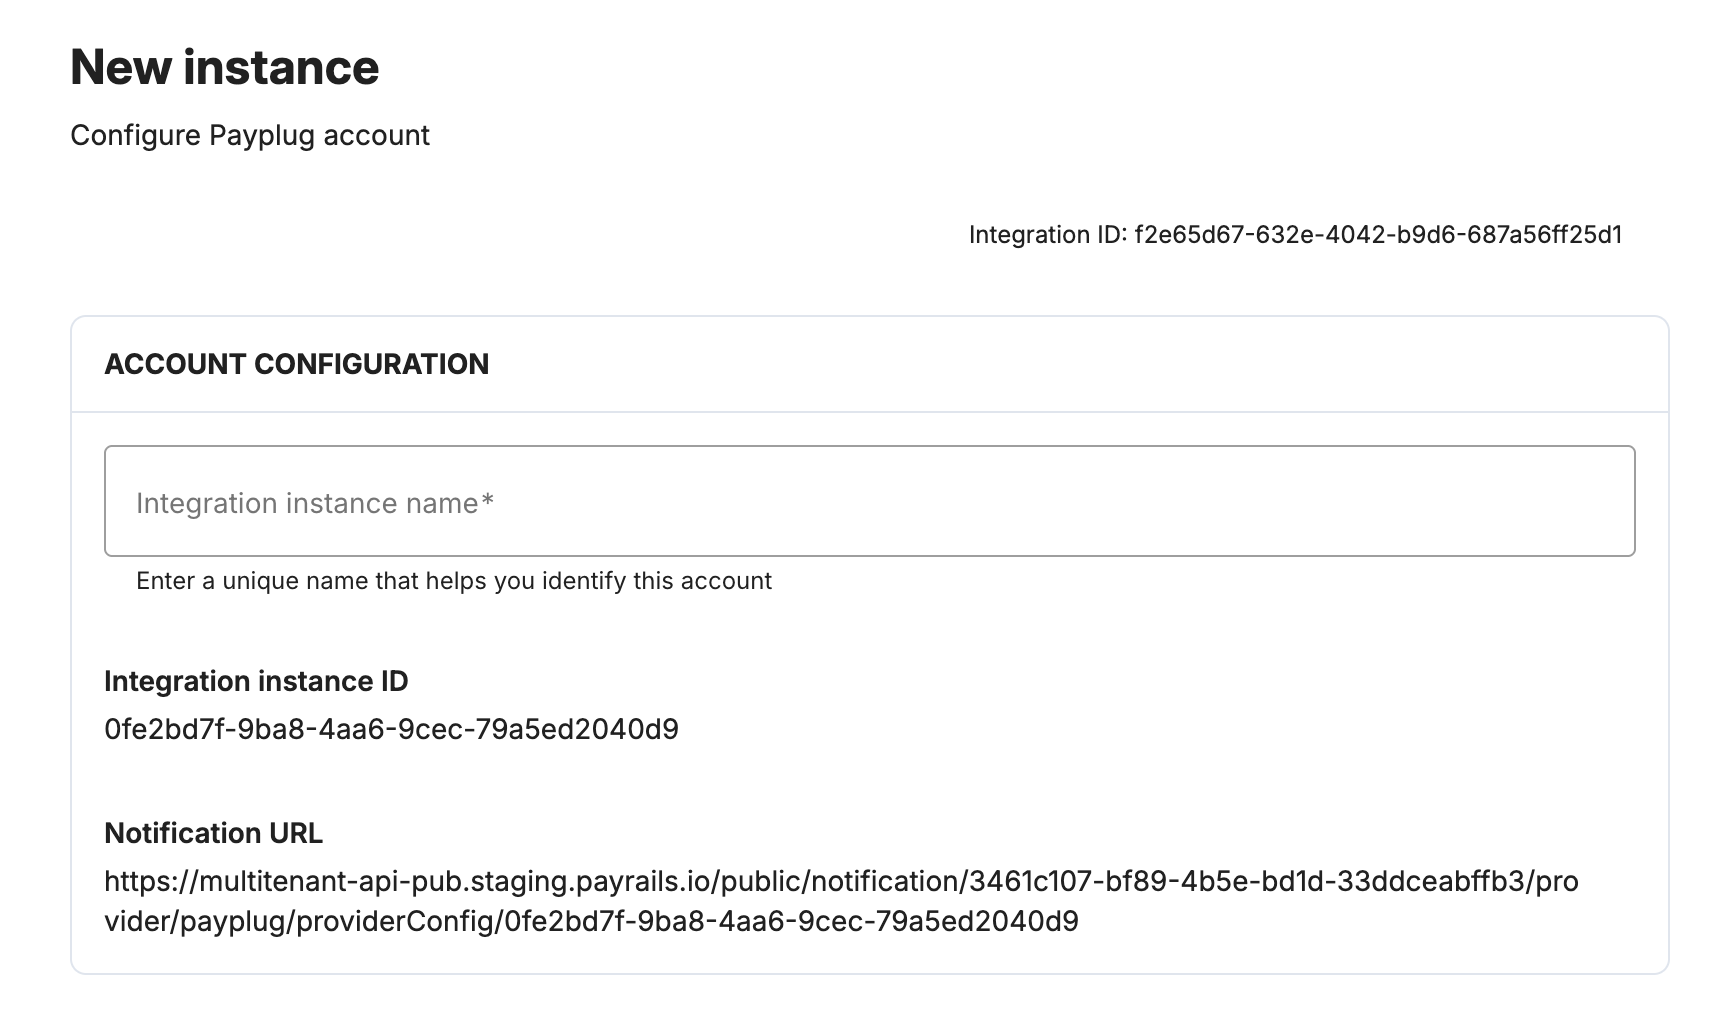
Integration instance name
An integration instance is a specific payment provider setup in Payrails. You can create multiple instances for each provider based on region, currency, or business needs. Choose a clear, consistent name, since it’s used in routing.In Payrails
- Enter an Instance name for your integration.
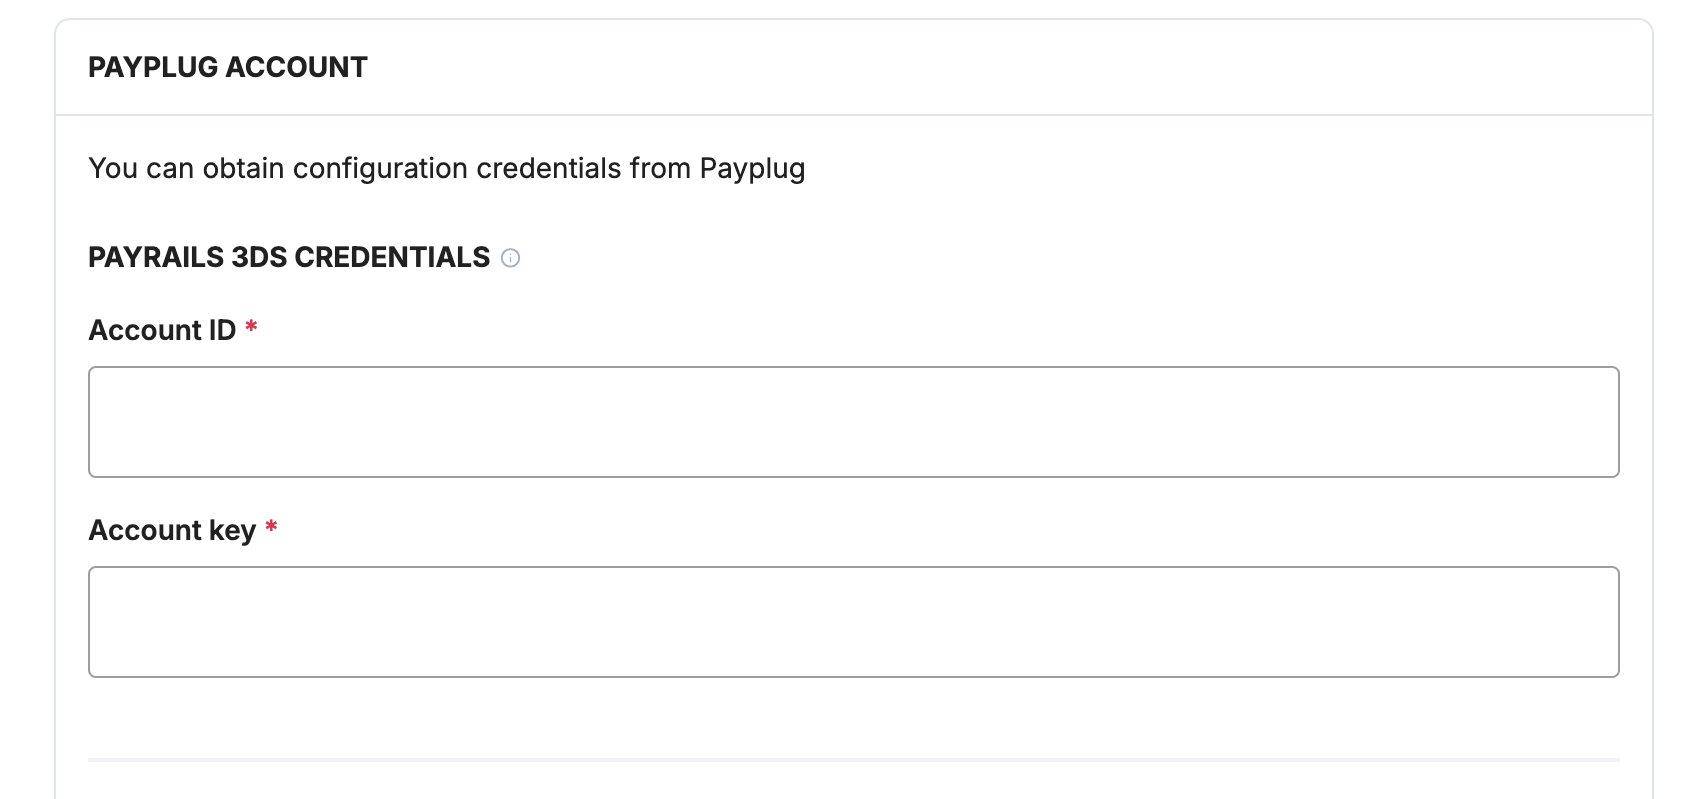
Payrails 3DS credentials (optional)
In Payrails- Enter the Account ID and Account key provided by PayPlug for external (Payrails-managed) 3DS.
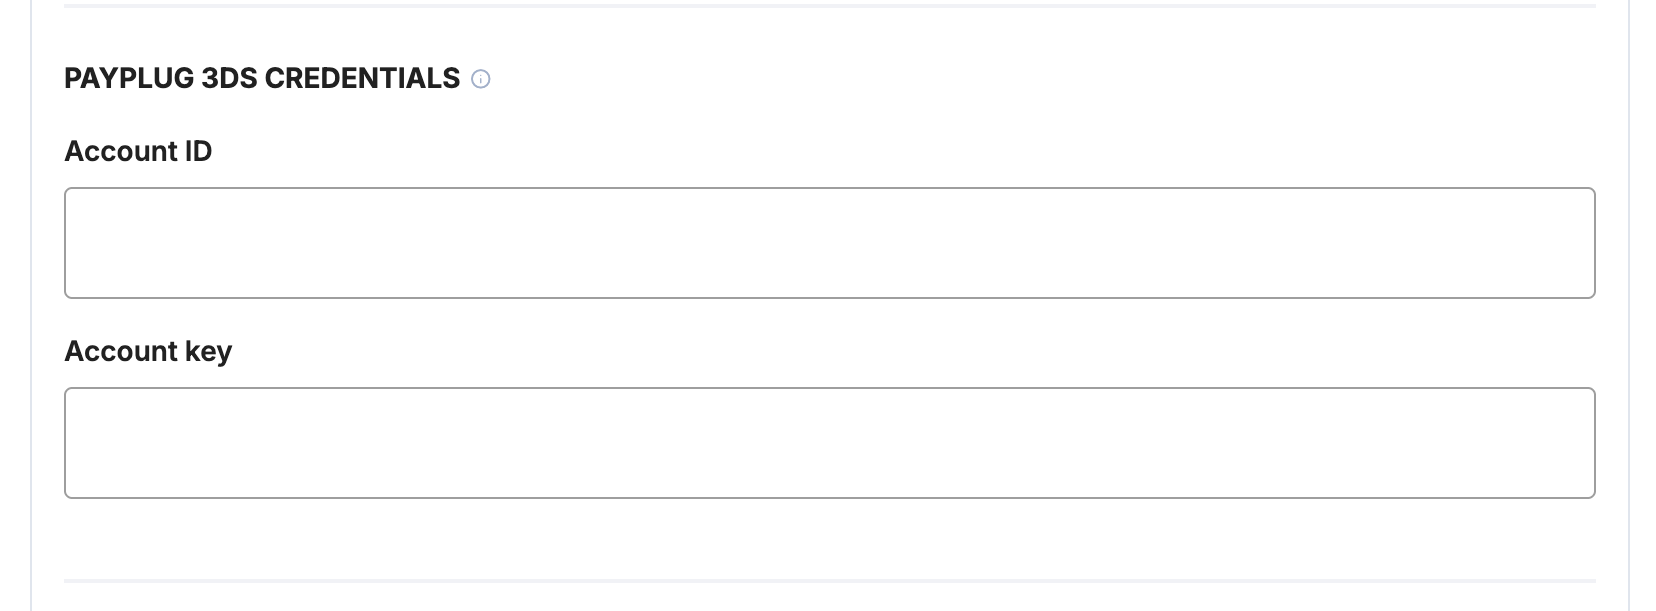
PayPlug 3DS credentials (optional)
In Payrails- To also enable provider-managed 3DS, enter the separate Account ID and Account key issued by PayPlug for this mode.
Payment methods
In Payrails- Under Payment methods, enable Card.
Configure notifications
PayPlug (Dalenys) sends form-encoded callbacks to a notification URL you configure on the PayPlug/Dalenys side. In Payrails- After saving your PayPlug configuration, copy the generated notification URL from the provider config.
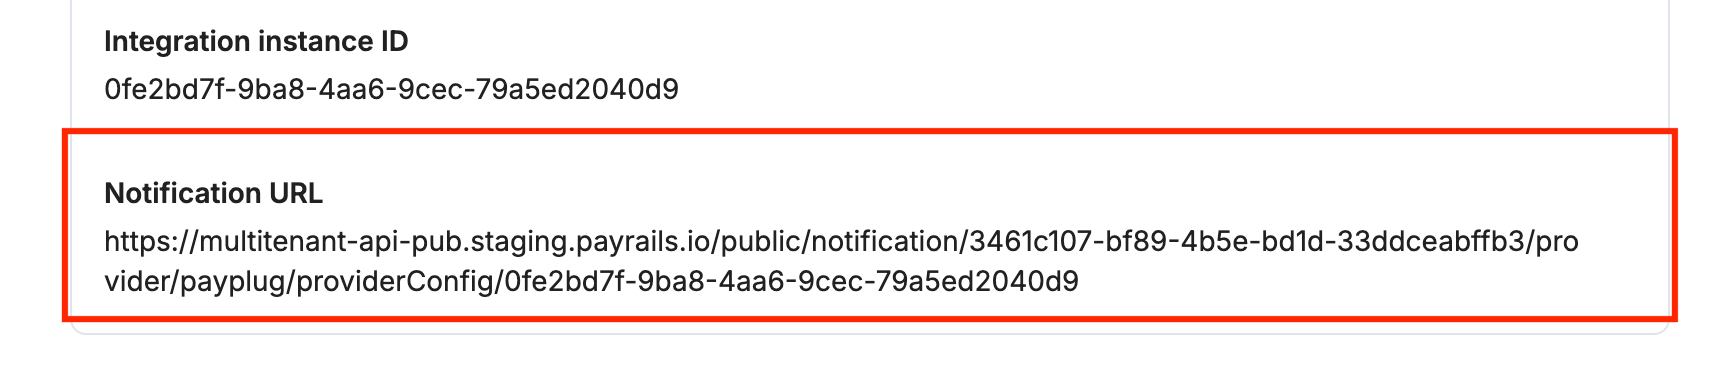
- Paste the Payrails notification URL into your notification settings.
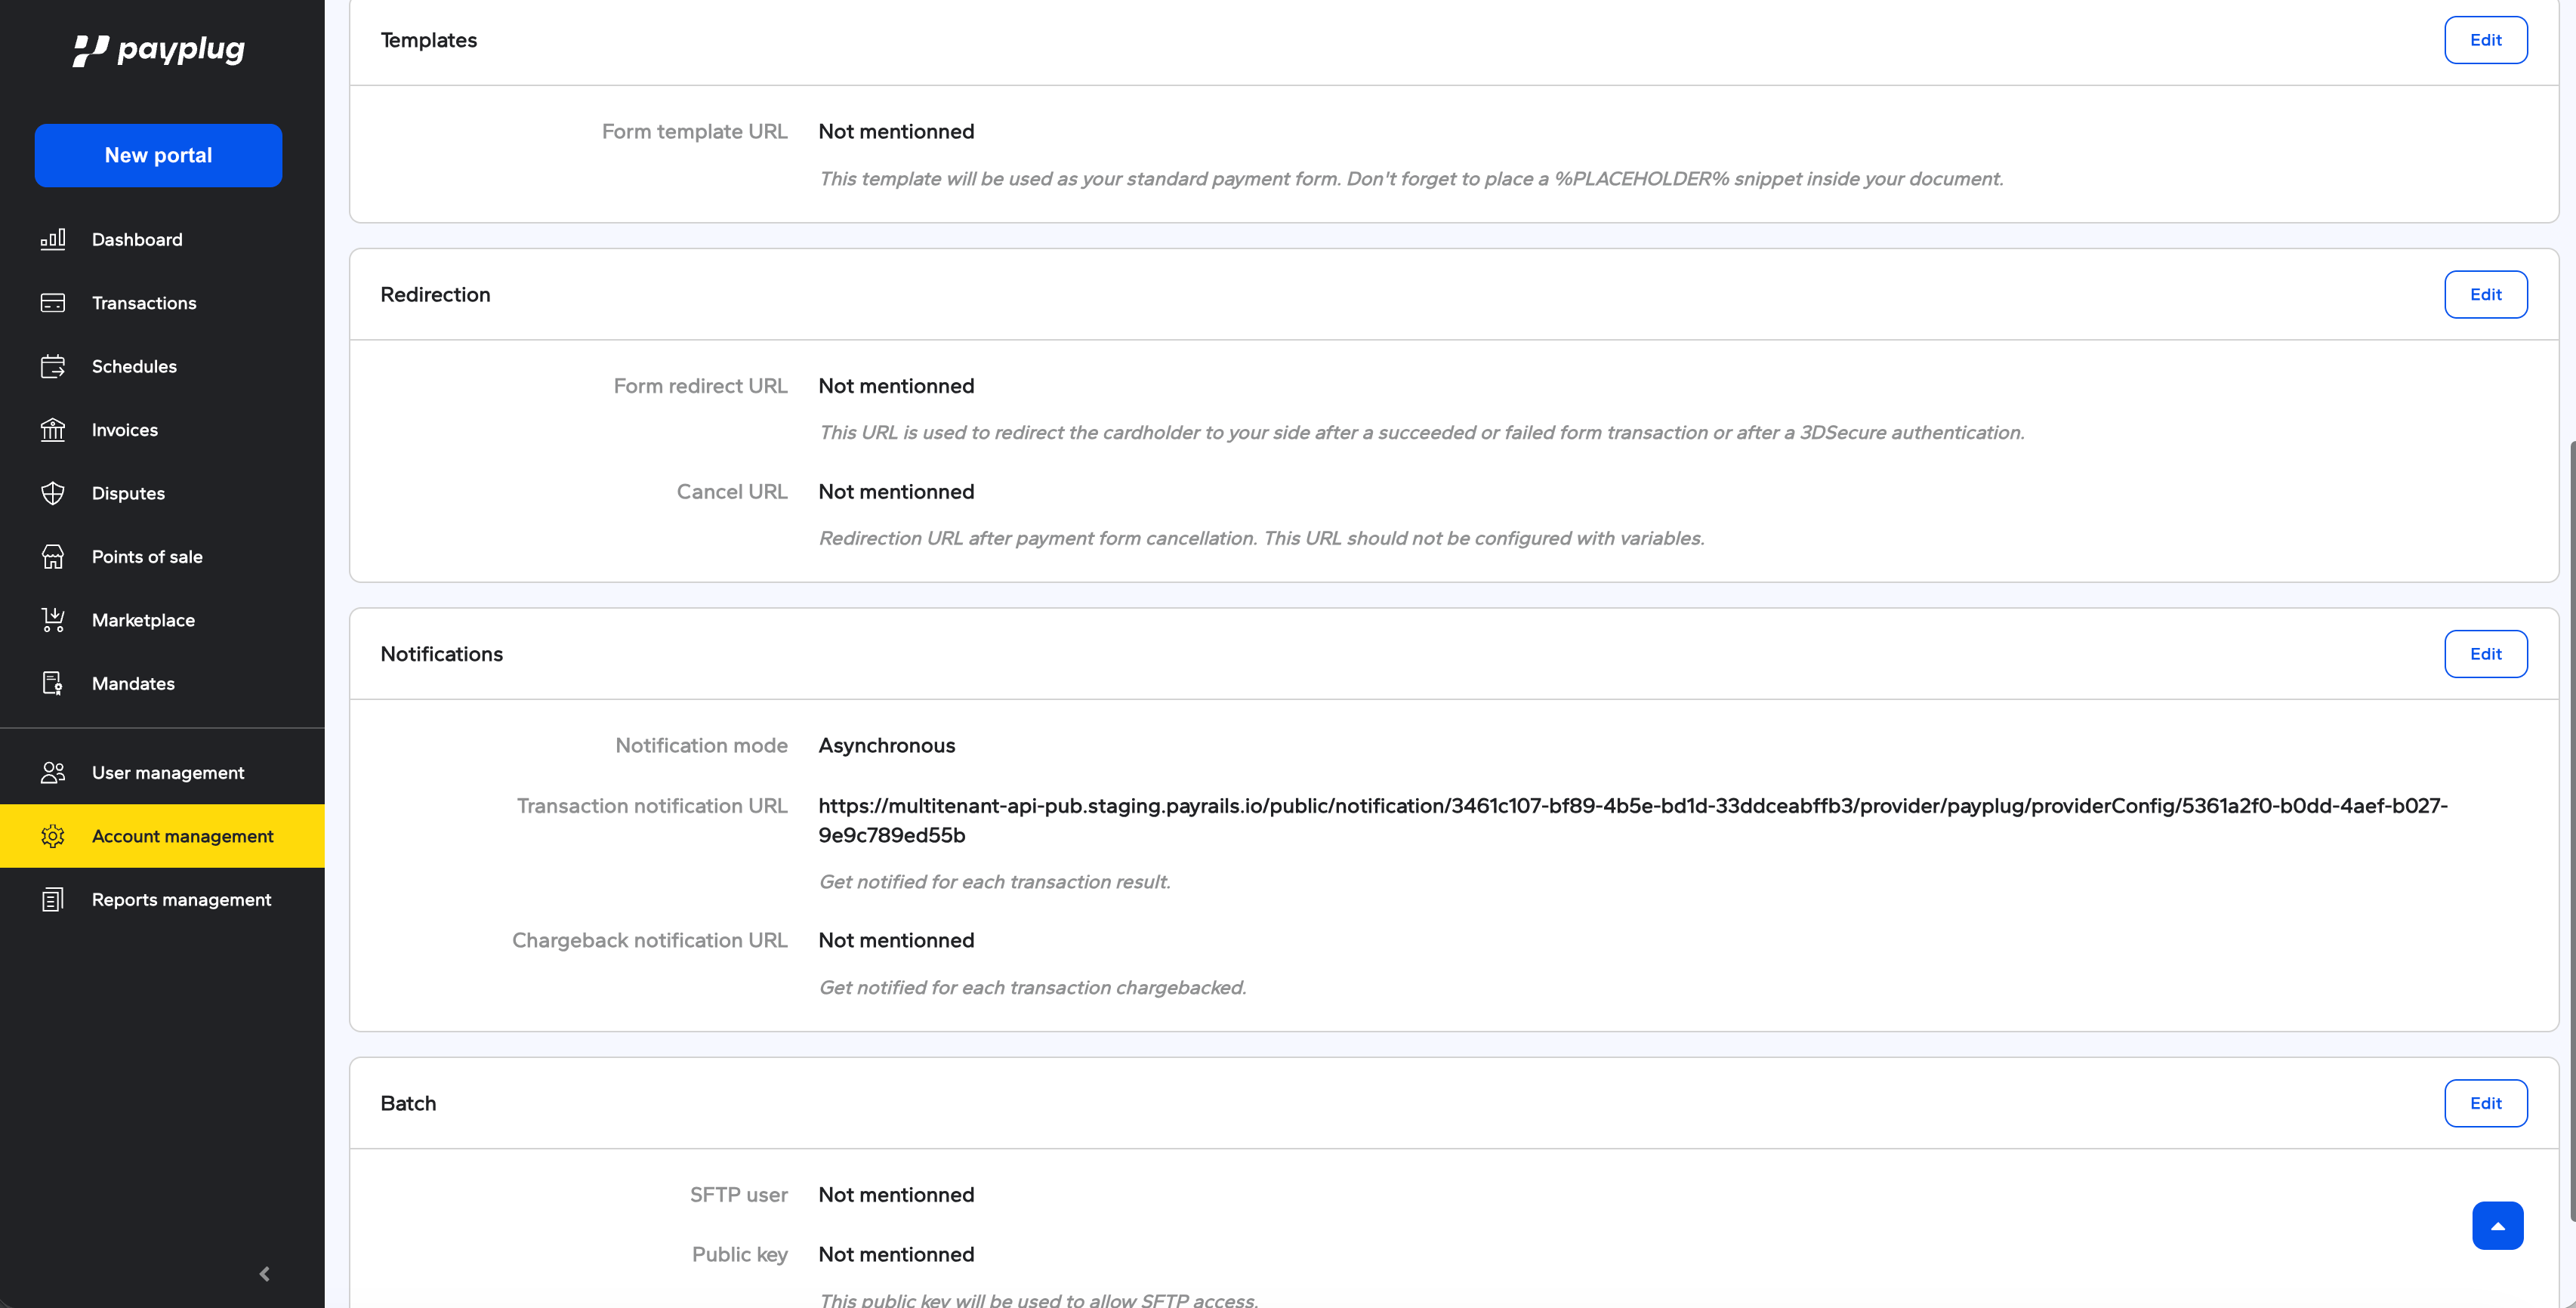
- PayPlug posts form-encoded callbacks (transaction ID, operation type, execution code, amount, currency, order ID, and more) to this URL. Payrails verifies the request signature and responds
HTTP 200 "OK".
Request fields for PayPlug
Send these fields in the authorize request for card payments, in addition to the standard authorize fields. Required fields must be present for the payment to succeed. Payrails sends Optional fields to PayPlug when you include them. For more about meta fields, refer to Meta fields.Enable the integration
In Payrails- Select Save account to save the configuration and enable the integration.
- The Enabled status confirms that the PayPlug integration is active.
Next steps
- Run a test payment in test mode using a PayPlug test card, in EUR:
- Frictionless: Mastercard
5555 5555 5555 4444, expiry12/26, CVV123—authorizes without 3DS. - 3DS challenge: Visa
4022 0522 6704 0001, expiry12/26, CVV123—triggers a 3DS redirect; complete the challenge on PayPlug’s page.
- Frictionless: Mastercard
- Verify that:
- The payment appears in your PayPlug/Dalenys back office.
- The payment status updates correctly in Payrails.
- Once verified in test mode, repeat the setup in live mode.