


Who should use this guideThis guide is intended for merchants who:
- Use Payrails as a payment orchestrator
- Use Payrails to offer Revolut Pay
- Have a Revolut Business account with the Merchant API enabled
Create a Revolut integration in Payrails
- Log in to the Payrails portal.
- Go to Settings → Integrations.
- Select Add instance to create a new integration configuration.
- Select the workspaces where this integration should be available.
About workspacesWorkspaces determine where this integration is available. They let you isolate provider setups by region or business line, or share the same configuration across multiple workspaces.
Step 1: Choose the integration type
- Select Payment.
- Continue to the next step.
Step 2: Choose the provider
- Select Revolut.
- Continue to the next step.
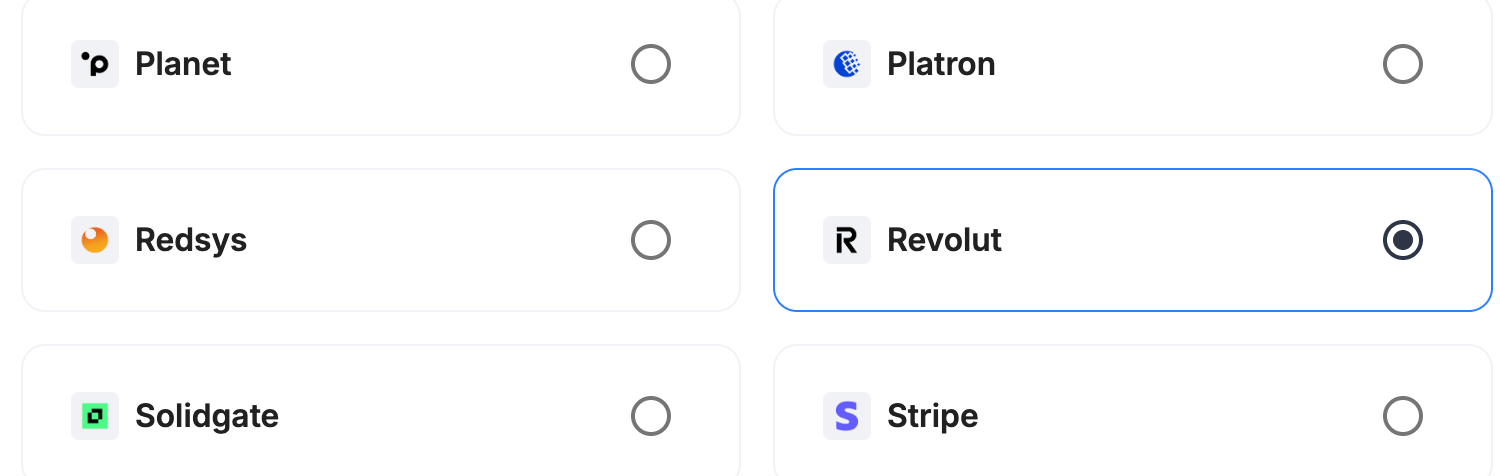
Step 3: Configure your Revolut integration
Integration instance name
An integration instance is a specific payment provider setup in Payrails. You can create multiple instances for different regions, currencies, or business needs. Choose a clear, consistent name, as it is used in routing.In Payrails
- Enter an Instance name for your integration, for example
merchant_revolut.

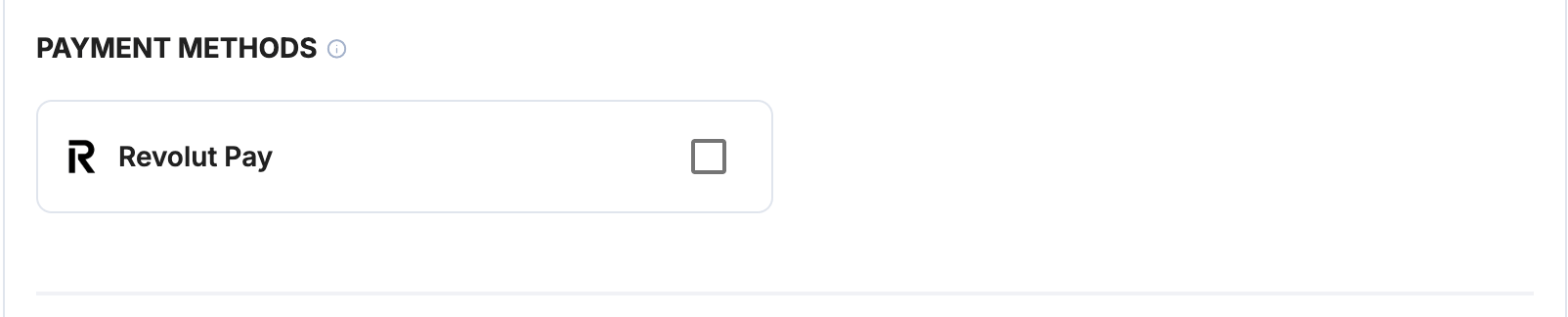
Payment methods
In Payrails- Select Revolut Pay.
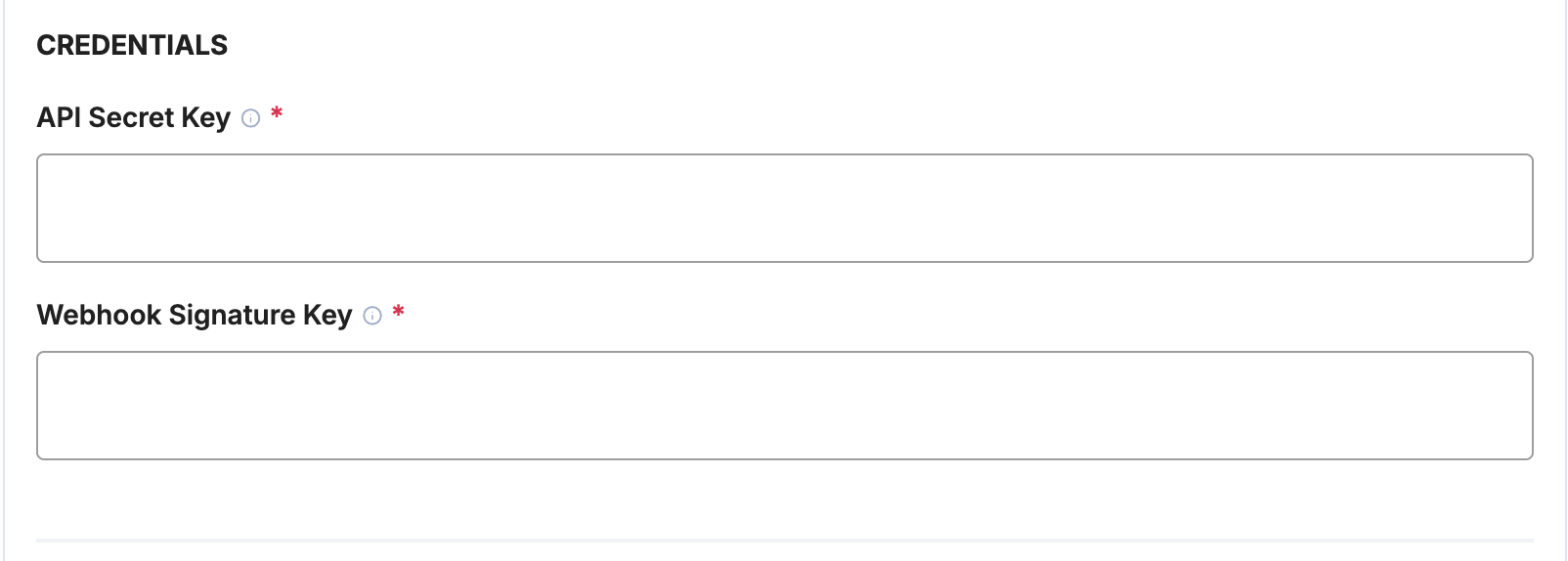
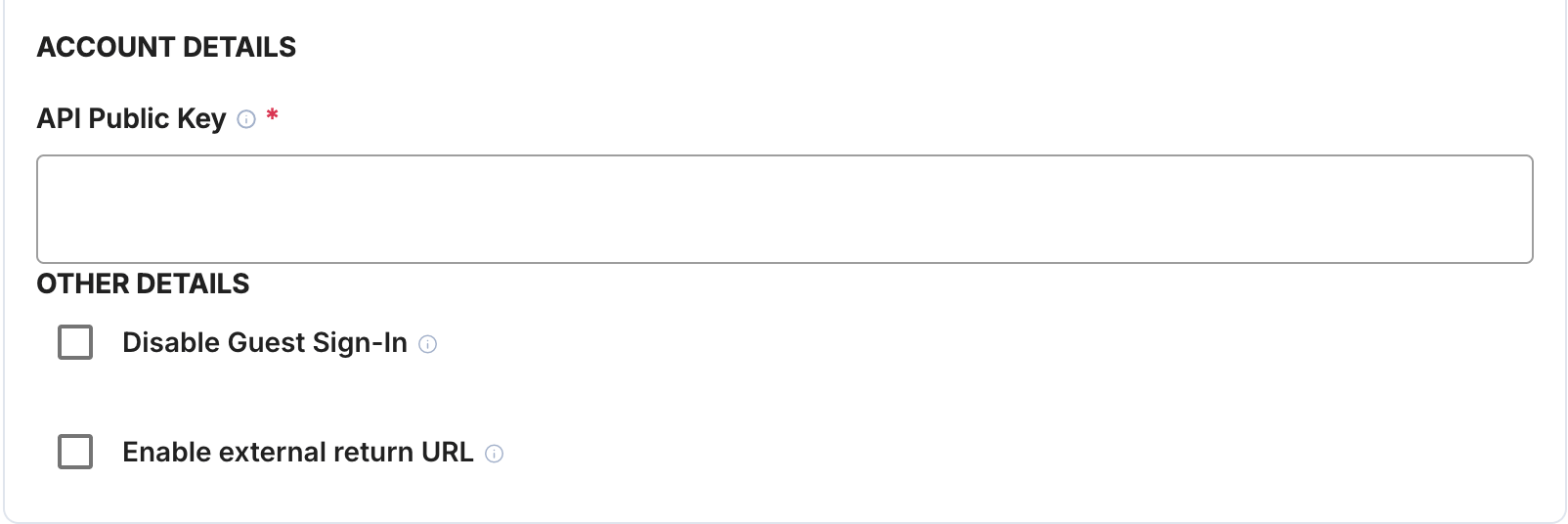
Account details and credentials
In Revolut- In Revolut Business, go to Settings → APIs → Merchant API, and copy the public key and secret key.
Payrails sends requests to the Revolut sandbox in test mode and to the live environment in live mode, so use the keys for the matching environment.
Webhooks or notifications
Payrails uses provider webhooks or notifications to receive asynchronous
payment status updates.
- Copy the Notification URL shown under Account configuration at the top of the integration form.
- Call Revolut’s Create a webhook endpoint with your secret key. Set
urlto the Payrails notification URL, andeventsto:ORDER_AUTHORISED,ORDER_COMPLETEDandORDER_CANCELLEDORDER_PAYMENT_AUTHENTICATED,ORDER_PAYMENT_DECLINEDandORDER_PAYMENT_FAILEDDISPUTE_ACTION_REQUIRED,DISPUTE_UNDER_REVIEW,DISPUTE_WONandDISPUTE_LOST, if you want dispute updates
- Copy the
signing_secretfrom the response into the Webhook Signature Key field in Payrails.
Request fields for Revolut
Send these fields in the authorize request, in addition to the standard authorize fields. Required fields must be present for the payment to succeed. Payrails sends Optional fields to Revolut when you include them. For more about meta fields, refer to Meta fields.
Revolut Pay payments are captured straight away, so use instant capture in your workflow.
Configure Revolut settings
These settings are under Other details in the integration form. The portal shows the same description when you hover over each setting.Enable the integration
In Payrails- Select Save account to enable the integration.
- Confirm the integration shows as Enabled.
Next steps
- Run a test Revolut Pay payment in the Revolut sandbox.
- Verify that:
- Your customer is redirected to Revolut and back to your site.
- The payment status updates correctly in Payrails.
- Once verified in test mode, repeat the setup with your live keys and a live webhook.