mTLS Configuration
Learn how to set up a secure connection with Payrails through mTLS.
Overview
Mutual TLS (mTLS) adds certificate‑based authentication to your API traffic with Payrails. In addition to OAuth client credentials, mTLS verifies the calling system by requiring a valid client certificate during the TLS handshake. This strengthens inbound authentication and helps meet enterprise security and compliance requirements.
This guide covers two flows:
- Certificate exchange: request, issue, download, rotate, and revoke mTLS client certificates in the Payrails Portal.
- Use and test: configure Postman (or another HTTP client) to present the certificate and validate calls.
Certificates are scoped per environment: you will need to create one for staging and one for production.
Prerequisites
- Admin or Developer role in the Payrails Portal.
- Existing API credentials (Client ID/Secret) for your service if you also use OAuth. See API credentials
- A secure place to store private keys and certificates (for example, your secrets manager or key vault).
- Postman desktop app (for the test flow), a terminal with curl or any HTTP client that supports client certificates.
Configuration steps
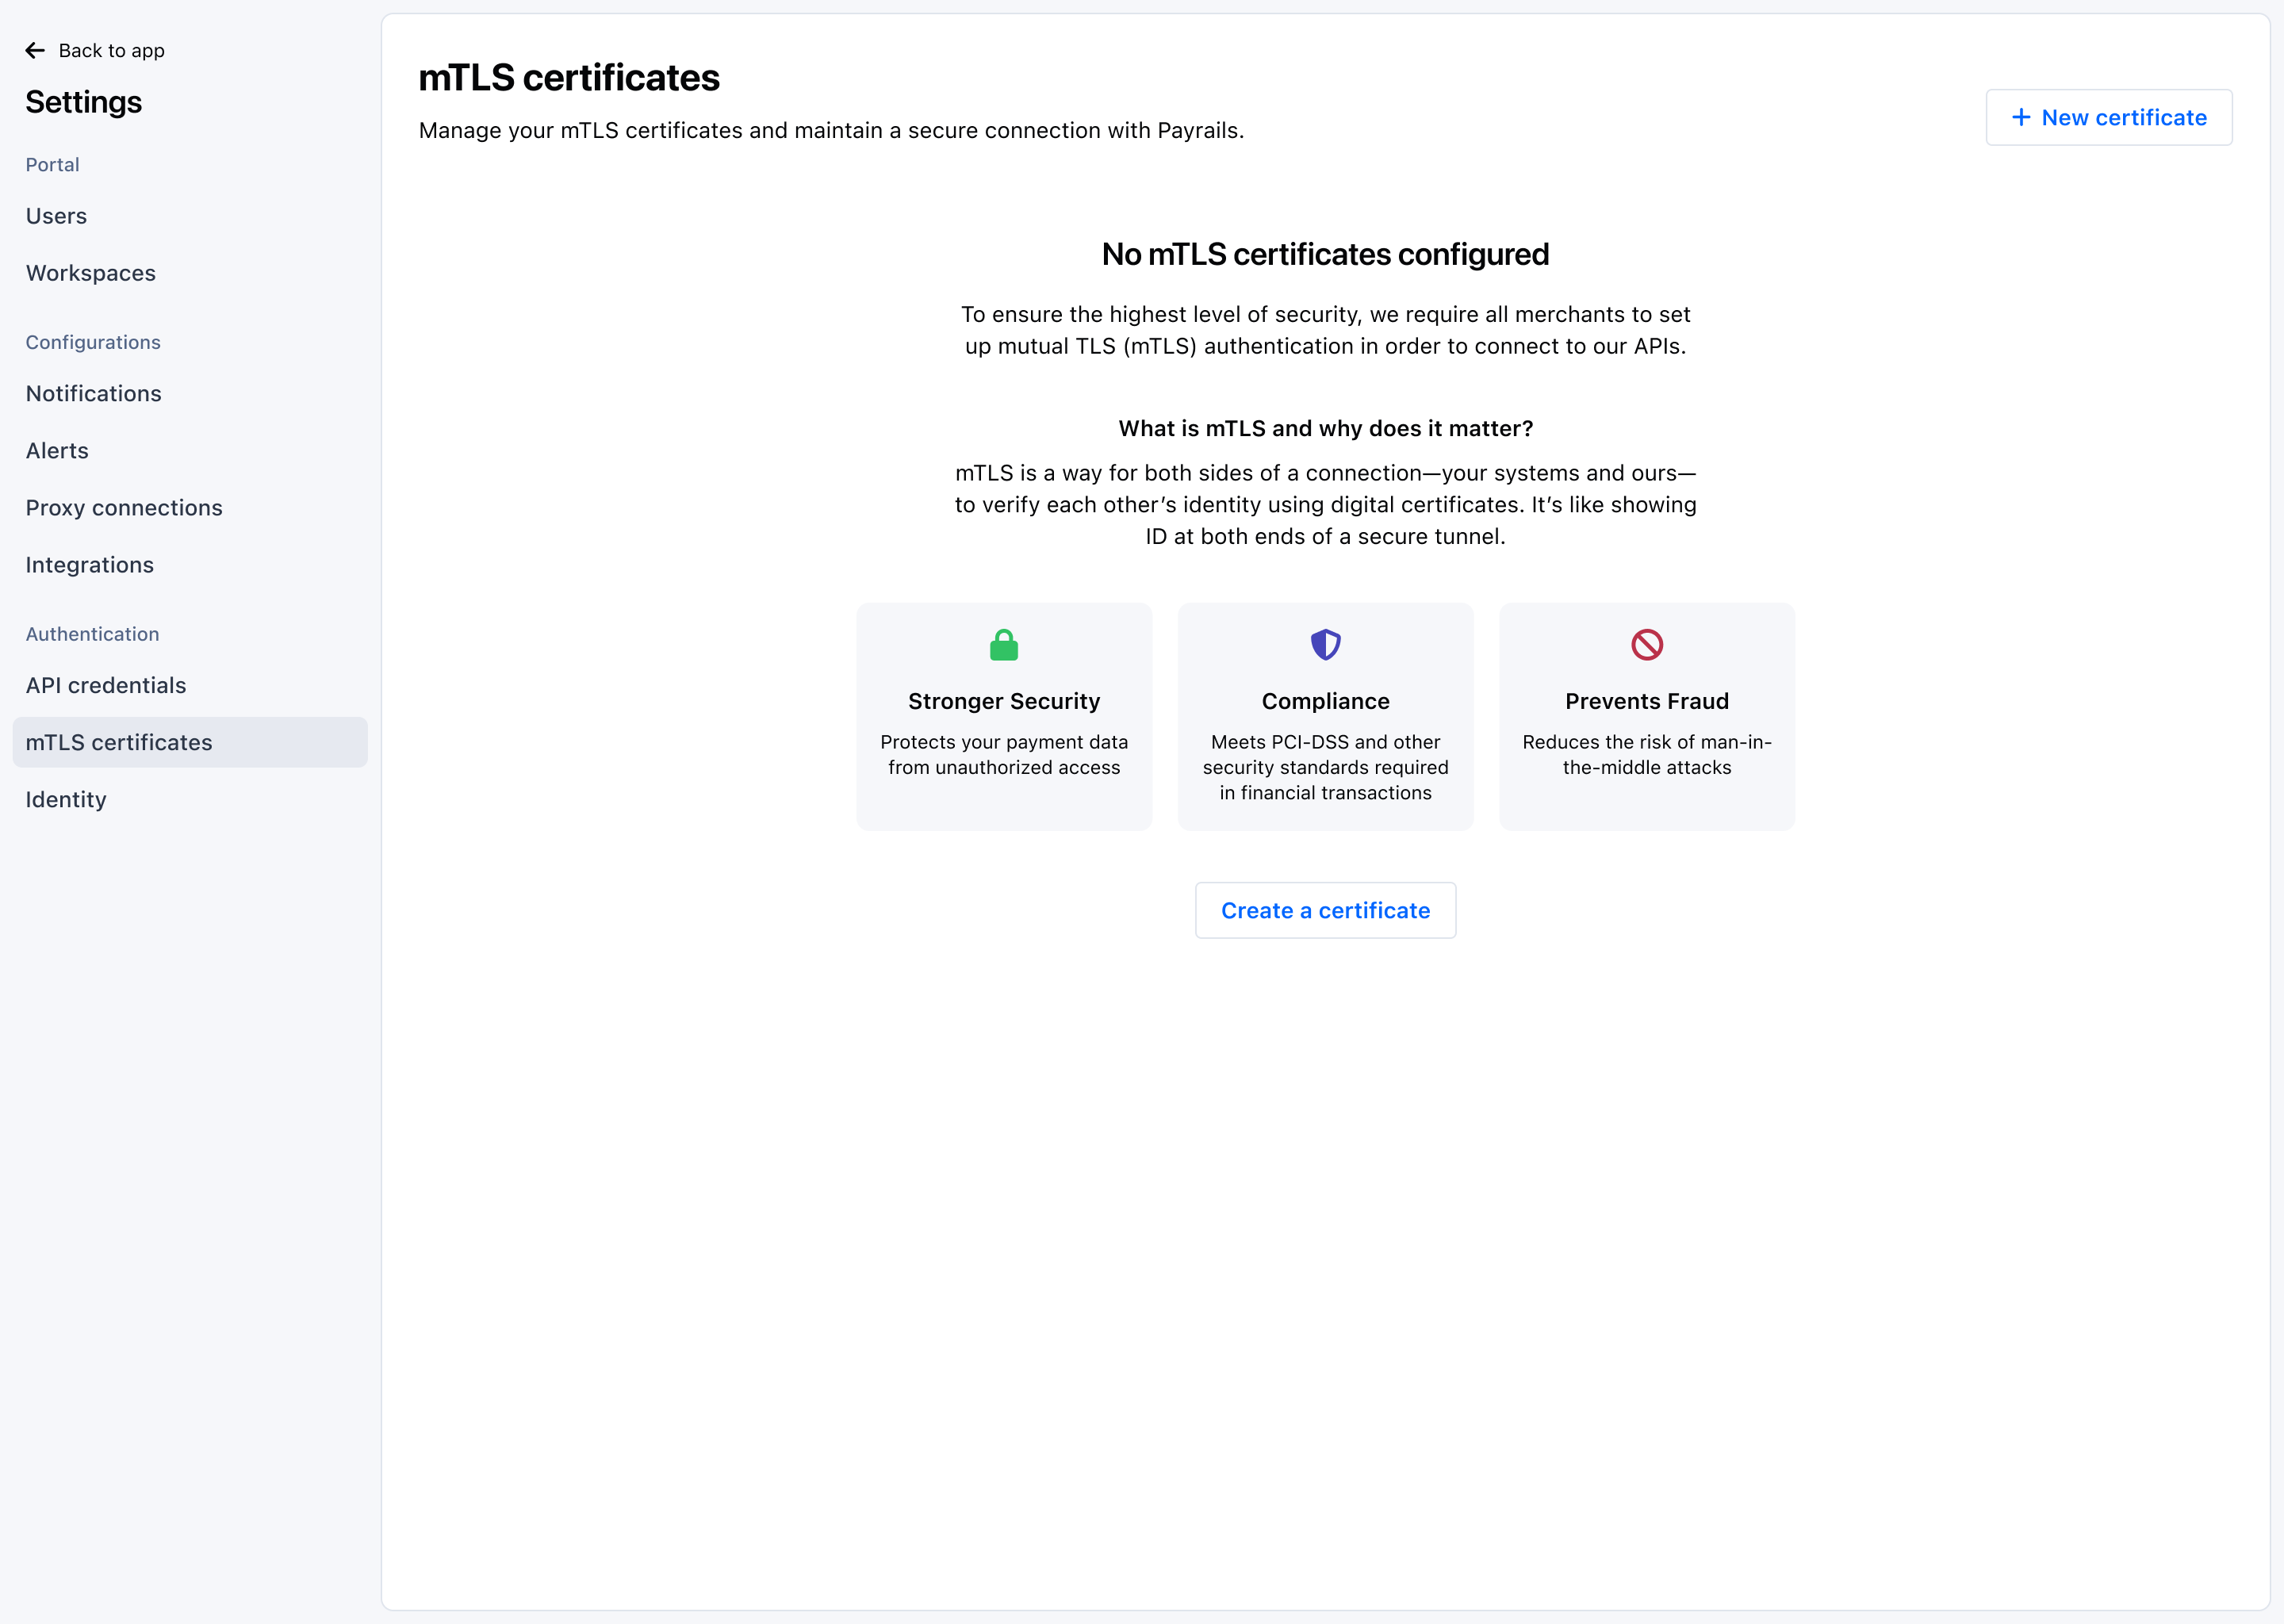
Request and manage mTLS certificates
Create a client certificate for your service and download it for installation.
-
In the Payrails Portal, go to
Settings → mTLS certificates. -
Select
Create certificateand provide a description if desired: owner, rotation policy or related service. -
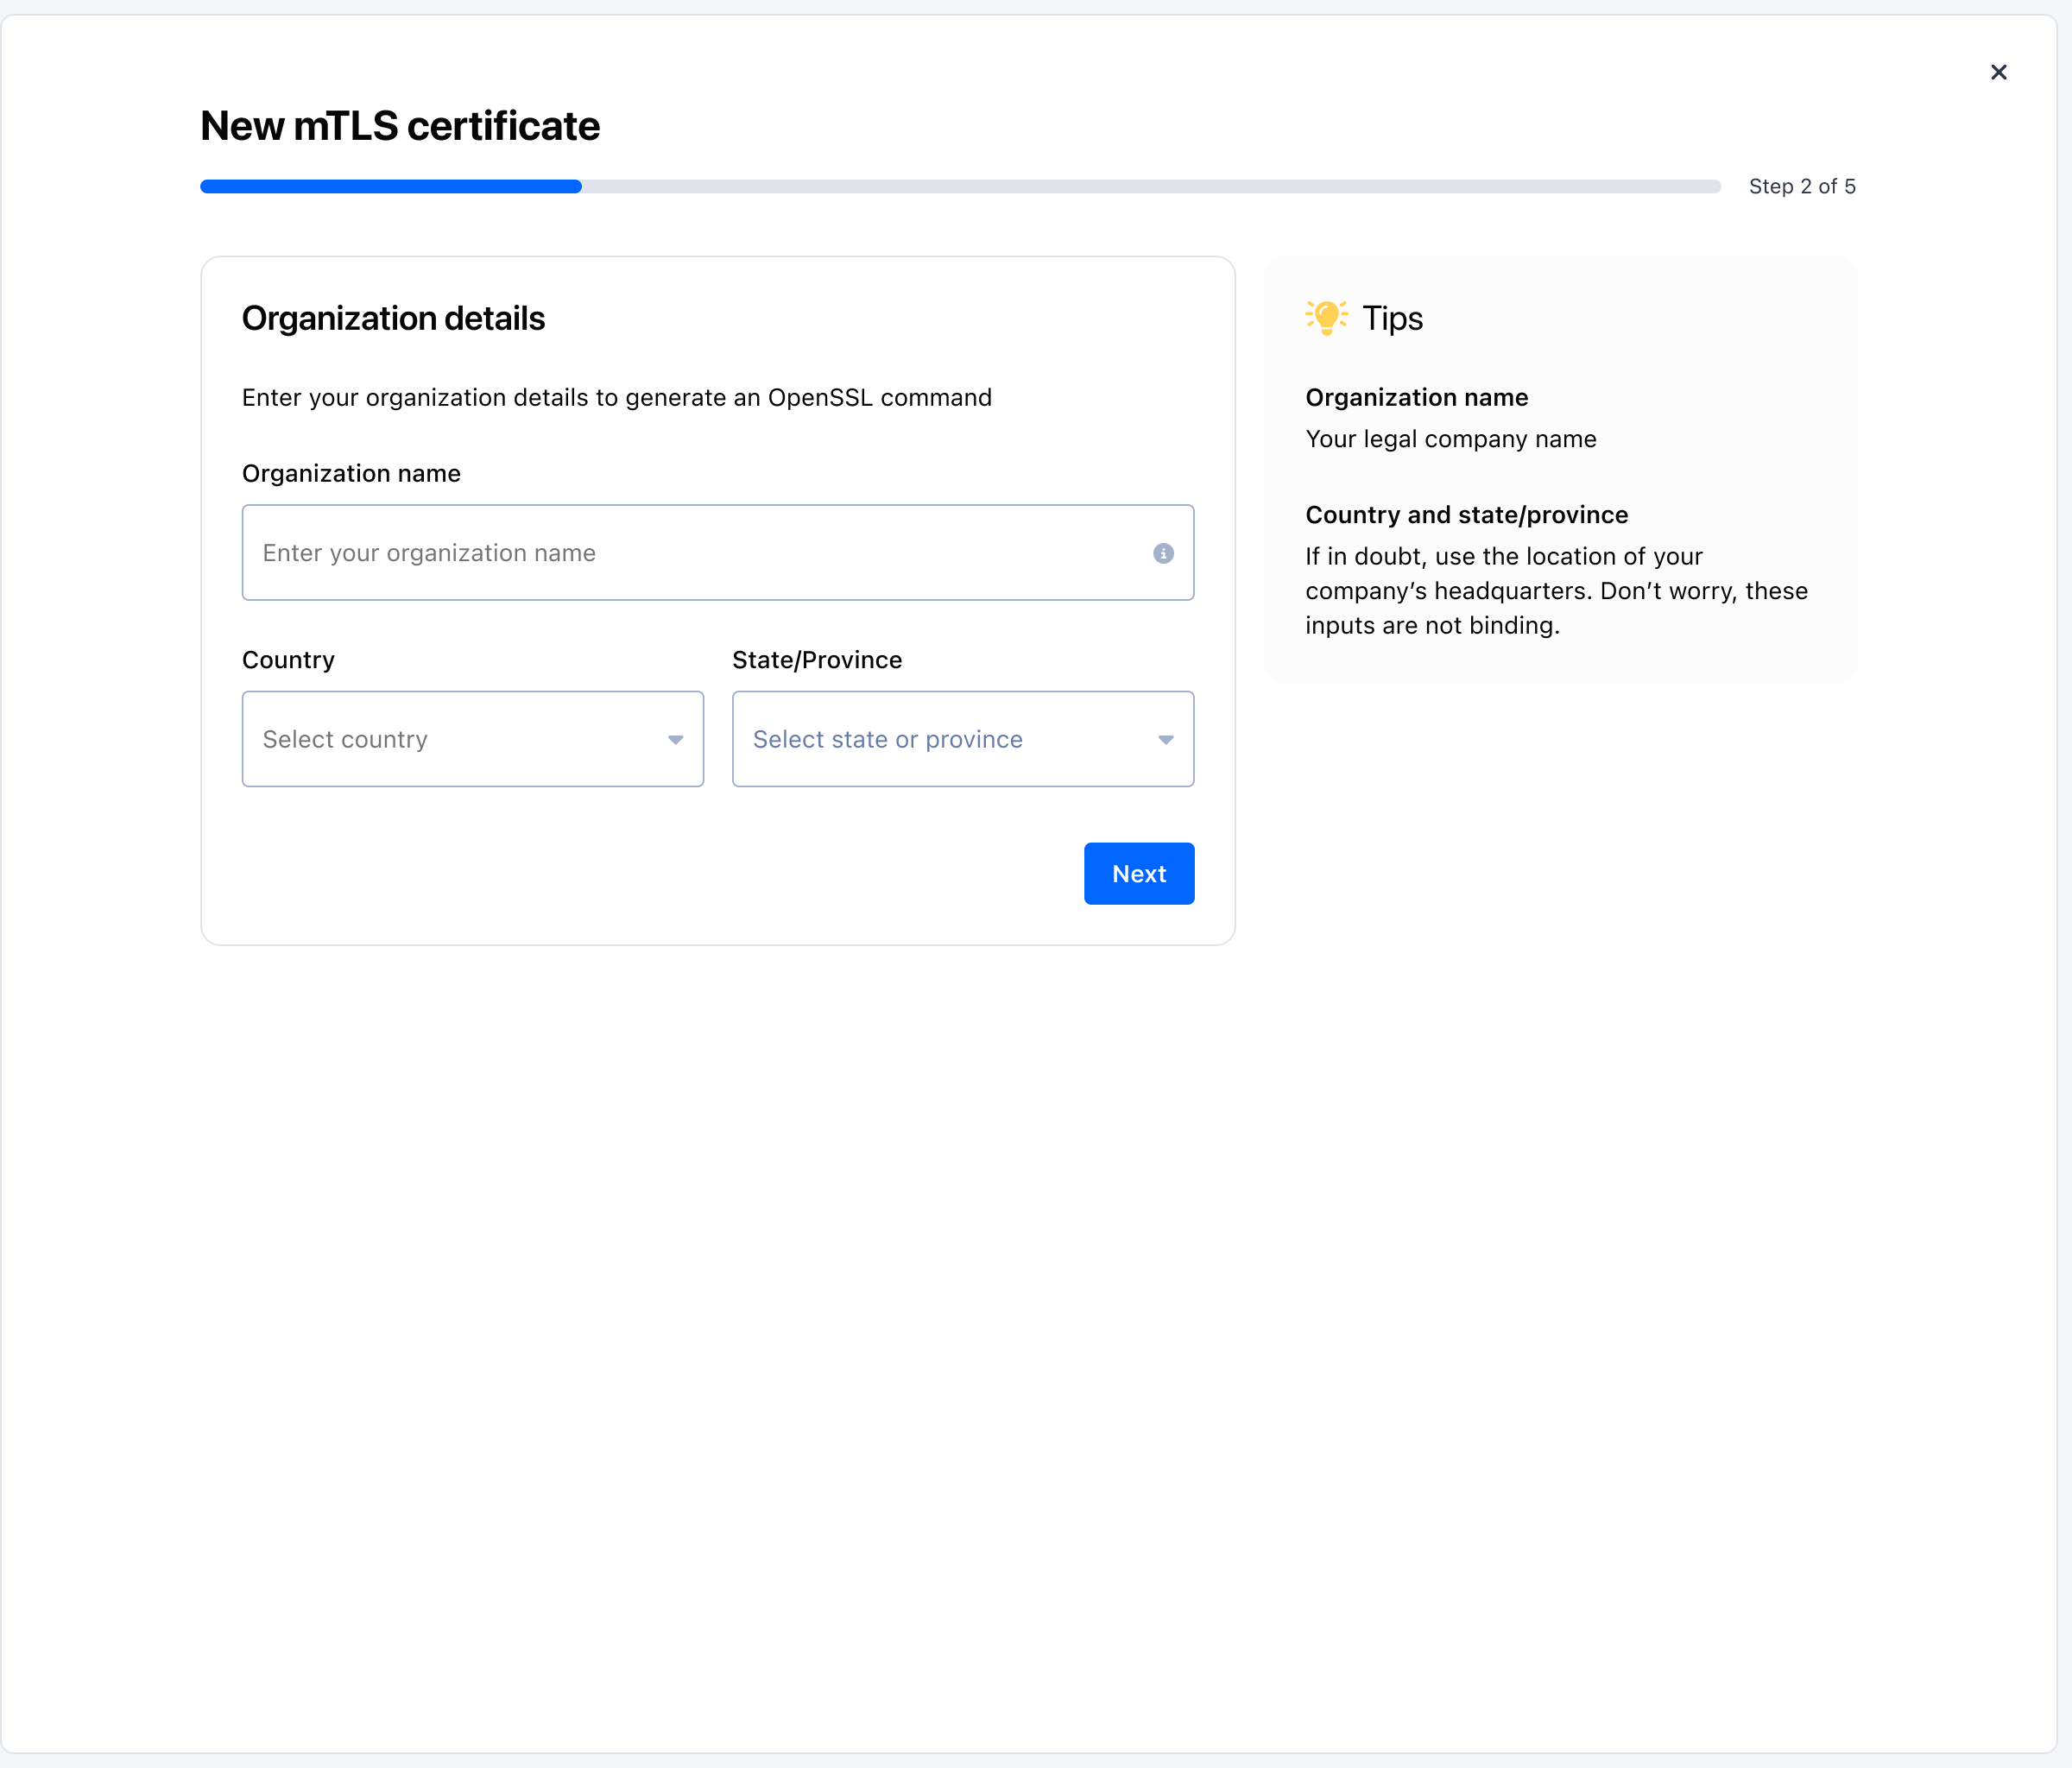
Provide organization details to generate the CSR command:
- Organization name: your legal company name.
- Country and state/province: if unsure, use your headquarters. These inputs are not binding.
-
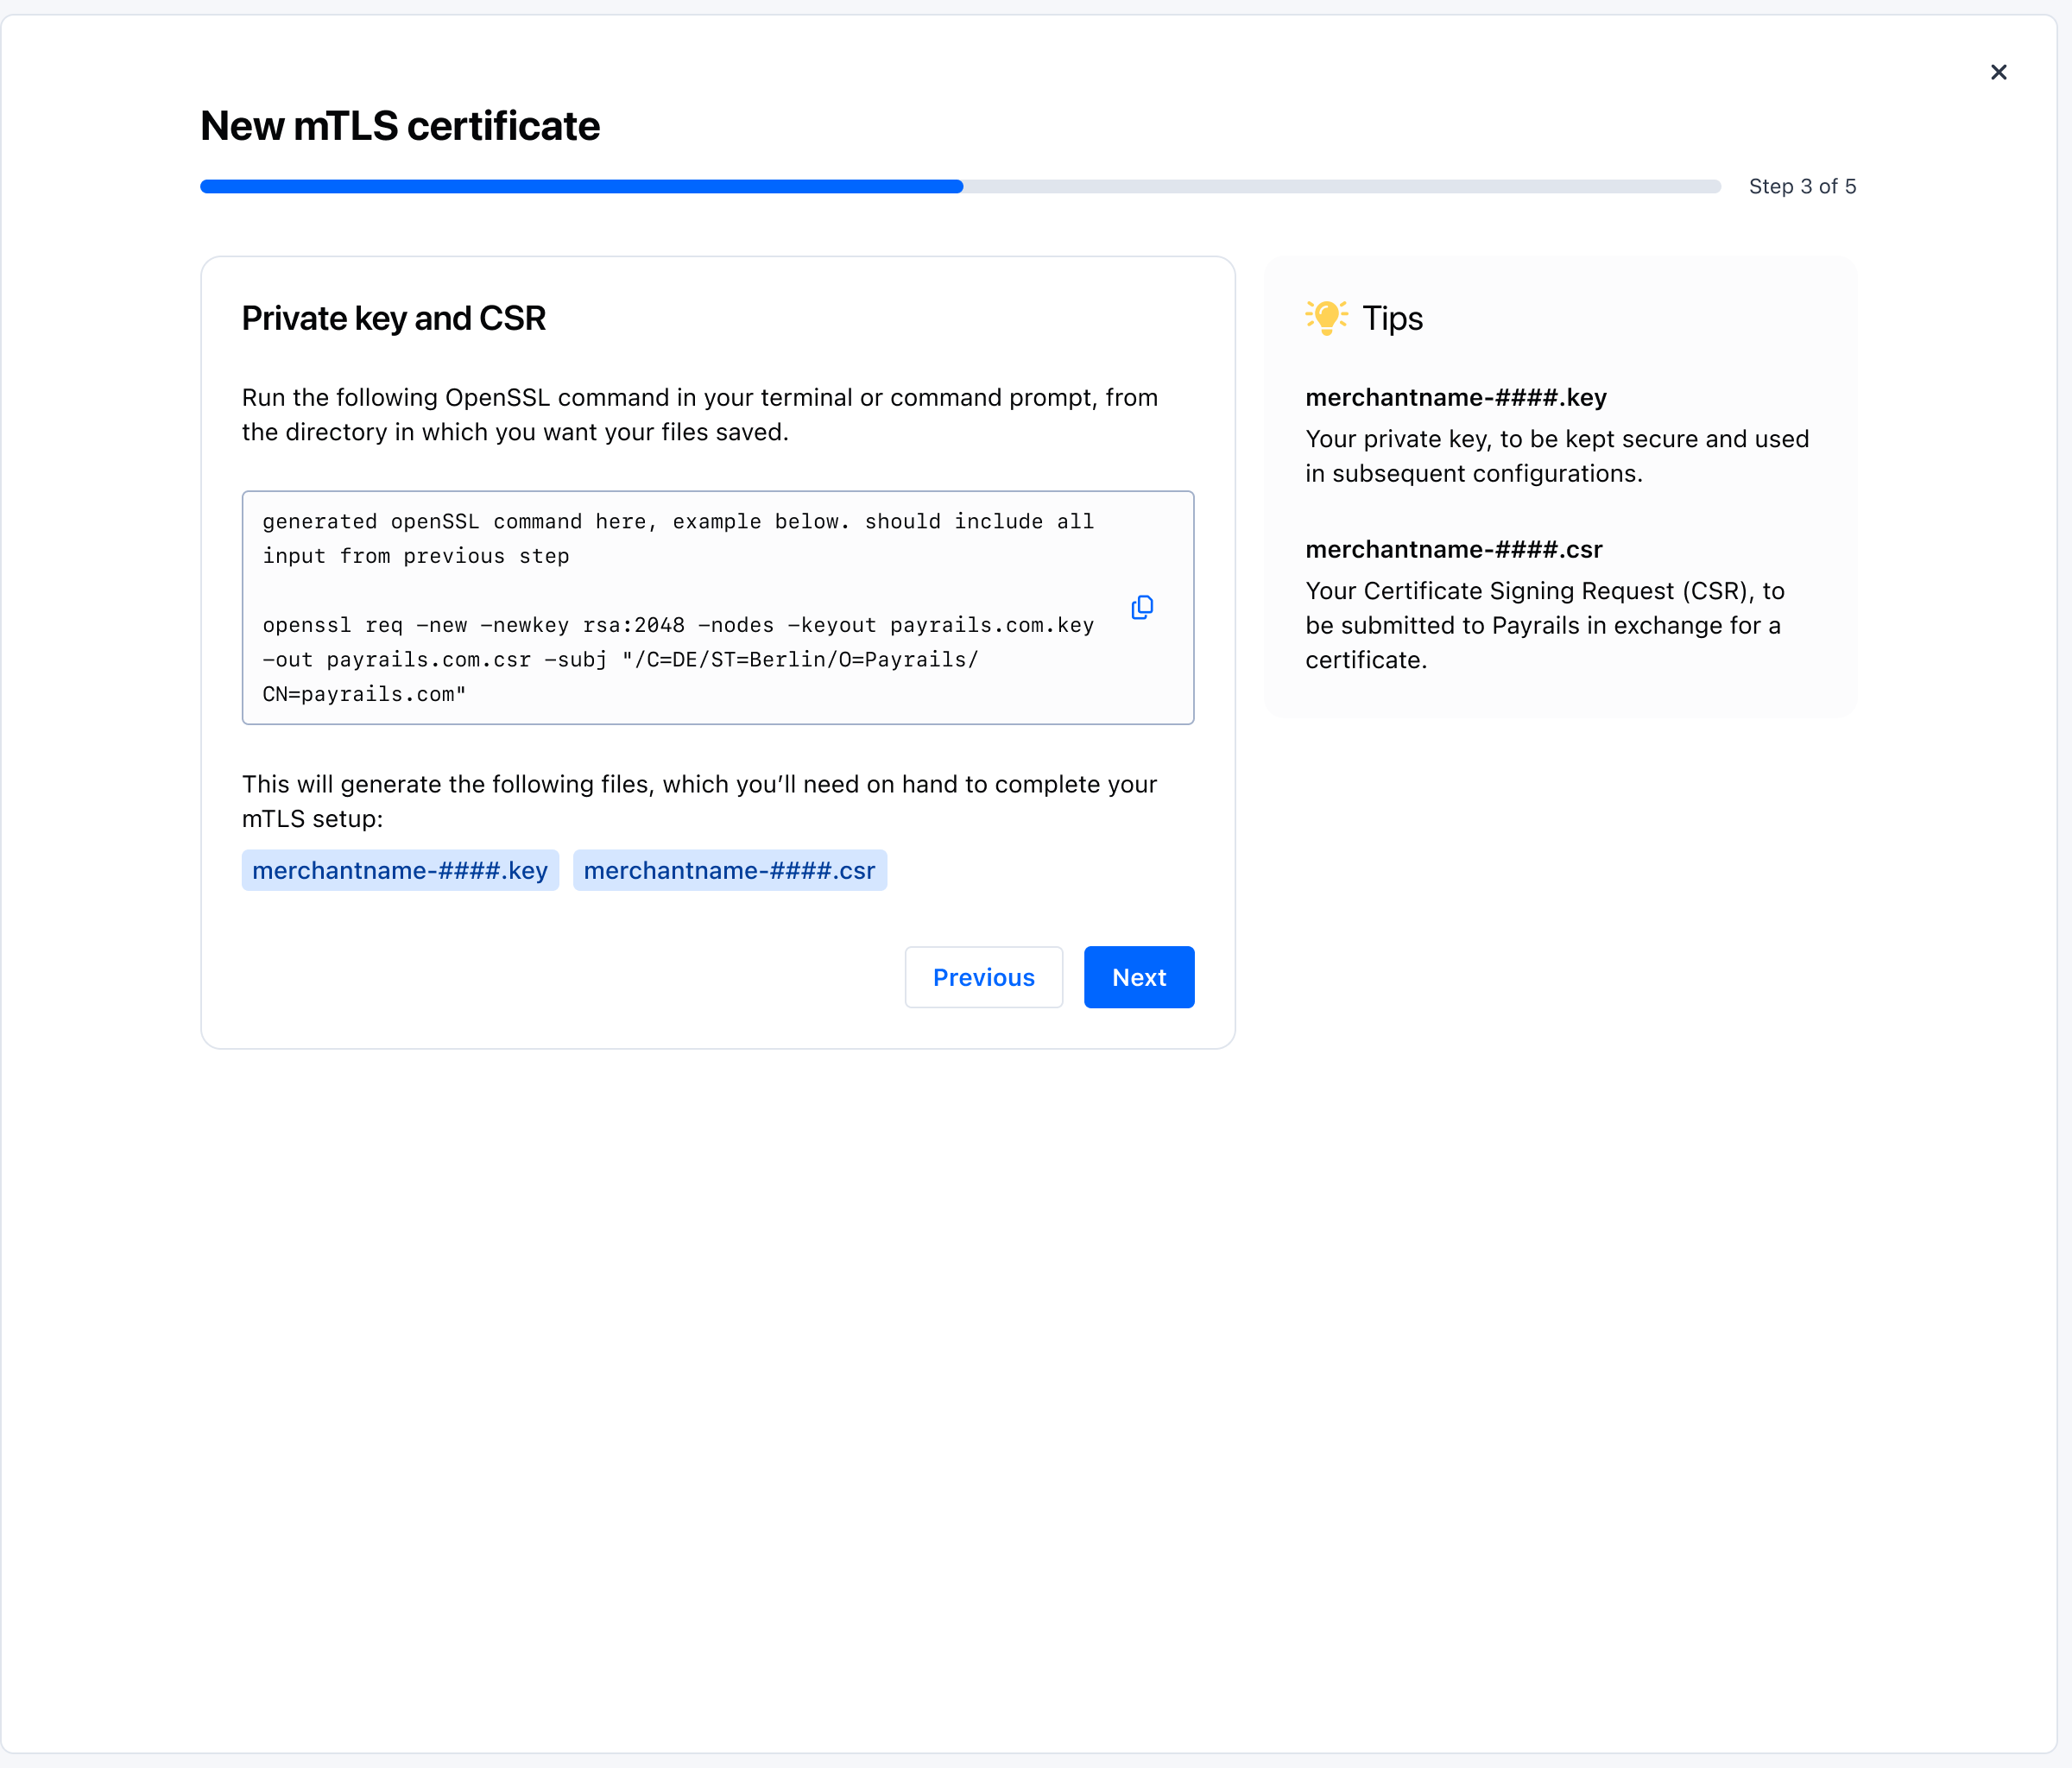
Generate your private key and CSR:
- The interface displays a pre‑filled OpenSSL command. Copy it and run it in your terminal from the directory where you want the files saved.
- The command creates two files: a private key and a Certificate Signing Request (CSR).
- Store the private key securely; you will use it when configuring your client later.
- Keep the CSR file ready for submission in the next step.
-
Submit the CSR generated in step 4.
-
The certificate is issued automatically after submission: click
Downloadto download it.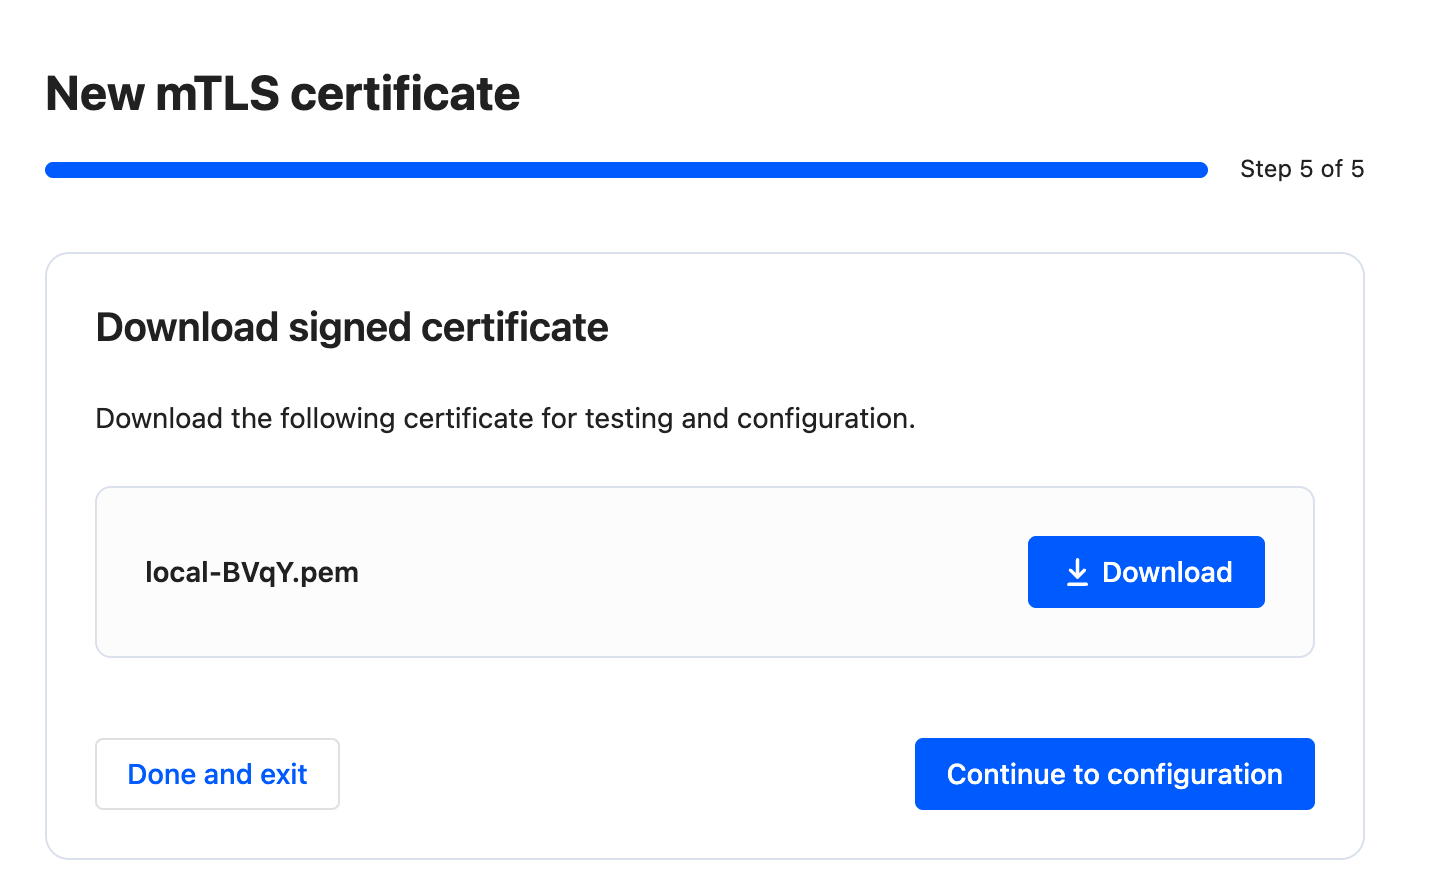
-
Install the certificate in your service or keep it ready for local testing (see the Postman section below).
-
Click on
Continue to configurationto test and configure your mTLS certificate.
Validate and test
Test and configure your mTLS certificate
You can test your mTLS certificate with cURL or Postman, follow the instructions on the screen.
Configure curl to use mTLS
The exact command to use mTLS with CLI depends on the tool you're using. Here's an example with curl to retrieve an access token from Payrails API:
curl --cert domain.pem --key domain.key \
  --location --request POST 'https://<payrails-api-endpoint-url>/auth/token/<Client ID>' \
  --header 'Accept: application/json' \
--header 'x-api-key: <Client Secret>'domain.pem: the certificate file downloaded (or sent to you) in Step 2,domain.key: the private key file generated in Step 1,- If the private key requires a passphrase, you will also need to provide it with
--passargument.
- If the private key requires a passphrase, you will also need to provide it with
Client IDandClient Secretare the API credentials. See how to retrieve them.
Configure Postman to use mTLS
From certificate details
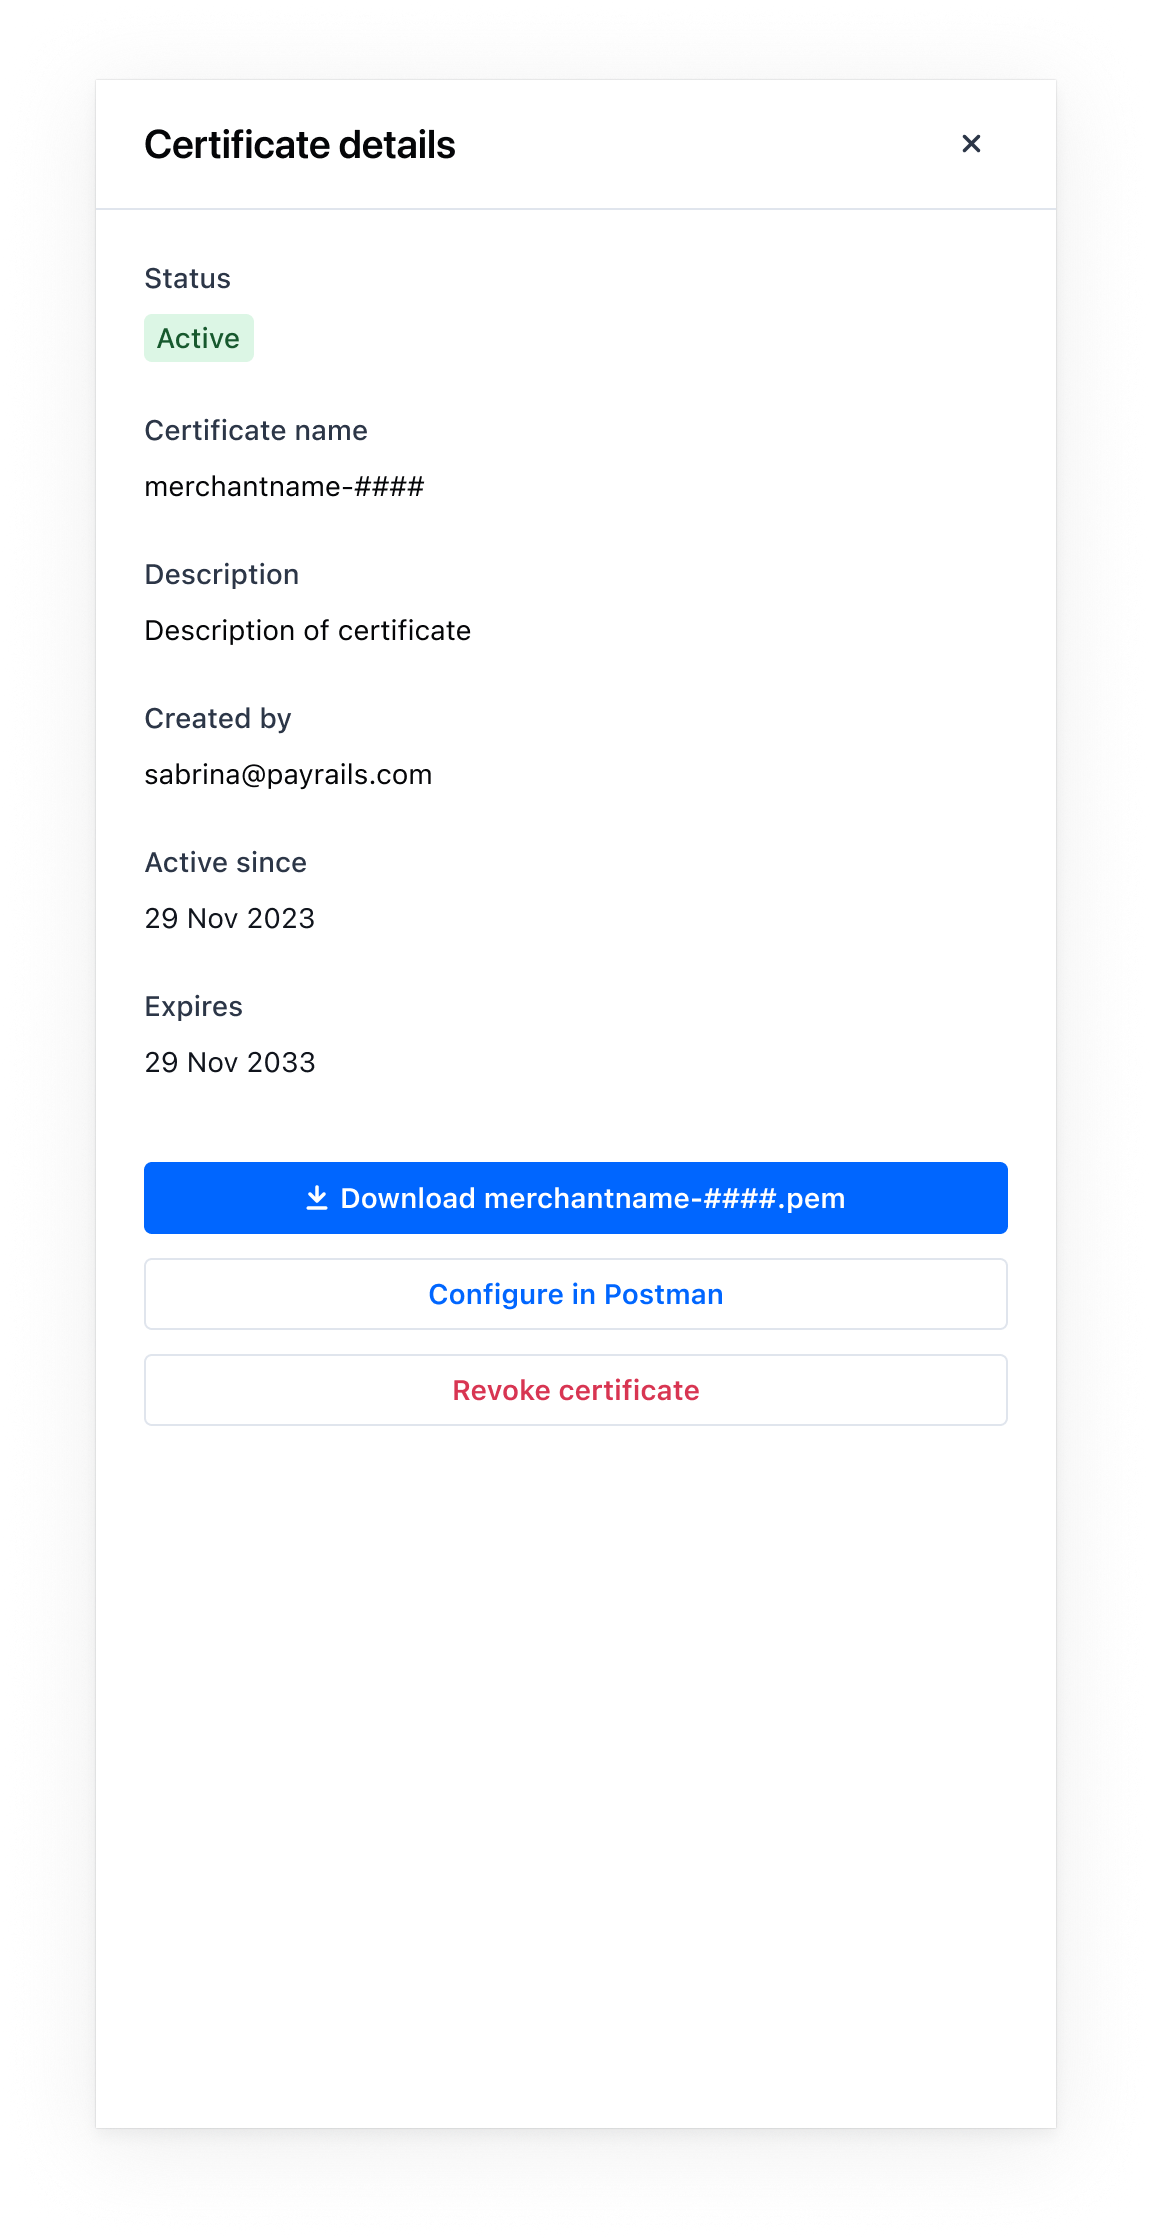
- Open the certificate from the list to view
Certificate details. - Select
Download <certificate>.pemand save the file. - Select
Configure in Postmanto open the guided steps.
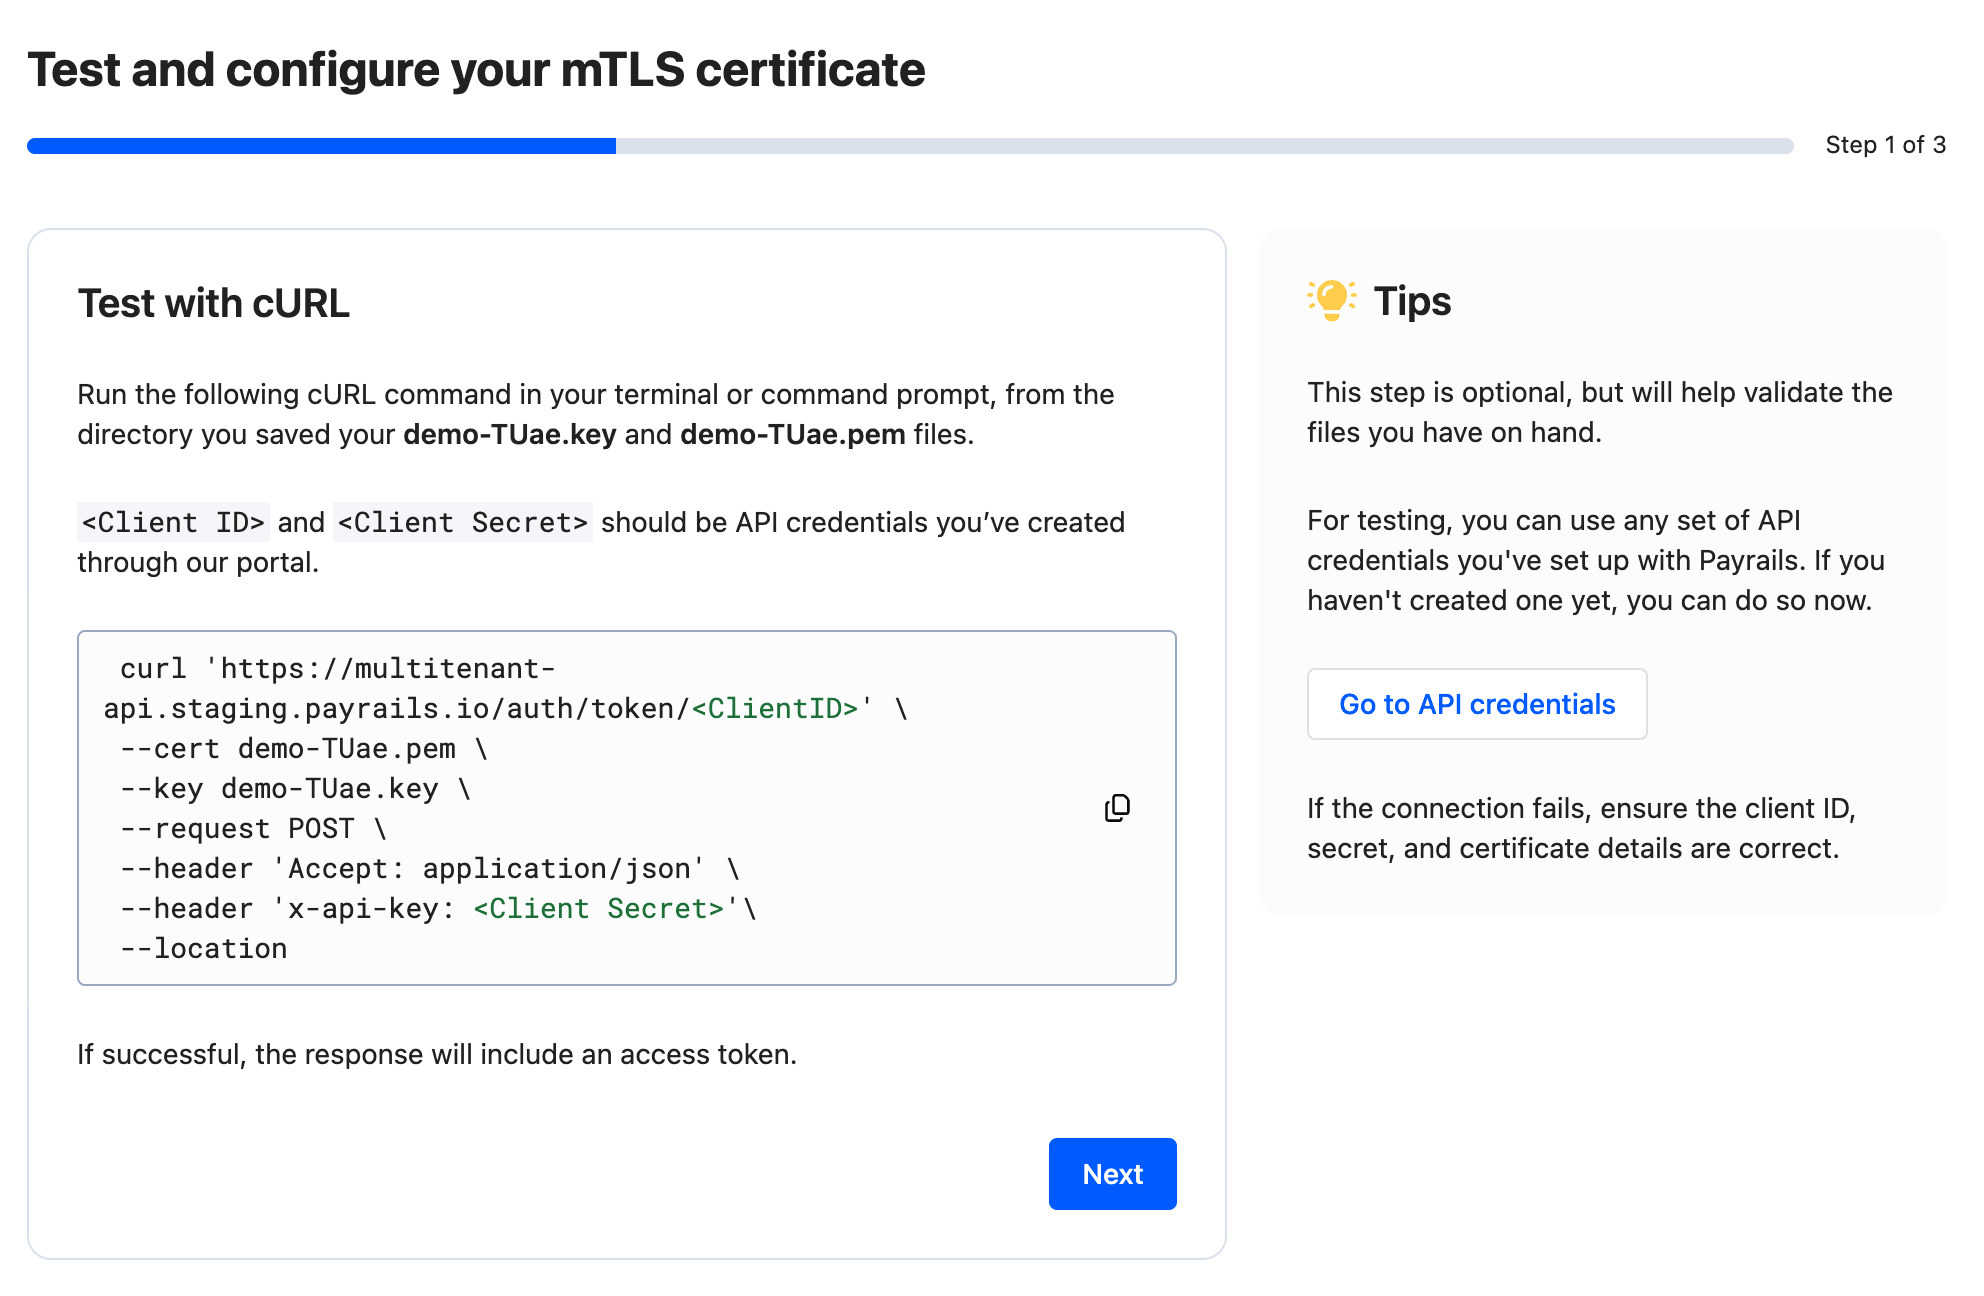
Step 1 of 3 — Test with cURL (optional)
- Copy the cURL command shown in the interface and run it in your terminal from the directory where your
<merchant>-####.keyand<merchant>-####.pemare saved. - Replace placeholders with a valid
Client IDandClient Secretfrom your API credentials. - On success, the response includes an access token. If it fails, verify the credentials and that both the key and certificate paths are correct.
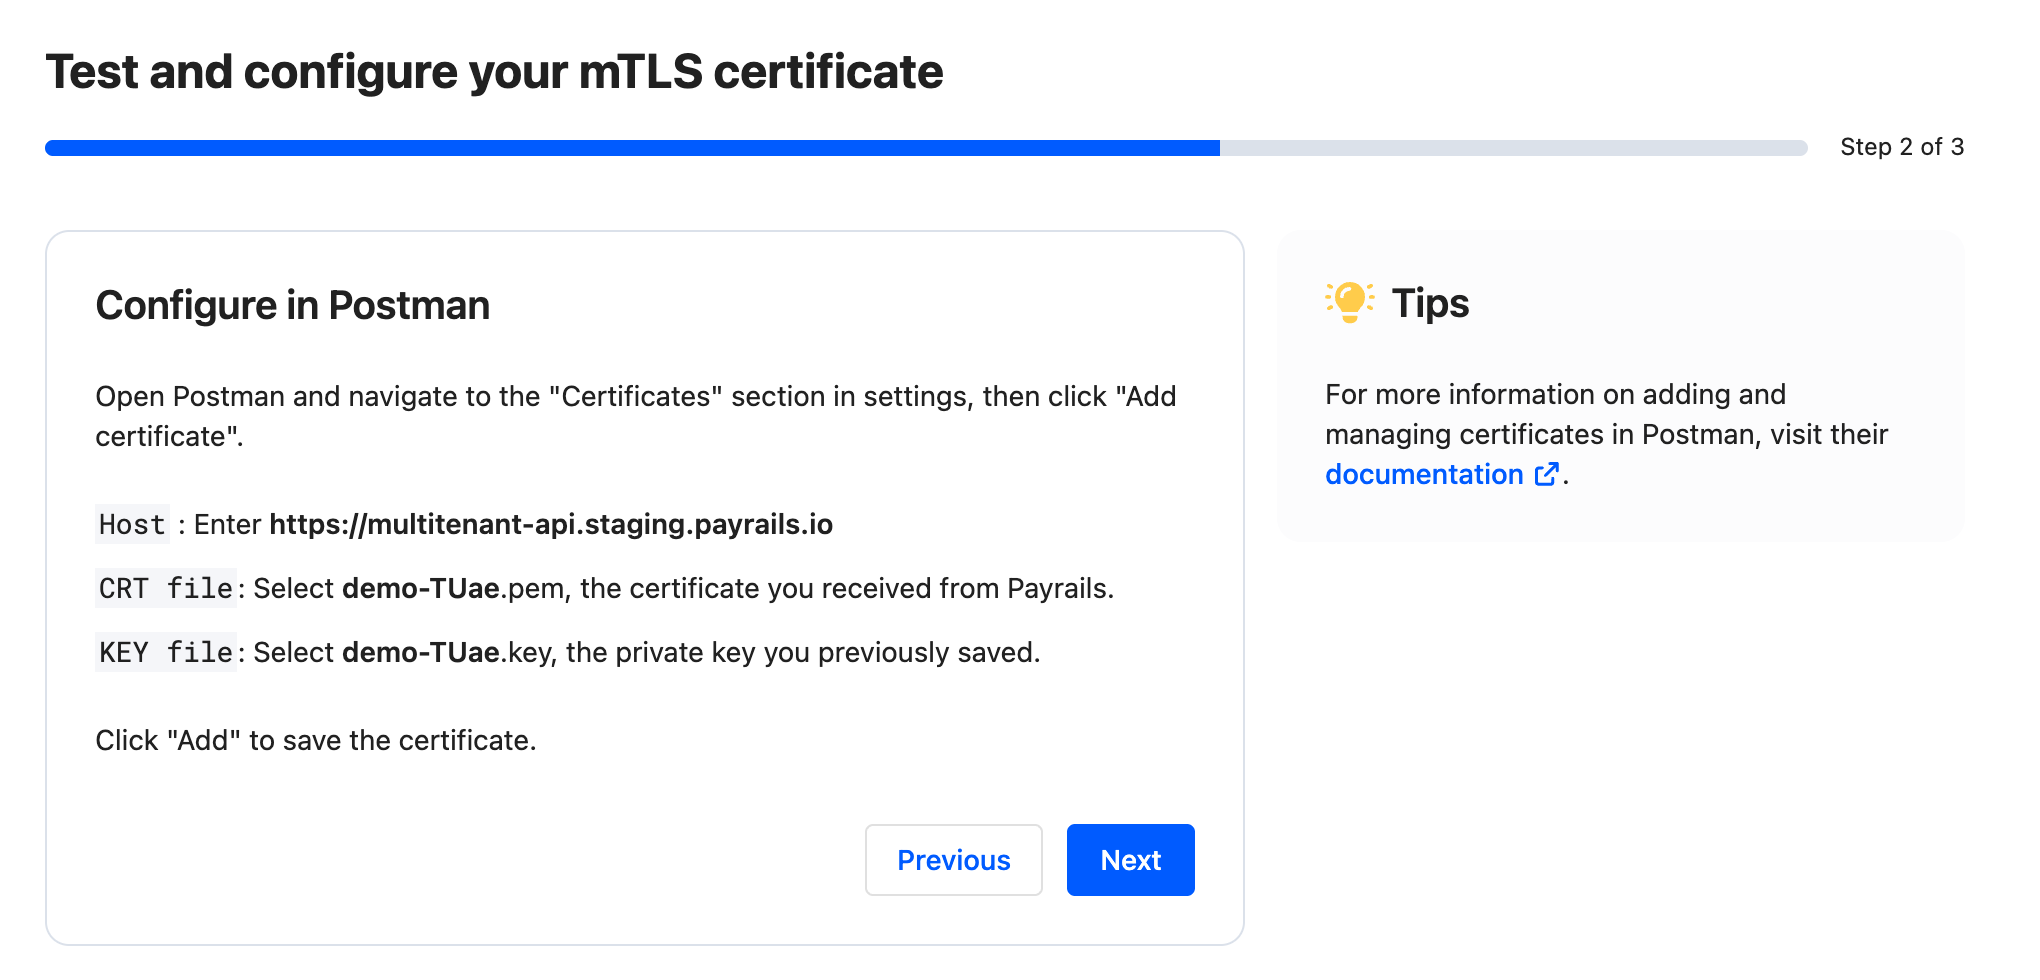
Step 2 of 3 — Configure in Postman
- Open Postman and go to
Settings → Certificates, then selectAdd certificate. - Host: enter the host value shown in the interface for your environment.
CRT file: select the downloaded<merchant>-####.pemcertificate from Payrails.KEY file: select the previously saved<merchant>-####.keyprivate key you generated during the CSR step.- Select
Addto save the certificate mapping.
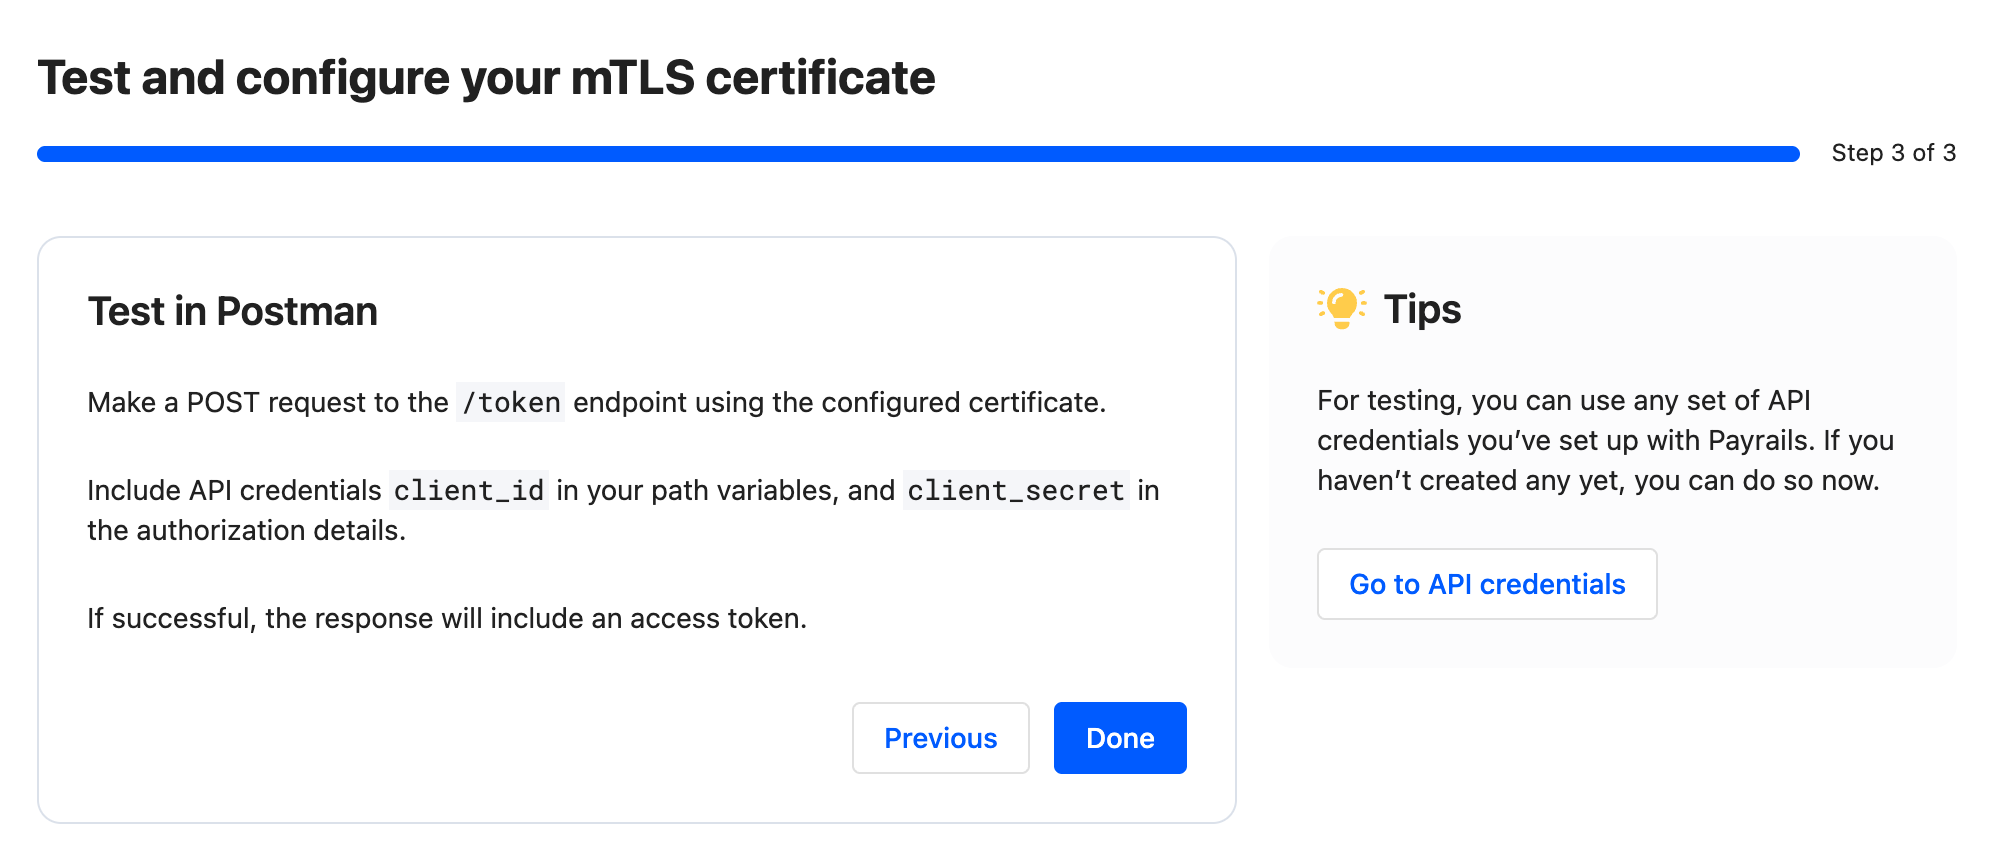
Step 3 of 3 — Test in Postman
- Create a
POSTrequest to the endpoint indicated in the interface (for example,/token). - Include your API credentials as instructed on screen (for example,
client_idin path variables andclient_secretin authorization details). - Send the request. A successful TLS handshake and authorization returns an access token.
Troubleshooting
-
Handshake failed in Postman:
- Verify the host and port match the values shown in the interface.
- Ensure the client certificate is attached to that host entry and imported correctly.
- If a passphrase was shown at download time, confirm it is entered correctly.
-
401/403 after handshake: OAuth or API authorization failed. Acquire a valid access token and ensure the calling client has required permissions.
-
Revoked certificate: issuance of a new certificate is required; revoked certificates cannot be re‑enabled.
-
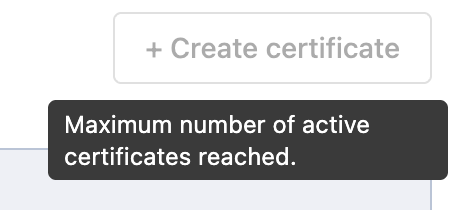
Maximum number of active certificates reached: we limit the number of certificates to prevent abuse. If you reached your limit, either revoke an existing certificate that is no longer in use or contact your Payrails administrator to increase your limit.
Why is my certificate marked as Deprecated?
As part of an improvement to the stability of our platform, we are migrating away from Cloudflare as a Certificate Authority (CA) for our MTLS authentication. We have introduced new Payrails-managed CAs for both staging and production. These CAs are already active and currently operate in parallel with the existing Cloudflare CAs.
All Cloudflare issued certificates are still valid but marked as deprecated as they would need to be replaced by certificates issued by Payrails CA instead.
Once the transition to Payrails CA is done, Cloudflare certificates will automatically be revoked.
Action required by 23 March 2026
To ensure continued mTLS connectivity, please:
- Regenerate your client certificate via the Payrails Portal (for staging and/or production, as applicable). Please note that the Portal now supports direct certificate generation for staging, in addition to production.
- Deploy the newly generated certificate in your environment.
- Confirm that traffic is no longer relying on the previous Cloudflare CA.
All newly generated certificates are now signed by the Payrails CAs. Once all merchants have migrated, we will fully decommission the Cloudflare CA. We would appreciate it if you could complete the migration by 23 March 2026 to help ensure continued, uninterrupted mTLS connectivity. If you have questions about the transition, please let us know.
Updated 21 days ago