Stripe
A step-by-step guide for setting up your Stripe payments integration in the Payrails portal.
Who should use this guideThis guide is intended for merchants who:
- Use Payrails as a payment orchestrator
- Use Stripe Payments (with or without Stripe Connect)
- Want to onboard their Stripe account using either:
- Stripe Connect (self-serve onboarding) — recommended, one-click flow that imports credentials automatically
- Manual setup — paste credentials directly into Payrails
- Are approved to process raw card data (only required for Manual Setup)
We use a server-to-server integration with Stripe, so your account must be enabled to process raw card data. If this isn’t enabled, payments won’t work in production. Please contact your Stripe account manager or support team to activate it.
How to request access to raw card data processing
- Contact Stripe Support and provide:
-
A brief description of the card data management systems and services used in your application.
We are starting a collaboration with Payrails as a payment orchestrator. While activating our Stripe account, we encountered the following error:
"Sending credit card numbers directly to the Stripe API is generally unsafe. To continue processing, use Stripe.js, the Stripe mobile bindings, or Stripe Elements. For more information, see the Stripe Dashboard. If you are qualified to handle card data directly, see Stripe Support."
Could you enable raw card data processing for our account so we can proceed with production?
-
The Payrails PCI compliance document.
-
- Email your Stripe Account Manager, copying Payrails Support, for assistance in enabling this feature.
Choose your setup method
| Method | What happens | When to use |
|---|---|---|
| Stripe Connect (self-serve onboarding) | One-click OAuth flow that opens Stripe, asks you to authorize Payrails, then imports your credentials automatically. | Recommended for most merchants. Fastest path to a live integration. |
| Manual | You paste your Stripe credentials (account ID, API keys, webhook signing secret) into Payrails by hand. | Advanced setups, or merchants whose Stripe account isn't OAuth-enabled. Requires raw card data processing approval. |
Create and configure a Stripe integration in Payrails
The first few steps are the same for both setup methods.
- Log in to the Payrails portal.
- Go to Settings → Integrations.
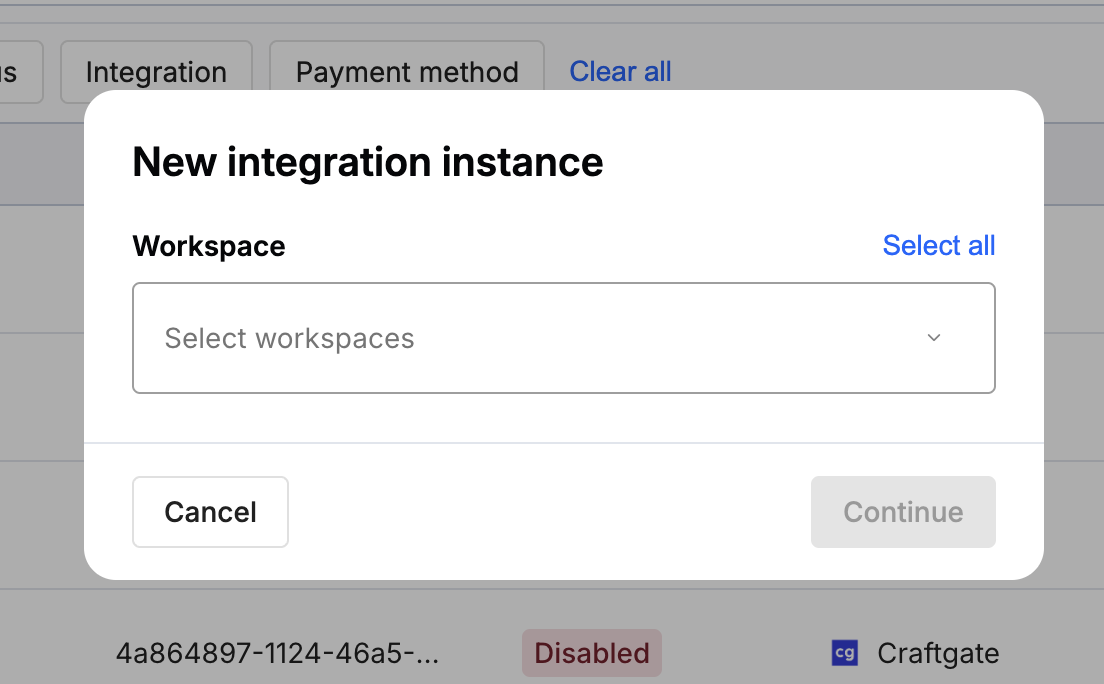
- Select Add instance to create a new Stripe integration configuration.
- Select the workspaces where this integration should be available.
About workspaces
Workspaces determine where this integration is available. They let you isolate provider setups by region or business line, or share the same configuration across multiple workspaces.
Step 1: Choose the integration type
Select Payment as integration type and continue to the next step.

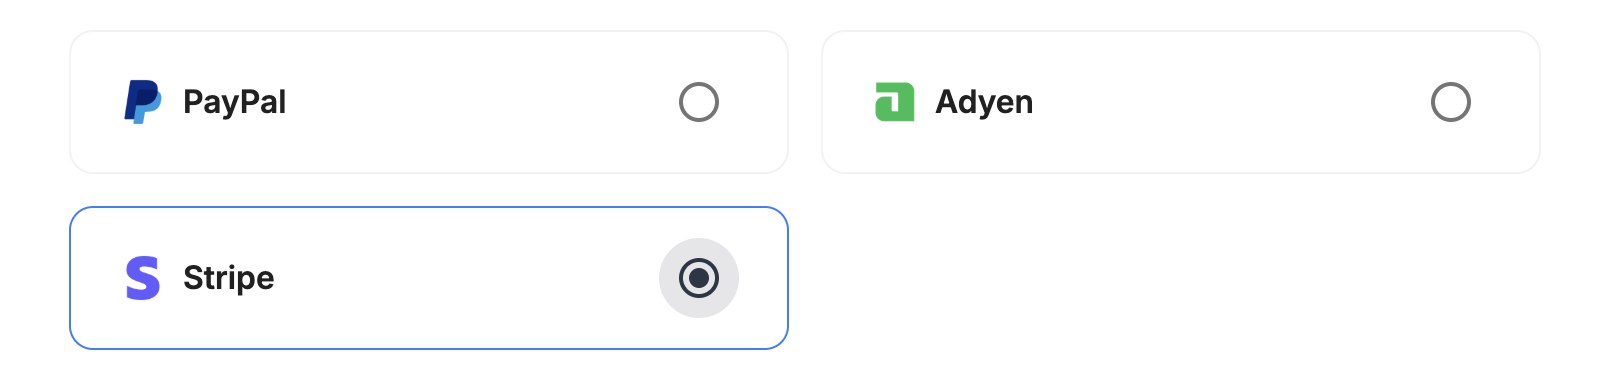
Step 2: Choose the provider
Select Stripe and continue to the next step.
Step 3: Configure your Stripe integration
When the configuration screen opens, you'll see two tabs at the top of the Account configuration section:
- Stripe Connect — self-serve onboarding (selected by default)
- Manual — manual credential entry

Pick the path that matches your setup:
Step 3A: Stripe Connect (self-serve onboarding)
This path uses Stripe's OAuth flow to connect your Stripe account to Payrails. No API keys or webhook secrets to copy.
Integration instance name
An integration instance is a specific payment provider setup in Payrails. You can create multiple instances for each provider based on region, currency, or business needs. Choose a clear, consistent name, as it is used in routing.
In Payrails
- Enter an Instance name for your integration.
- Make sure the Stripe Connect tab is selected.
Select payment methods
Under Payment methods, select the payment methods you want to enable.

Connect your Stripe account
Select Save account. A dialog will open explaining the next step.
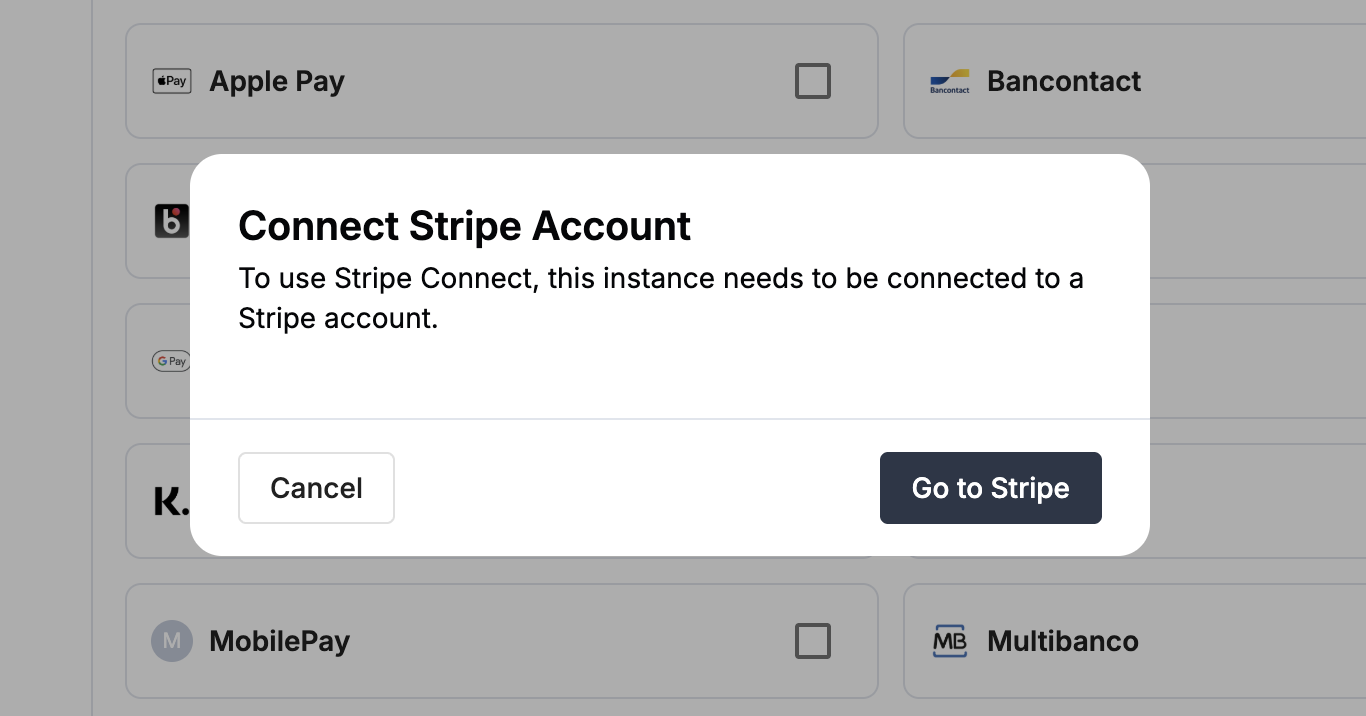
Select Go to Stripe and a new window opens to Stripe's authorization page.

In Stripe (popup window)
- Sign in with the Stripe account you want to connect, if you're not already signed in.
- Review the permissions Payrails is requesting and authorize Payrails.
- The popup closes automatically and Payrails imports your Stripe credentials in the background.
- When saving completes, you land on the main window where you can see the success message and later on redirected to integration's details page with the Enabled status.
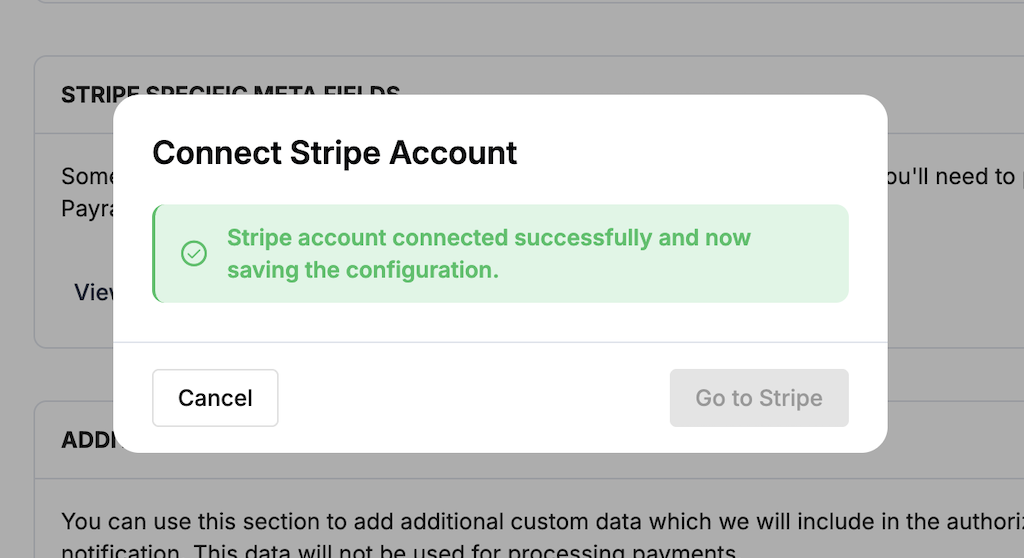
Your Stripe integration is now ready to process payments.
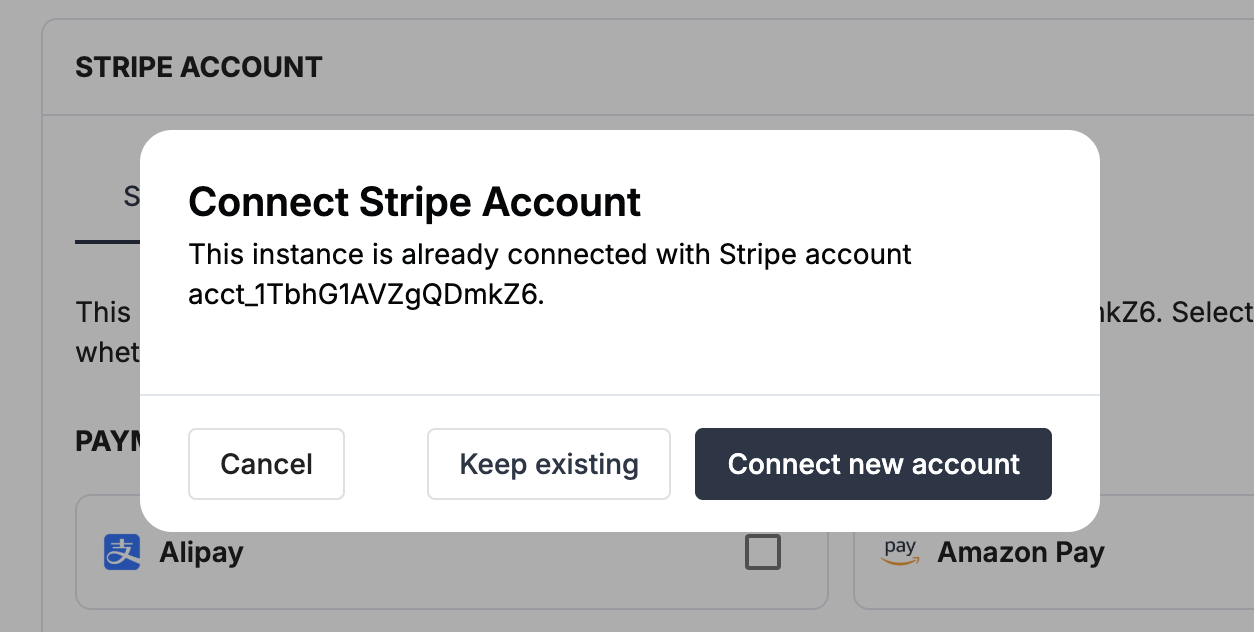
Editing an existing Stripe Connect integration
In edit mode, when you re-open a Stripe Connect integration, the configuration screen identifies the currently connected Stripe account ID and lets you choose between keeping the existing connection or connecting a different Stripe account.
When you select Save account, a dialog offers two options:
- Keep existing — preserve the current connection.
- Connect new account — start a fresh OAuth flow with a different Stripe account.
Step 3B: Manual setup
Use this path if you need to enter your Stripe credentials directly.
Switch to the Manual tab
In Payrails, on the configuration screen, select the Manual tab.

_### What you’ll need from Stripe
_Before you begin, make sure you have access to:
- (Optional) Service / platform account ID (Stripe Connect only)
- Stripe account ID
- Publishable API key
- Restricted secret API key
- Webhook signing secret
Log in to your Stripe dashboard to complete this step.
Integration instance name
An integration instance is a specific payment provider setup in Payrails. You can create multiple instances for each provider based on region, currency, or business needs. Choose a clear, consistent name, as it is used in routing.
Enter an Instance name for your integration.
Service account (Stripe Connect only)
Skip this section if you process payments directly on your own Stripe account.
In Stripe
- Go to Settings → Account details.
- Copy the Service account ID (also called the platform account ID).
In Payrails, Paste the value into the Service account field.
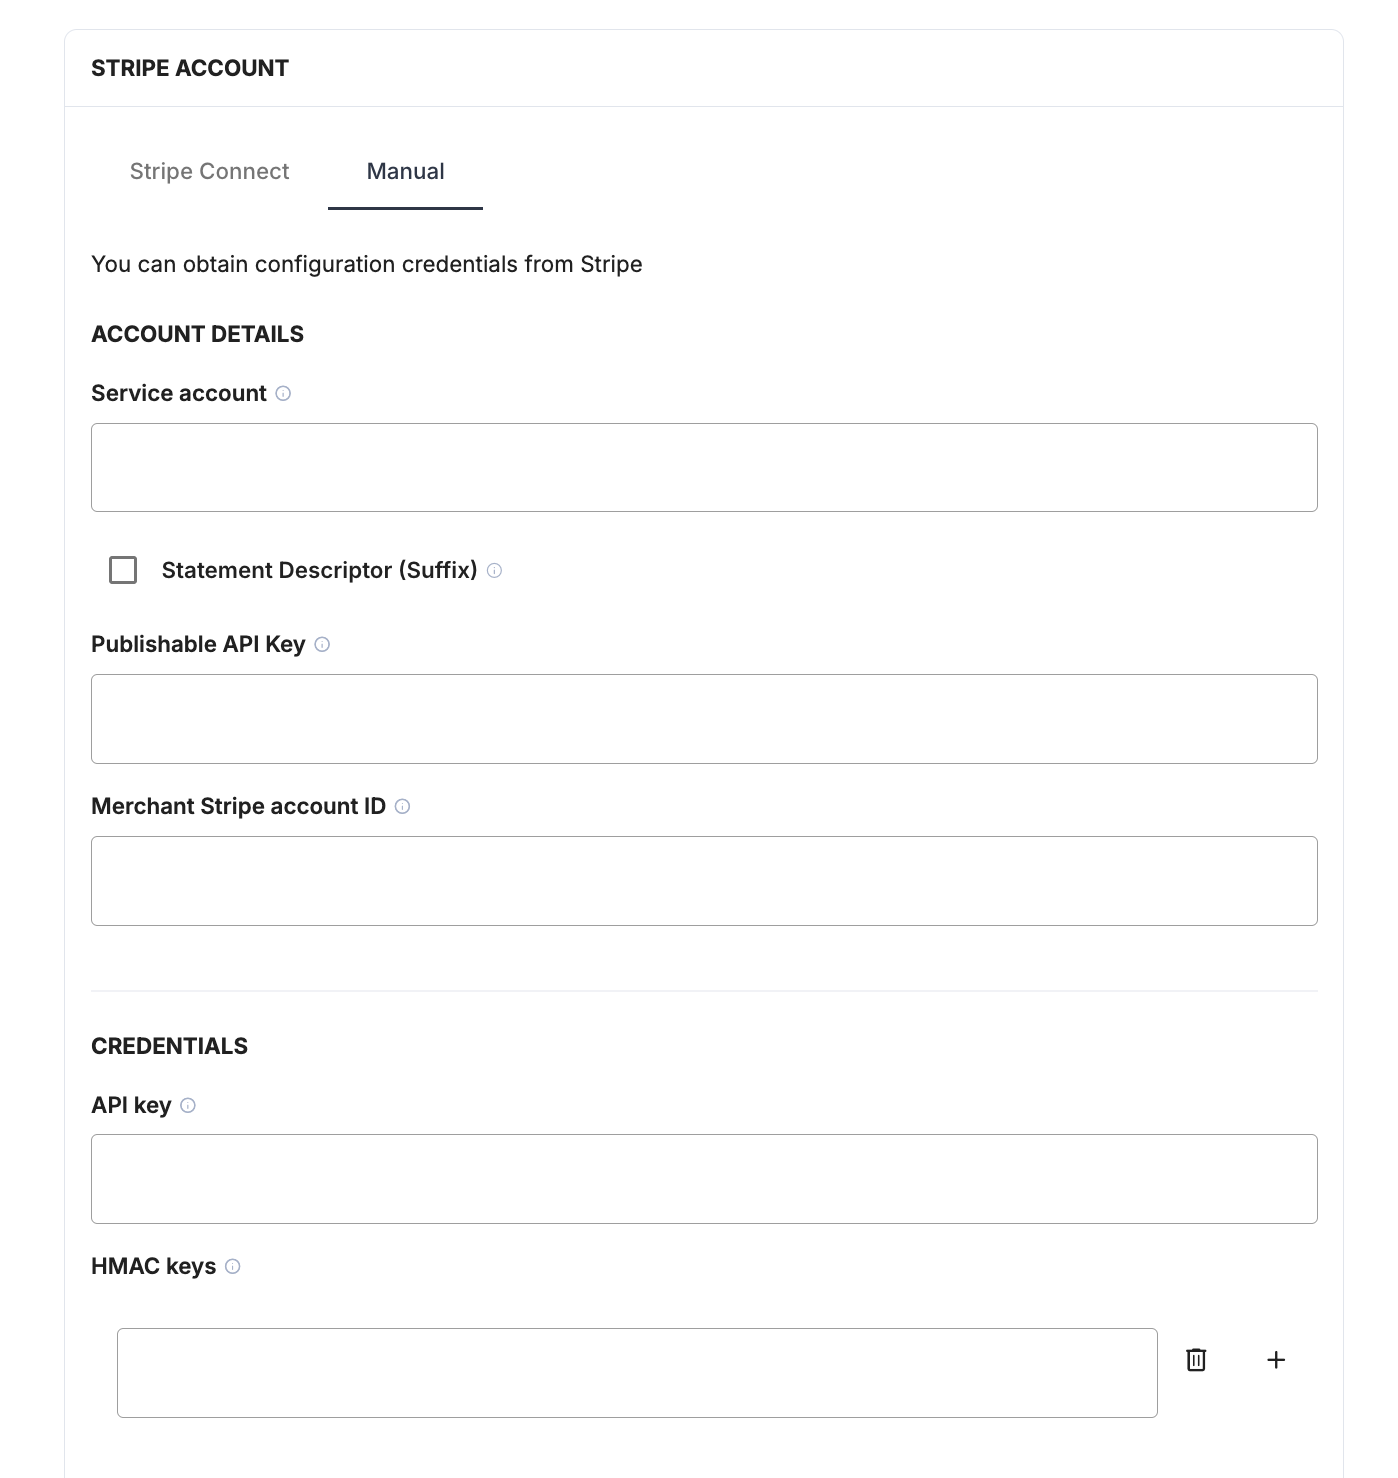
Merchant Stripe account ID
In Stripe
- Go to Settings → Business.
- On the Account details tab, copy the account ID (
acct_followed by a 16-character alphanumeric string).

In Payrails, paste the value into the Merchant Stripe account ID field.
Publishable API key
In Stripe
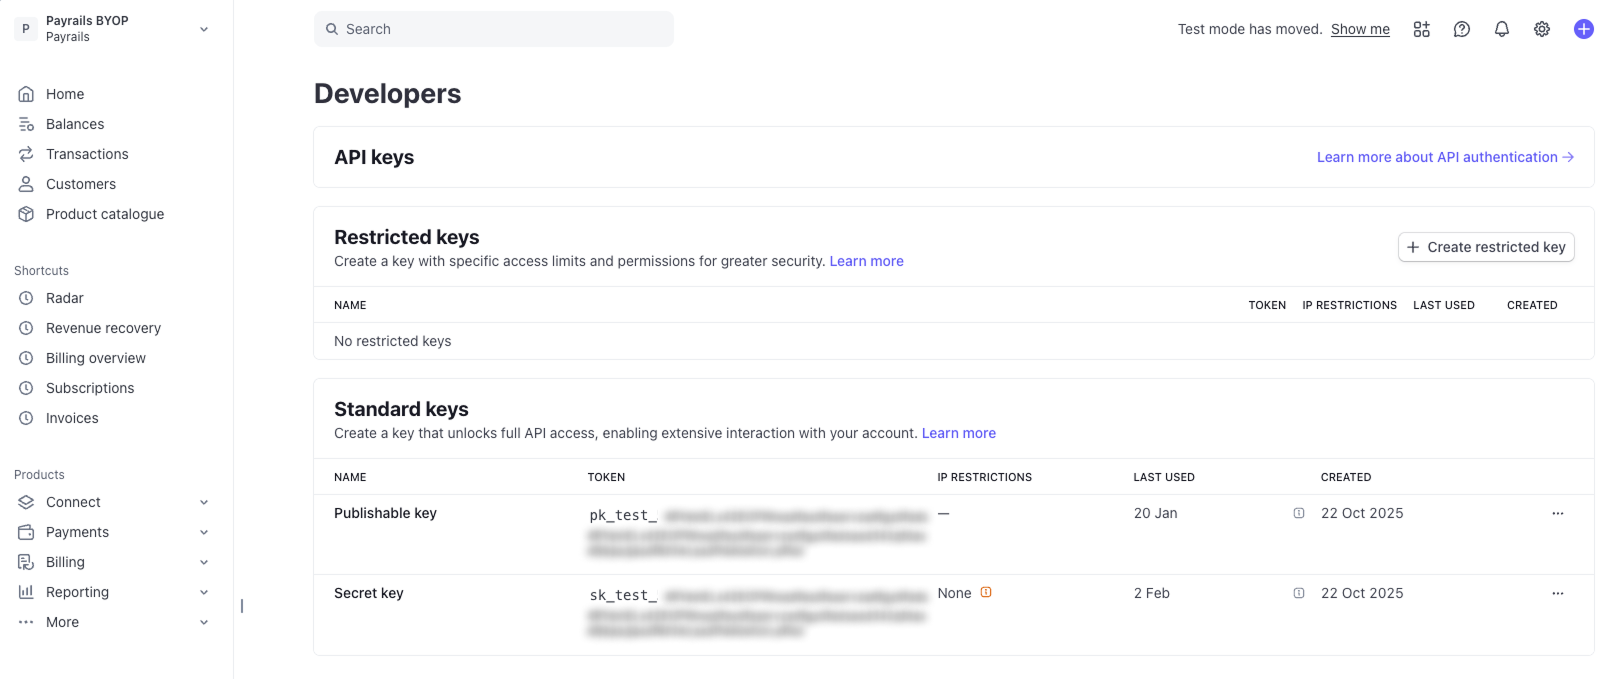
- Select Developers from the bottom-left navigation.
- Select Overview (in the Workbench section of the menu).
- In Workbench, select Manage API keys.
- In Developers, under Standard keys, copy the publishable key.
In Payrails, paste the value into the Publishable API key field.
Secret API key
Use a restricted API key to limit access scope and reduce blast radius if the key is compromised.
In Stripe
- In Developers, locate Restricted keys and select Create restricted key.
- Choose Providing this key to another website.
- Grant the minimum required permissions:
- Payment Intents (read/write)
- Charges (read)
- Refunds (read/write)
- Webhooks (read)
- Name the key and add
https://www.payrails.comas the destination URL. - Copy the generated API key.
In Payrails, paste the value into the Secret API key field.
HMAC key (webhook signing secret)
Payrails uses Stripe webhooks to receive asynchronous payment status updates.
If you are using Stripe Connect, skip this part.
Create the webhook in the same mode (test or live) as your Payrails integration.
In Stripe
- Go to Developers → Webhooks.
- Select Add destination.
- Choose Your account, then Selected events, and enable only the following events:
charge.refundedpayment_intent.amount_capturable_updatedpayment_intent.canceledpayment_intent.partially_fundedpayment_intent.payment_failedpayment_intent.succeeded
- Select Webhook endpoint and continue.
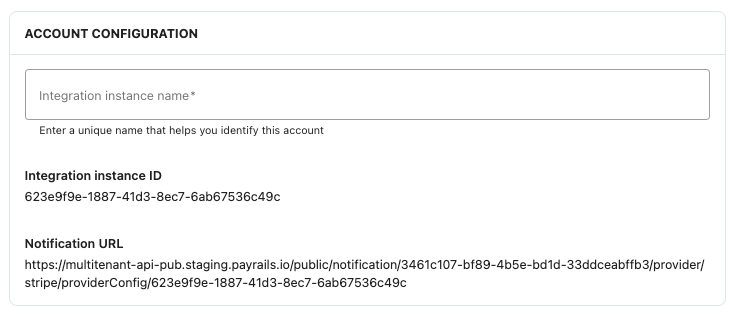
In Payrails
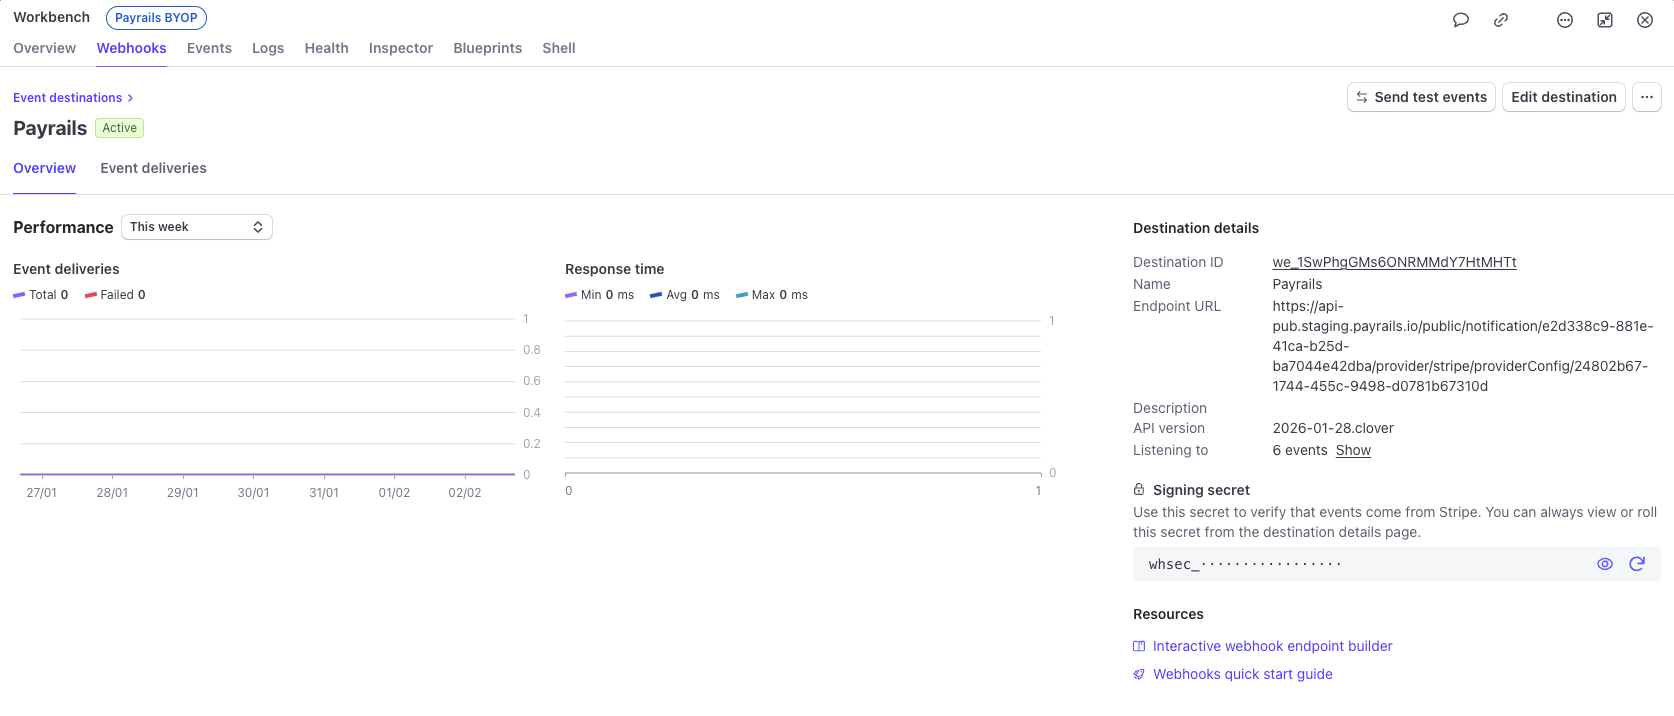
- Copy the Notification URL from the Account configuration section.
In Stripe
- Configure the destination:
- Give the destination a descriptive name.
- Paste the Payrails Notification URL and
- Select Create destination.
- Copy the Signing secret.
In Payrails
- Paste the Signing secret into the correspondine HMAC key field.
Payment methods
In Payrails
- Select the payment methods that should be enabled.
Enable the integration
In Payrails
- Select Save account to enable the integration.
The Enabled status indicates that the Stripe integration is active.
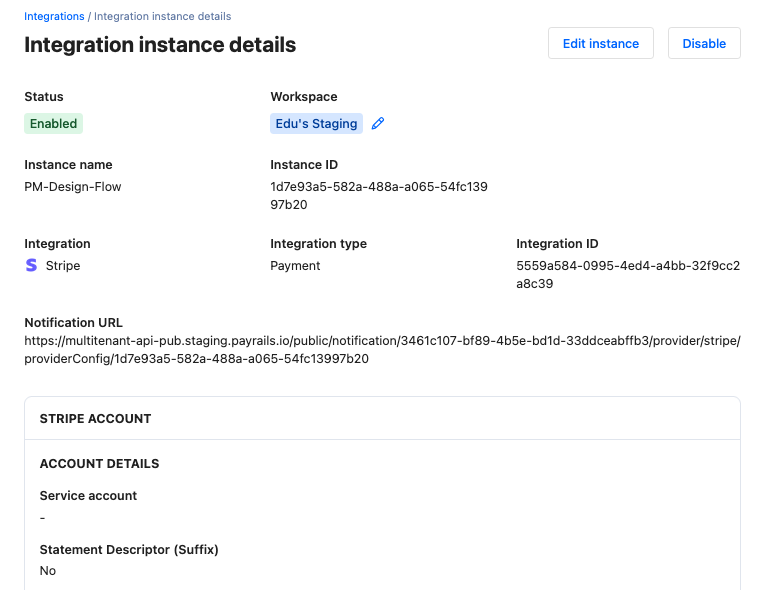
Your Stripe integration is now ready to process payments.
Next steps
- Run a test payment using a Stripe test card.
- Verify that:
- The payment appears in Stripe.
- The payment status updates correctly in Payrails.
- Once verified in test mode, repeat the setup in live mode.
→ Continue to: Test a payment