Tabby
A step-by-step guide for setting up your Tabby payments integration in the Payrails portal.
Who should use this guideThis guide is intended for merchants who:
- Use Tabby Payments for payment processing
- Have an active Tabby account with API access enabled
If these requirements are not met, payments may fail in production.
Create a Tabby integration in Payrails
- Log in to the Payrails portal.
- Go to Settings → Integrations.
- Select Add instance to create a new integration configuration.
- Select the workspaces where this integration should be available.
About workspaces
Workspaces determine where this integration is available. They let you isolate provider setups by region or business line, or share the same configuration across multiple workspaces.
Step 1: Choose the integration type
- Select Payments.
- Continue to the next step.
Step 2: Choose the provider
- Select Tabby.
- Continue to the next step.
Step 3: Configure your Tabby integration
What you’ll need from TabbyBefore you begin, make sure you have access to:
- Provider account ID
- API credentials (keys, certificates, or secrets)
- Webhook or notification signing secret (if applicable)
Log in to the Tabby dashboard to complete this step.
Integration instance name
An integration instance is a specific payment provider setup in Payrails. You can create multiple instances for different regions, currencies, or business needs. Choose a clear, consistent name, as it is used in routing.
In Payrails
- Enter an Instance name for your integration.
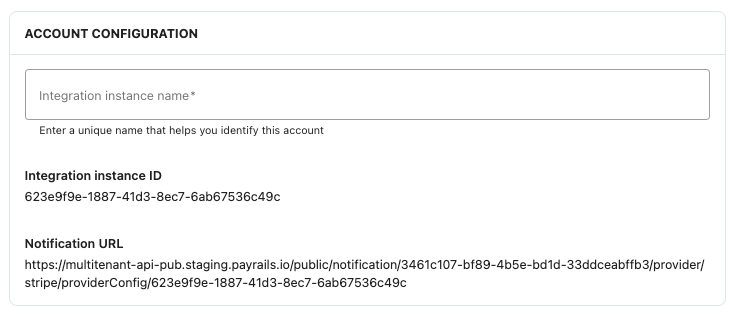
- Use a name that is easy to remember, especially for routing purposes
- Example:
TabbyUAEorTabbyGCC(or another descriptive name)
API credentials
Use restricted or scoped credentials where possible to limit access and reduce risk.
In Tabby
- Log in to Tabby’s Dashboard or reach out to your Tabby Account Manager to get all the required details.
- Copy your Tabby Merchants Code. You can also request this from your account manager, if you can't find it.
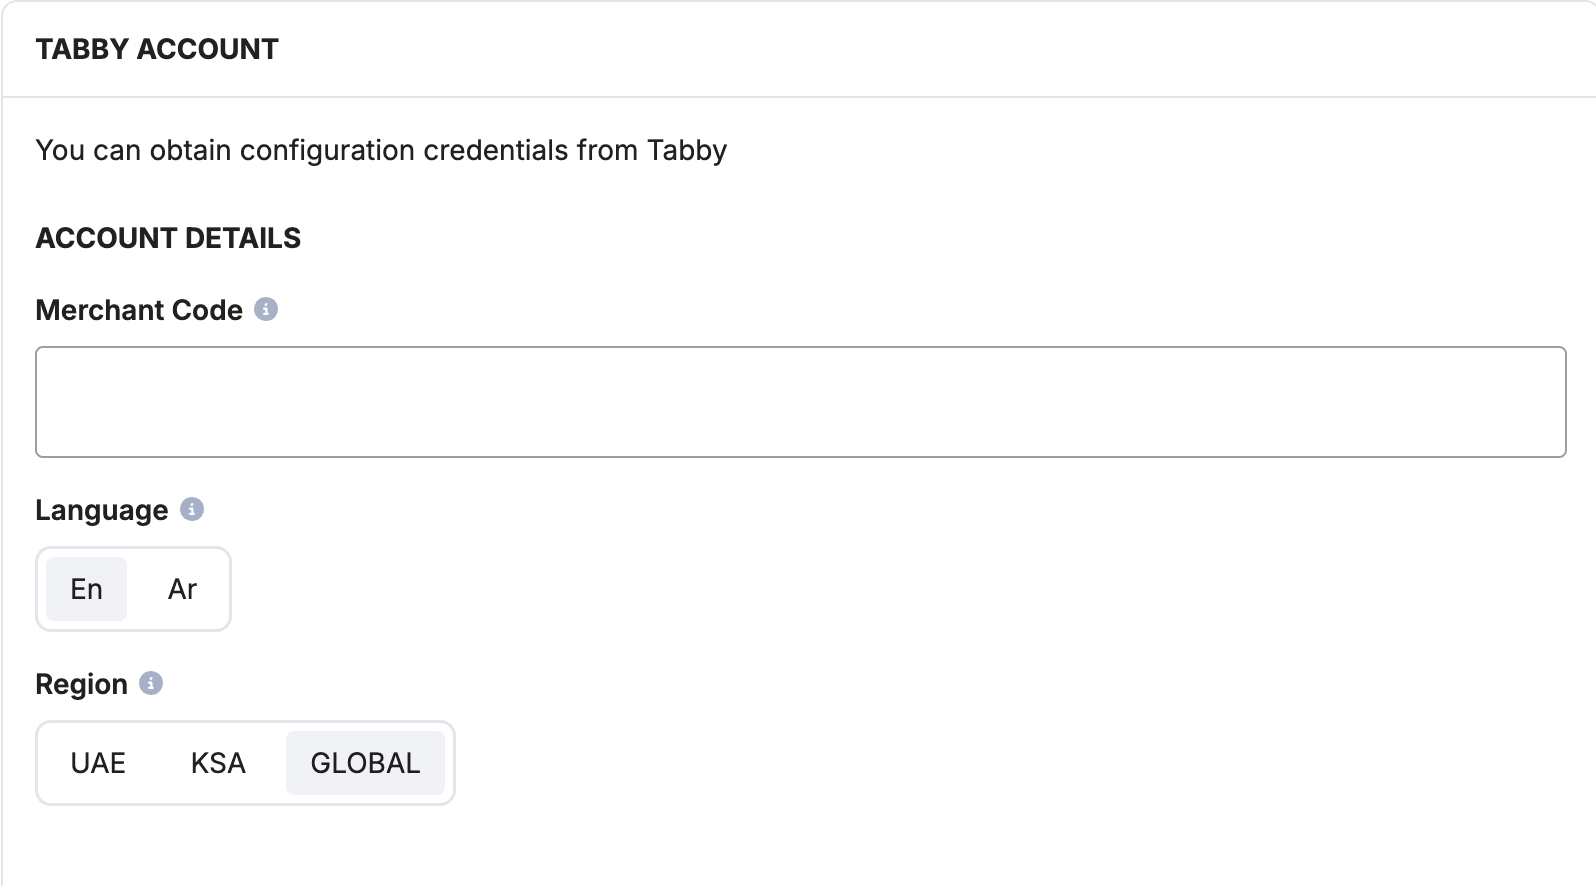
In Payrails
- Paste the Tabby Merchants Code.
- Select the Language (English or Arabic) and the Region (UAE, KSA, or Global). We recommend to set up separate integrations for KSA and UAE.
In Tabby
- Copy your Secret key and Public key.
In Payrails
- Paste the keys into the relevant fields.
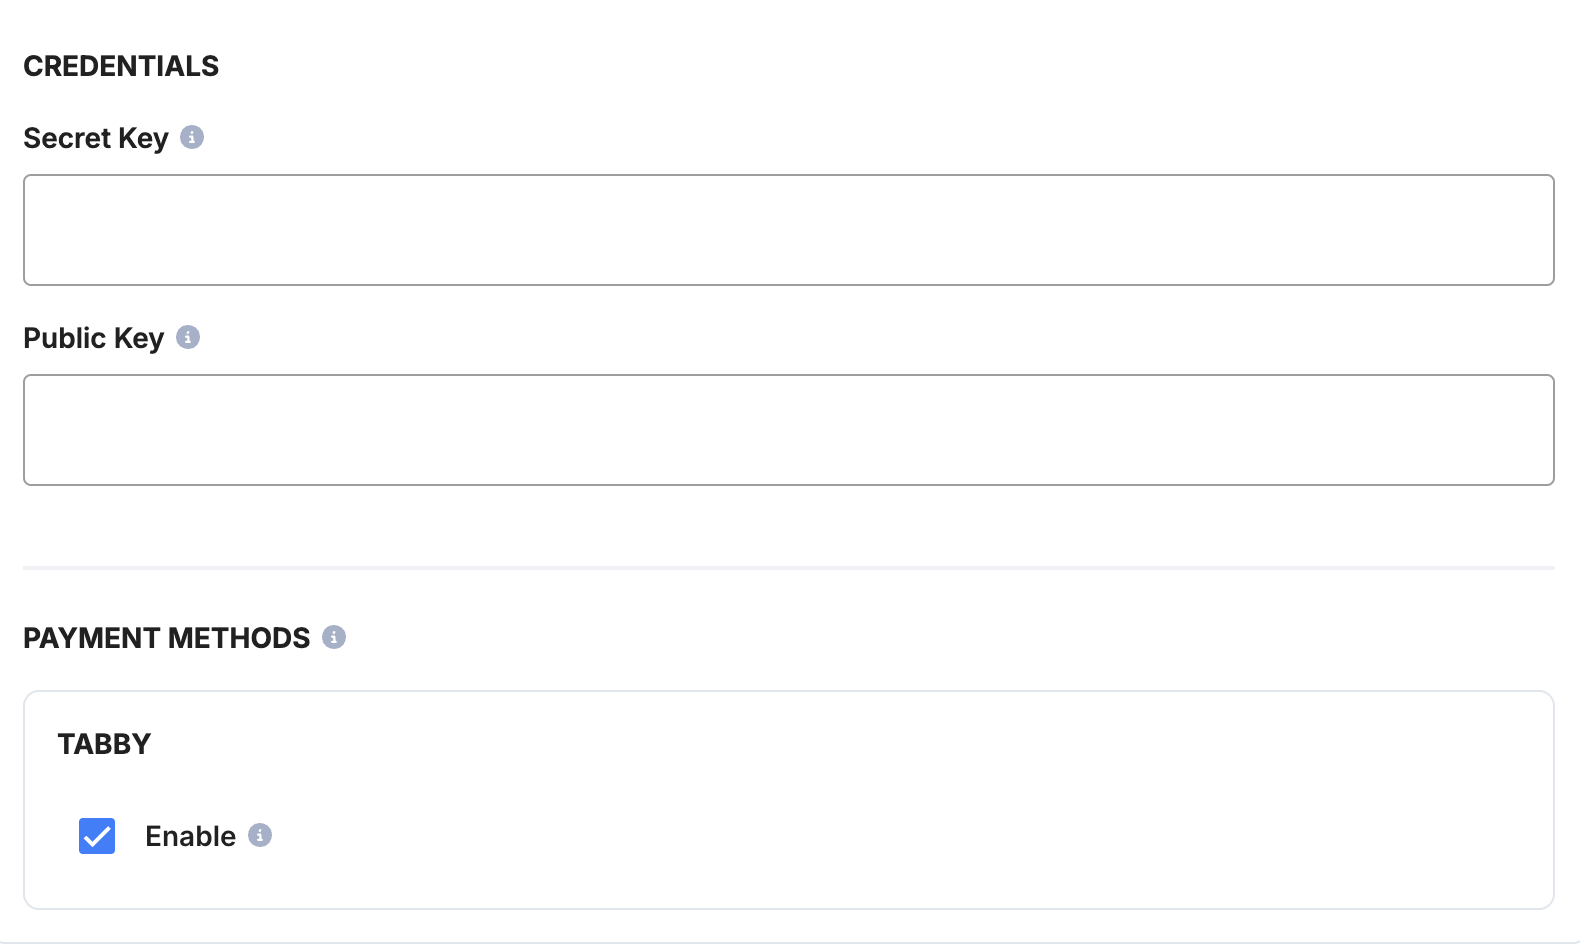
Payment methods
In Payrails
- Select the Tabby as a payment method for this integration.
Webhooks or notifications
Payrails uses provider webhooks or notifications to receive asynchronous payment status updates.
Create webhooks in the same mode (test or live) as your Payrails integration.
In Tabby
- Based on the Tabby’s webhooks documentation, the notification webhooks should be set up through the Postman collection using your merchant’s credentials.
- Use the Notification URL from your Payrails Tabby integration on the Account Configuration Section in p2.1.1 to create the webhook.
- Open Postman and create a request:
- Create a POST request with URL https://api.tabby.ai/api/v1/webhooks.
- In Authorization, select Bearer Token with the value of [yourSecretKey].
- In Headers, put a key as X-Merchant-Code with the value of [yourMerchantCode].
- In Body, put this request:
{
    "url": "http://example.com" - //this is your notification URL from the Payrails Portal,
    "is_test": true
}
- Open Postman and create a request:
- Check whether your notification webhook has been registered successfully through Postman (the response should be 200 and list of notification webhooks):
- Create a GET request with url https://api.tabby.ai/api/v1/webhooks.
- In Authorization, select Bearer Token with the value of [yourSecretKey].
- In Headers, put a key as X-Merchant-Code with the value of [yourMerchantCode].
- Use the Notification URL from your Payrails Tabby integration on the Account Configuration Section in p2.1.1 to create the webhook.
Enable the integration
In Payrails
- Save the configuration to enable the integration.
- Confirm the integration shows as Enabled.
Your Tabby integration is now ready to process payments in test mode.
Step 3: Test Your Integration
Important!In your workflow, the capture mode should be set as "Manual". Before you start testing, reach out to your account manager and ask to enable the Tabby "auto-capture" feature.
Create a test payment workflow
- Go to Payment Acceptance → + New version.
- Name your workflow (e.g.,
TabbyTestorTabbyUAETest). - Under Payment Options, select Tabby and click Continue Editing.
- Under Routing, click Start Authorize, select Tabby from the THEN authorize via dropdown, and click Done.
- Under Authorization settings, set Capture Mode to Manual and click Save.
Run test scenarios
Tabby processes payments in the currency of the selected region:
- UAE → AED
- KSA → SAR
- Payment is Captured: Use Tabby Test Credentials to complete a successful payment. If "auto-capture" mode has been turned on, your payment will be
Captured; if not yet enabled, it will stay inAuthorizedstatus. - Payment is Failed: Test unsuccessful scenarios with Tabby.
- Payment is Refunded: Refund a captured payment on the Payrails Portal. Try to refund both partial and full payments.
Updated about 1 month ago