Klarna
A step-by-step guide for setting up your Klarna integration in the Payrails portal.
Who should use this guideThis guide is intended for merchants who:
- Use Payrails as a chargeback
- Use Klarna Disputes
We use a server-to-server integration with Klarna, so your account must be enabled to process dispute. If this isn’t enabled, chargebacks won’t work in production. Please contact your Klarna account manager or support team to activate it.
Create and configure a Klarna integration in Payrails
- Log in to the Payrails portal.
- Go to Settings → Integrations.
- Select Add instance to create a new Klarna integration configuration.
- Select the Workspaces where this integration should be available.
About Workspaces
Workspaces determine where this integration is available. They let you isolate provider setups by region or business line, or share the same configuration across multiple Workspaces.
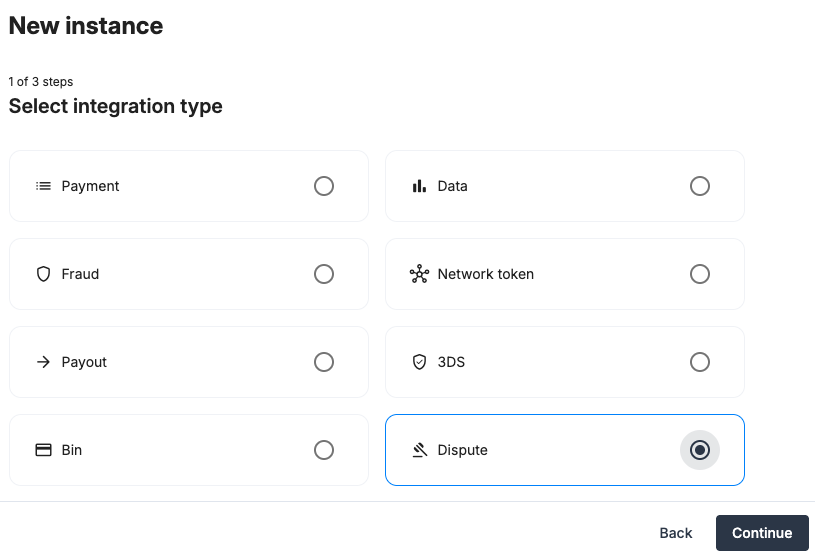
Step one: Choose the integration type
- Select Dispute.
- Continue to the next step.
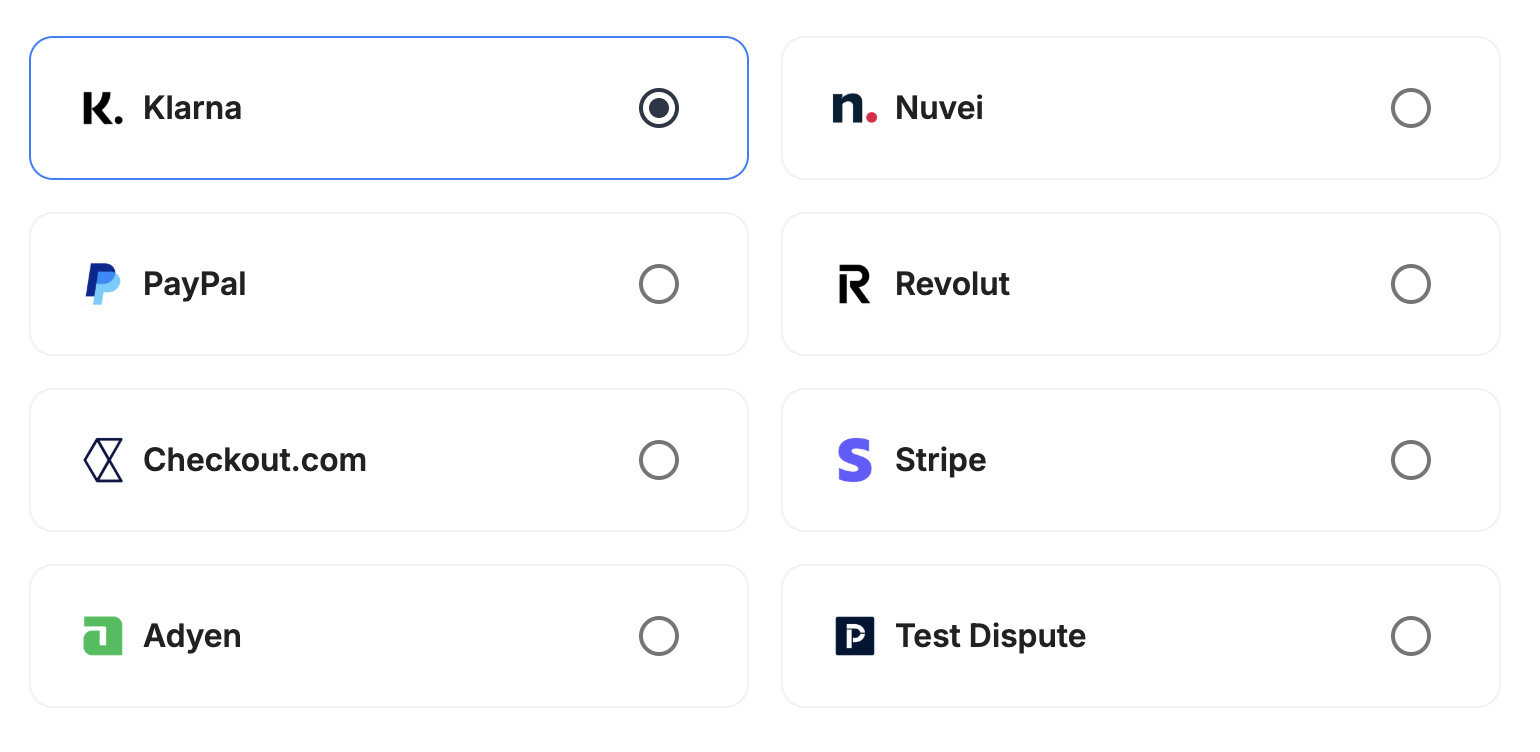
Step two: Choose the provider
- Select Klarna.
- Continue to the next step.
Step three: Configure your Klarna integration
What you’ll need from KlarnaBefore you begin, make sure you have access to:
- Username
- Password
- Webhook signing keys
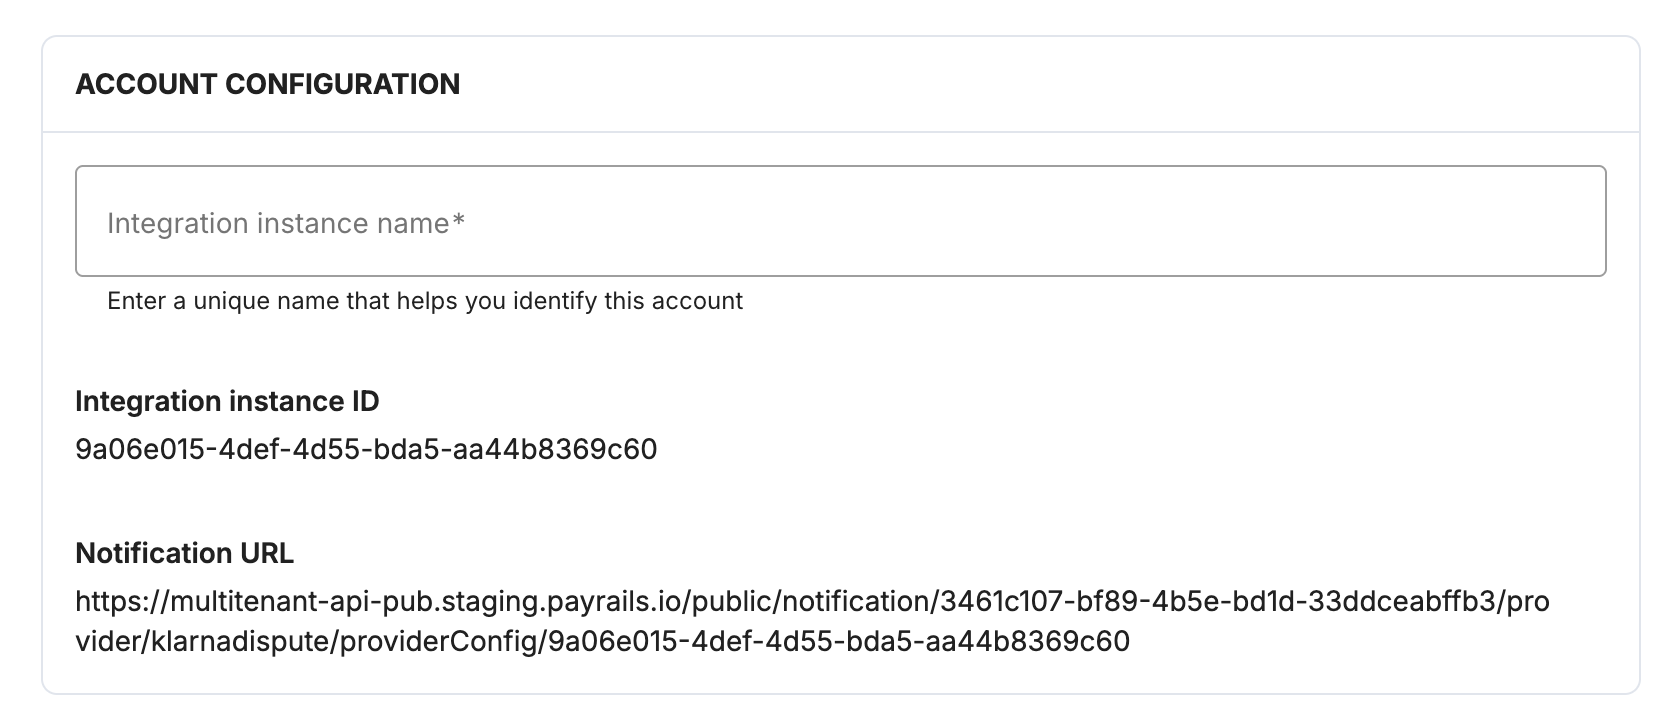
Integration instance name
In Payrails
- Enter an Instance name for your integration.
API Credential
In Klarna
-
Sign in to the Klarna Portal Dashboard.
-
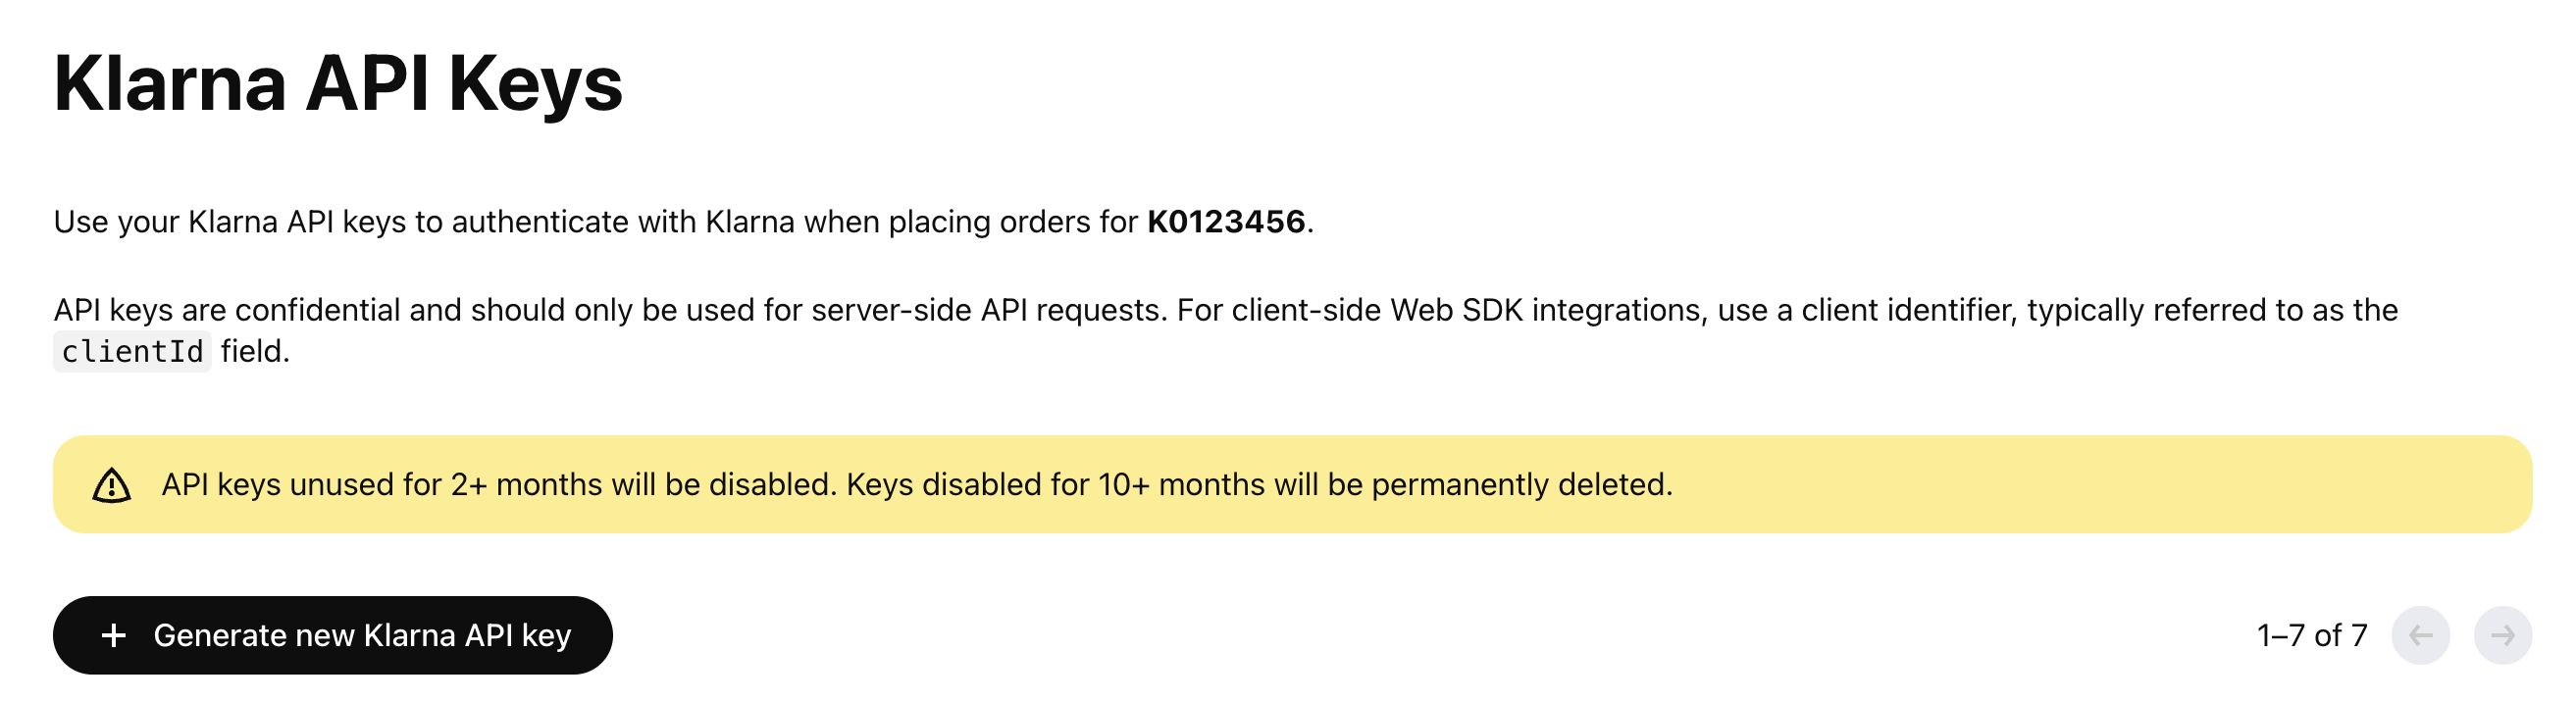
Navigate to Settings > Klarna API Keys in the sidebar.
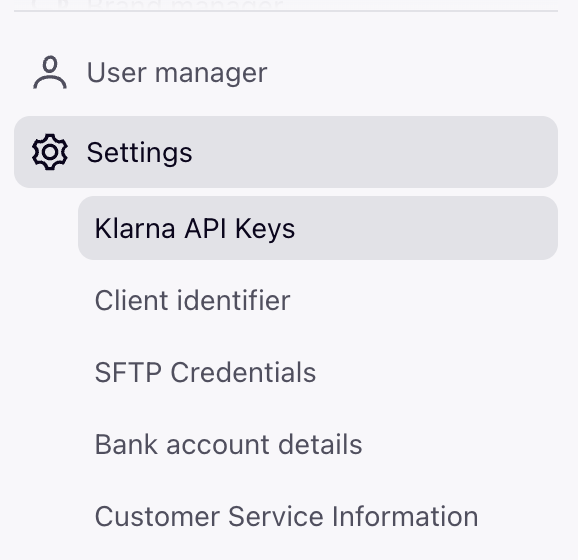
-
Locate your Merchant ID (MID). In the image below, the Merchant ID is K0123456.
-
Generate a new Klarna API Key.
Klarna will display a one-time dialog containing a Username (UUID) and a Password (starting with
klarna_test_api_for sandbox orklarna_live_api_for production).
- Copy the Username and Password.
The password is shown only once. Once you close the dialog, Klarna cannot reveal it again. You would need to generate a new key. Save it before clicking Close.
In Payrails
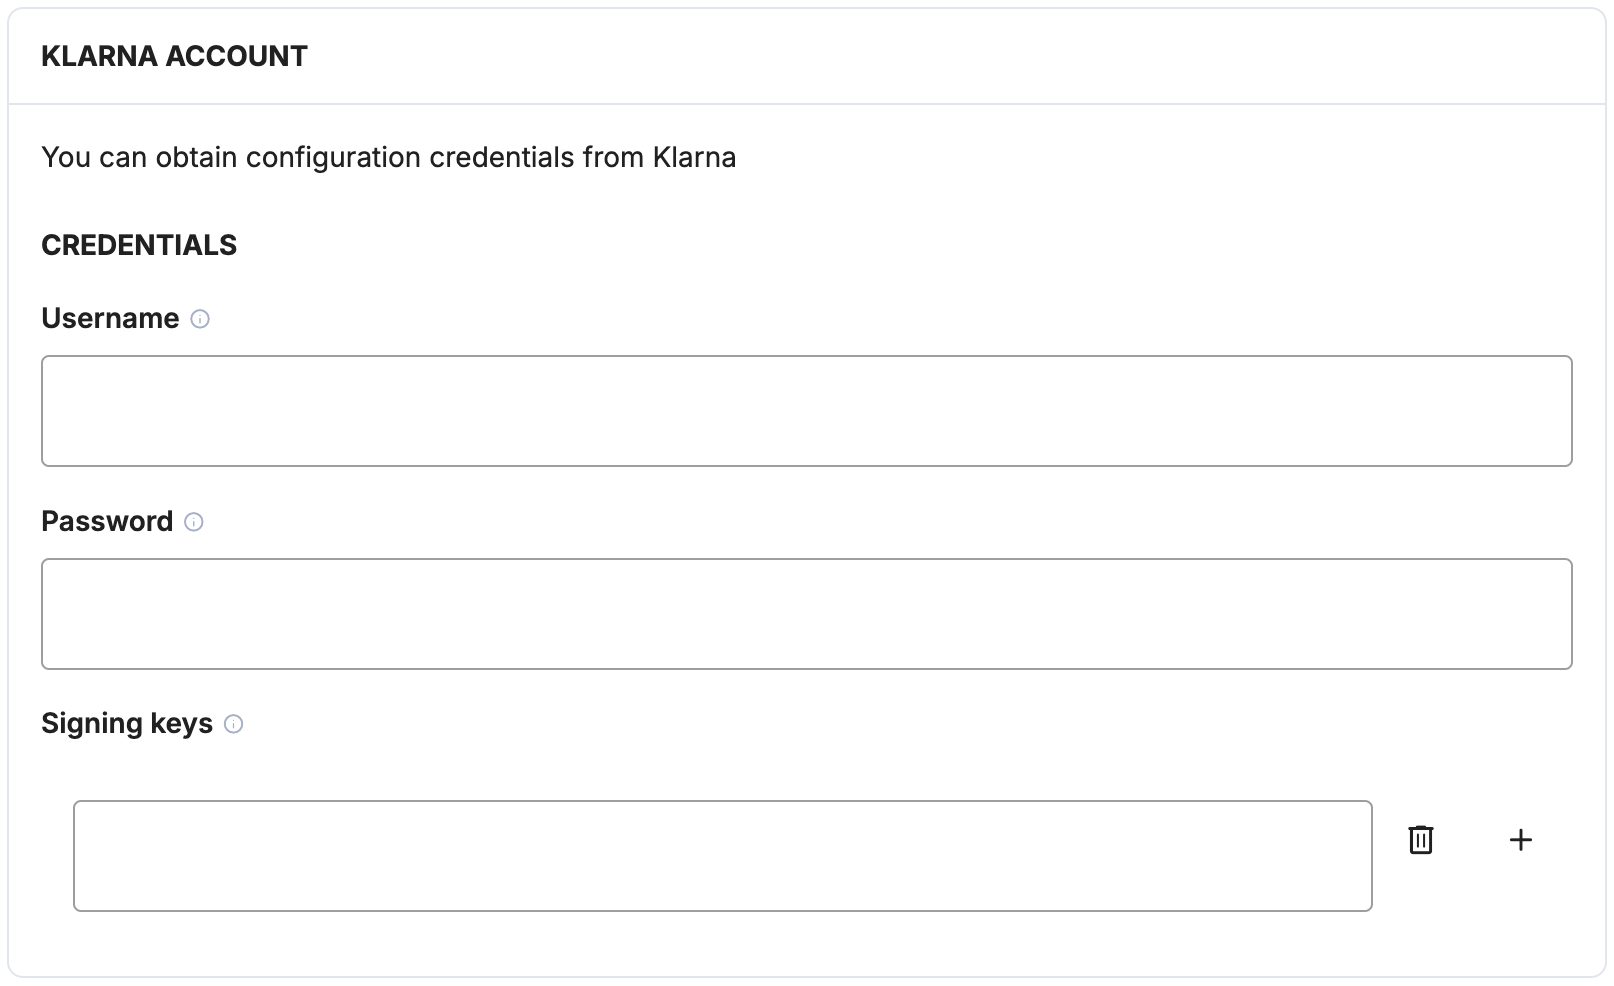
- Paste the values into the Klarna Account section.
Klarna's configuration
To enable your account to start working with Disputes via API, you need to interact with their API and reach out to your integration manager or technical point of contact, because they currently does not support the self-service for this whole process.
Enrolling your merchant with Klarna Disputes API
Klarna's Disputes API (V4) requires merchants to be enrolled before they can receive dispute events or call the dispute endpoints.This is a one-time, per-environment action.
Call the Self onboarding for merchants endpoint using the credentials and merchant ID (MID) retrieved in the API Credential step.
More details in Klarna's documentation page.
POST https://api.klarna.com/v4/payment/disputes/merchants/{merchant_id}/enroll
Authorization: Basic <base64(username:password)>
Content-Type: application/json
POST https://api.playground.klarna.com/v4/payment/disputes/merchants/{merchant_id}/enroll
Authorization: Basic <base64(username:password)>
Content-Type: application/jsonAsk Klarna to register the notification URL
Once enrolled, Klarna still needs to:
- Register the Payrails notification URL as the destination for your webhooks.
- Subscribe your account to the dispute webhook event types you need.
- Issue an HMAC signing key that Payrails will use to verify the authenticity of inbound notifications.
What to send
Reach out to your Klarna integration manager or technical point of contact with:
- Merchant account identifier (your Klarna MID)
- Environment (Playground or Production)
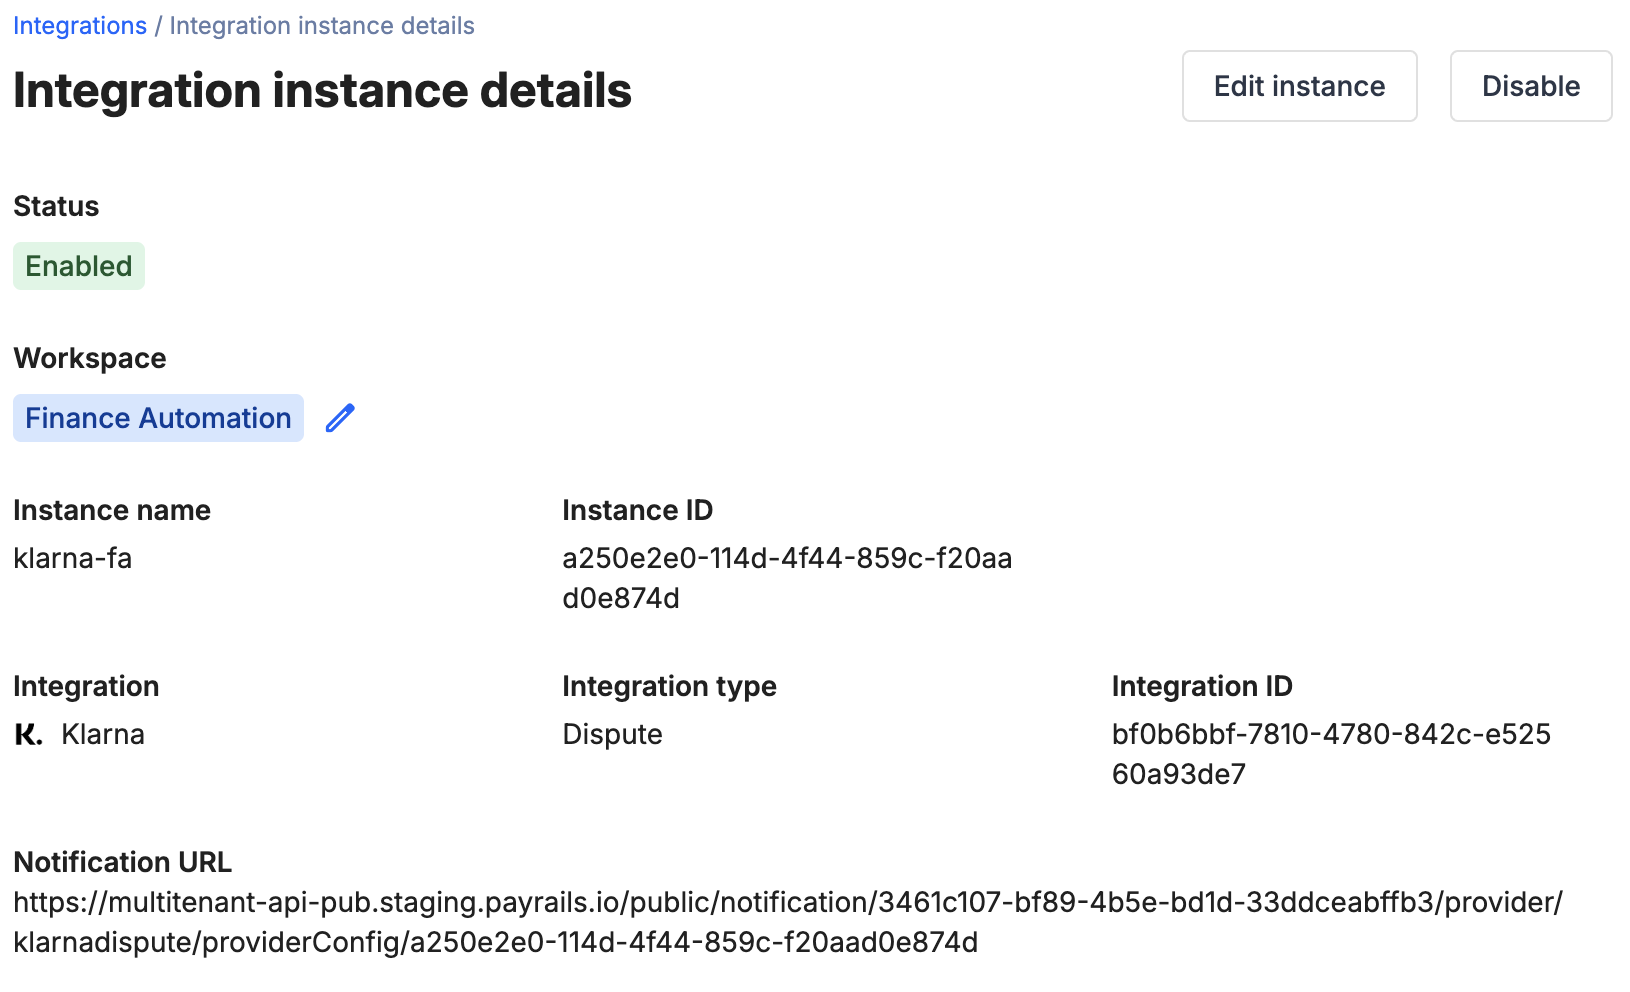
- Notification URL copied from the Payrails Portal
- Event subscriptions requested:
payment.dispute.state-change.initiatedpayment.dispute.state-change.representmentpayment.dispute.state-change.pre-arbitrationpayment.dispute.state-change.arbitrationpayment.dispute.state-change.closedpayment.dispute.updated
- Request:
Please register the above URL as our notification endpoint, subscribe us to the listed dispute events, and provide the HMAC signing key so we can verify inbound webhooks
Setting up the HMAC signing key
Once you receive back the information requested in the step above, you will get back to your Payrails portal page and include the key in the corresponding field.
In Payrails
- Paste the Signature key into the Signing keys field.
Enable the integration
In Payrails
- Select Save account to enable the integration.
The Enabled status indicates that the Klarna integration is active.
Your Klarna integration is now ready to process chargebacks.
Next steps
- Run a test payment triggering a chargeback using a supported Klarna test accounts.
- Verify that:
- The dispute appears in Klarna.
- The chargeback status updates correctly in Payrails.
- Once verified in test mode, repeat the setup in live mode.
Updated about 1 month ago