
PayPal
A step-by-step guide for setting up your PayPal payments integration in the Payrails Portal.
Who should use this guideThis guide is intended for merchants who:
- Use Payrails as a payment orchestrator
- Want to connect their PayPal account to Payrails.
- Have permission to authorize third party applications within PayPal.
Create a PayPal Integration
Following are the initial steps to setup PayPal:
- Sign in to the Payrails Portal.
- Navigate to Settings → Integrations → Payment.
- Click Add instance button.
- Select the workspace(s) where the integration should be available.
About workspaces
Workspaces determine where this integration is available. They let you isolate provider setups by region or business line, or share the same configuration across multiple workspaces.
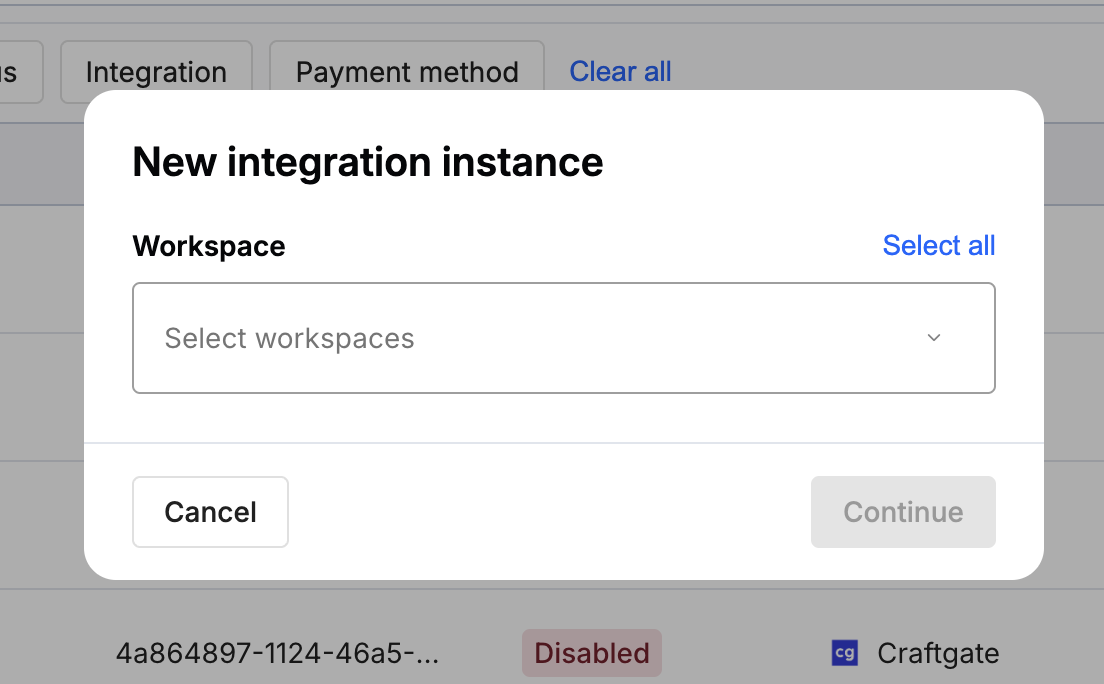
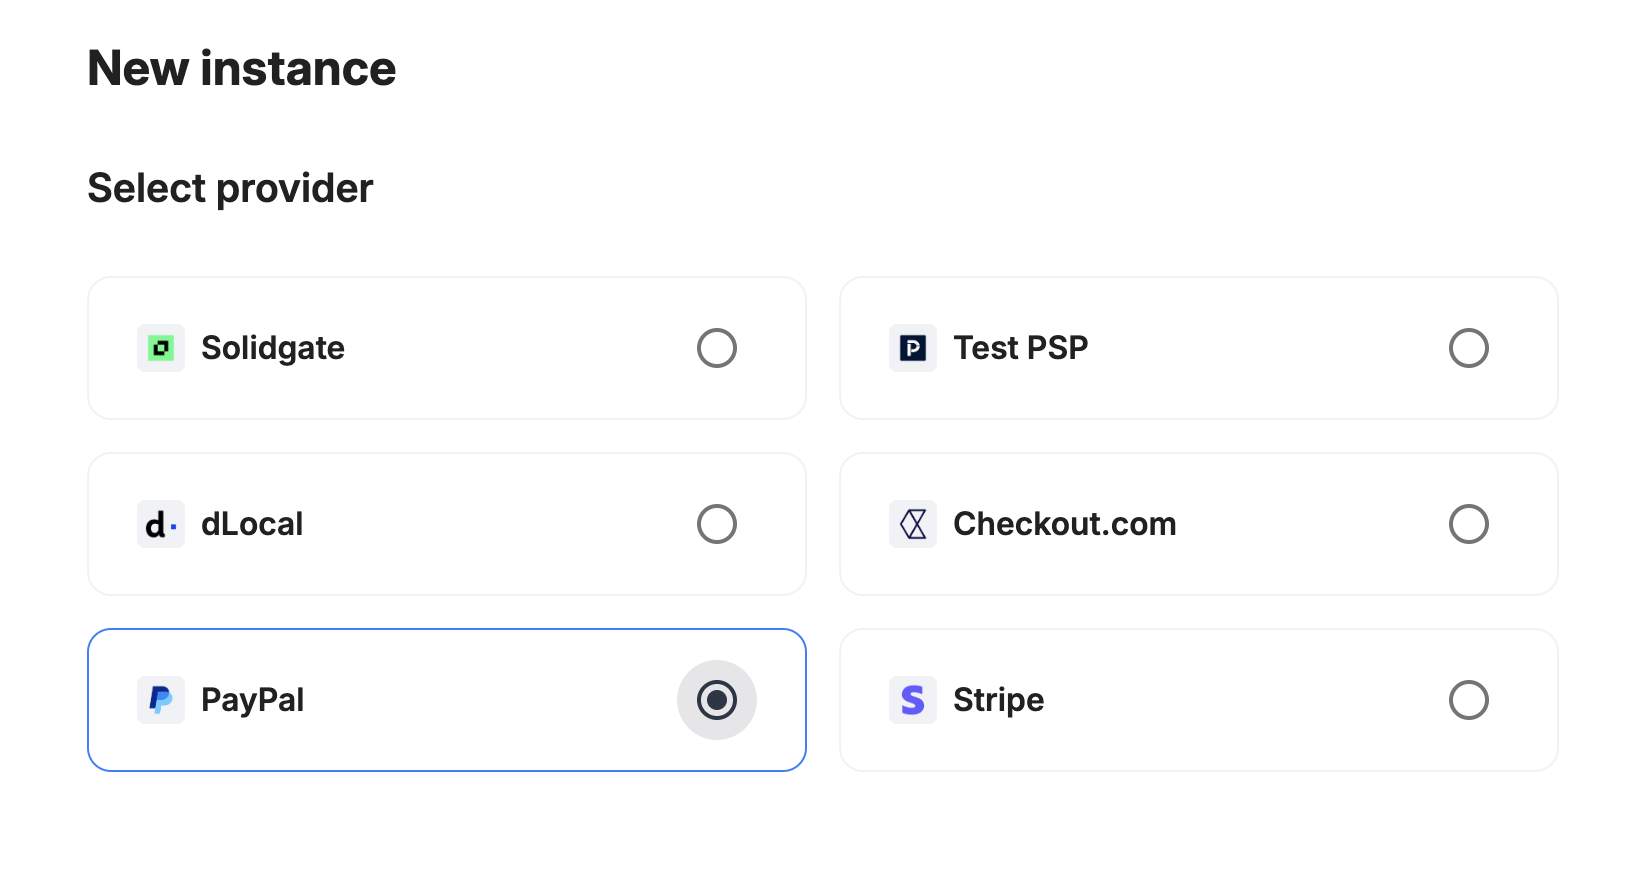
Choose the provider
Select PayPal and continue to the next step.
Configure your PayPal integration
This path uses PayPal's OAuth flow to connect your PayPal account to Payrails. You don't need to manually copy API credentials or webhook secrets.
Integration instance name
Enter an Instance name for your integration. An integration instance is a specific payment provider setup in Payrails. You can create multiple instances for each provider based on region, currency, or business needs. Choose a clear, consistent name, as it is used in routing.
Select integration mode
Under Integration Mode, select the mode you want for PayPal.
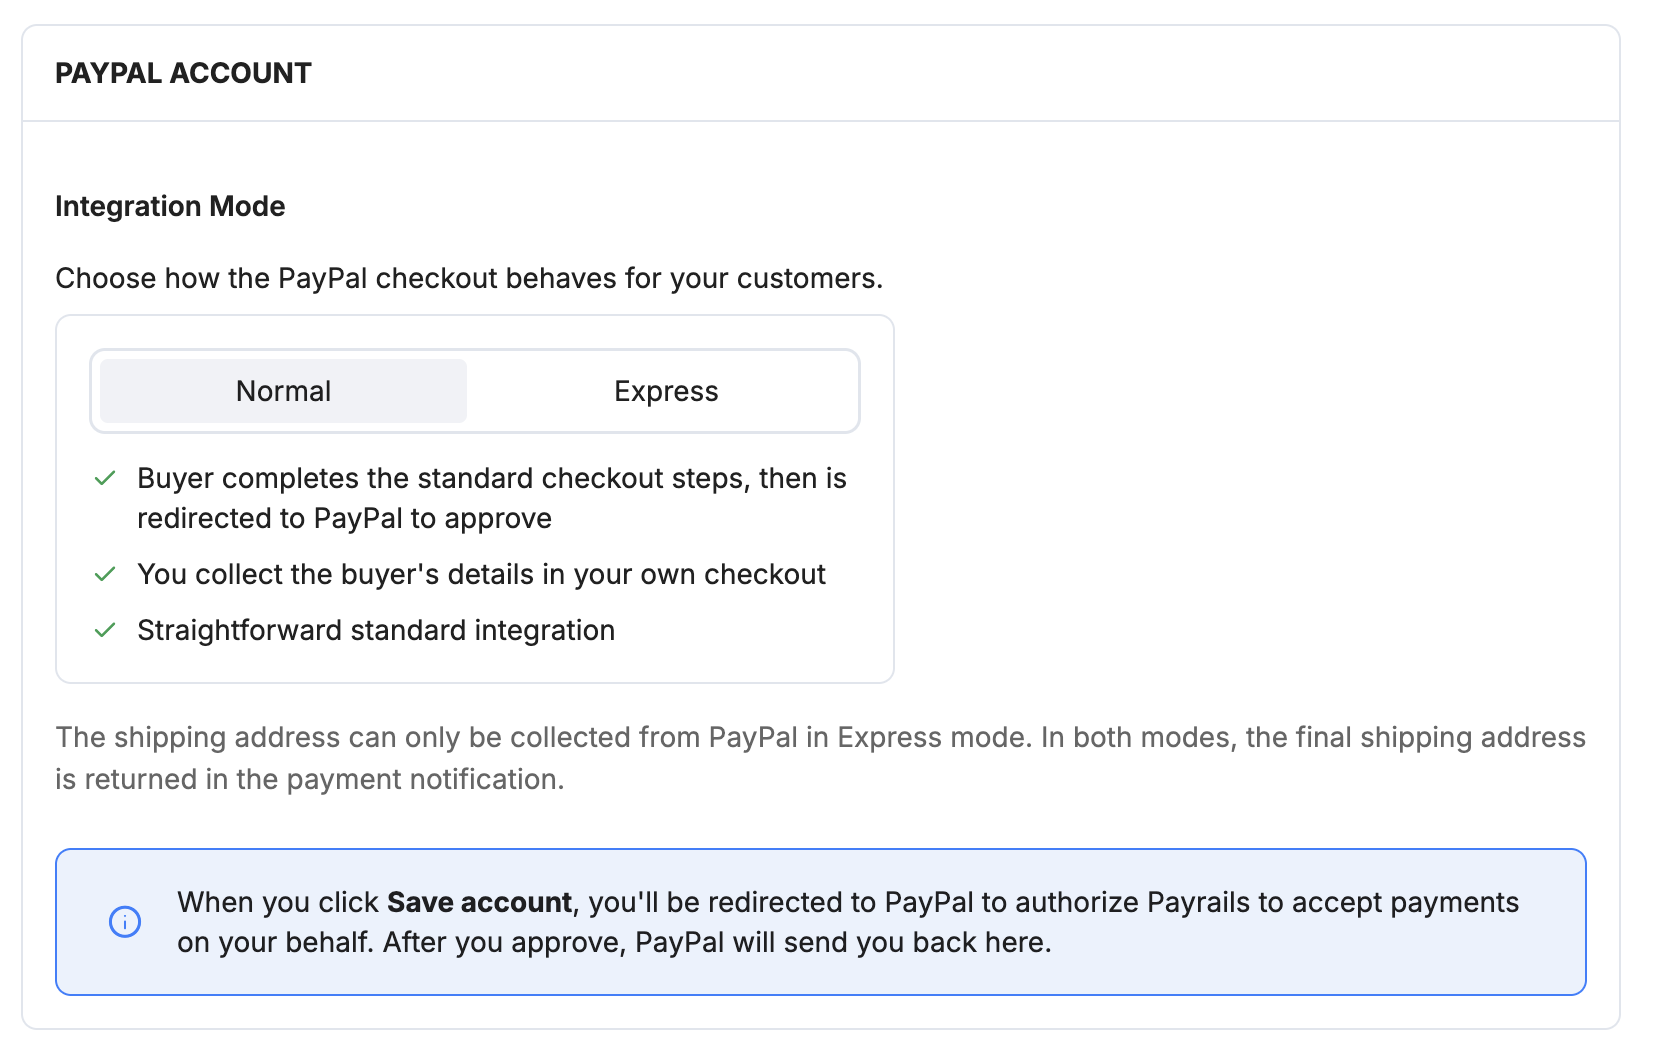
Connect your PayPal account
Select Save account. A dialog will open explaining the next step.
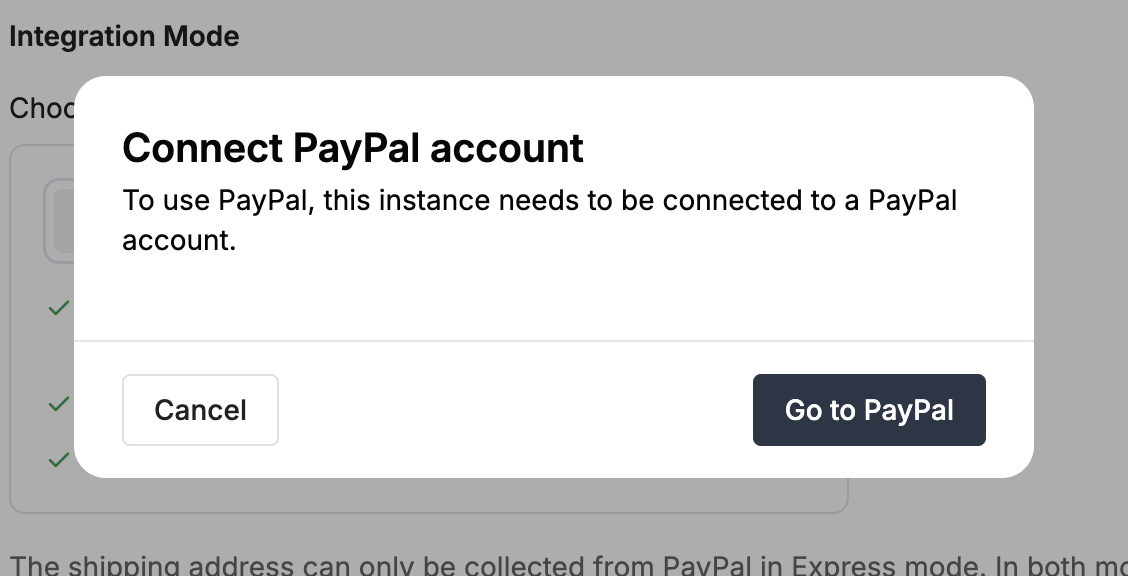
Select Connect with PayPal and Payrails redirects you to PayPal where you will:
- Sign in to your PayPal account.
- Review the requested permissions.
- Authorize Payrails to access your account.
After successfully authorizing Payrails, select Return to Store button to be redirected back to the Payrails.
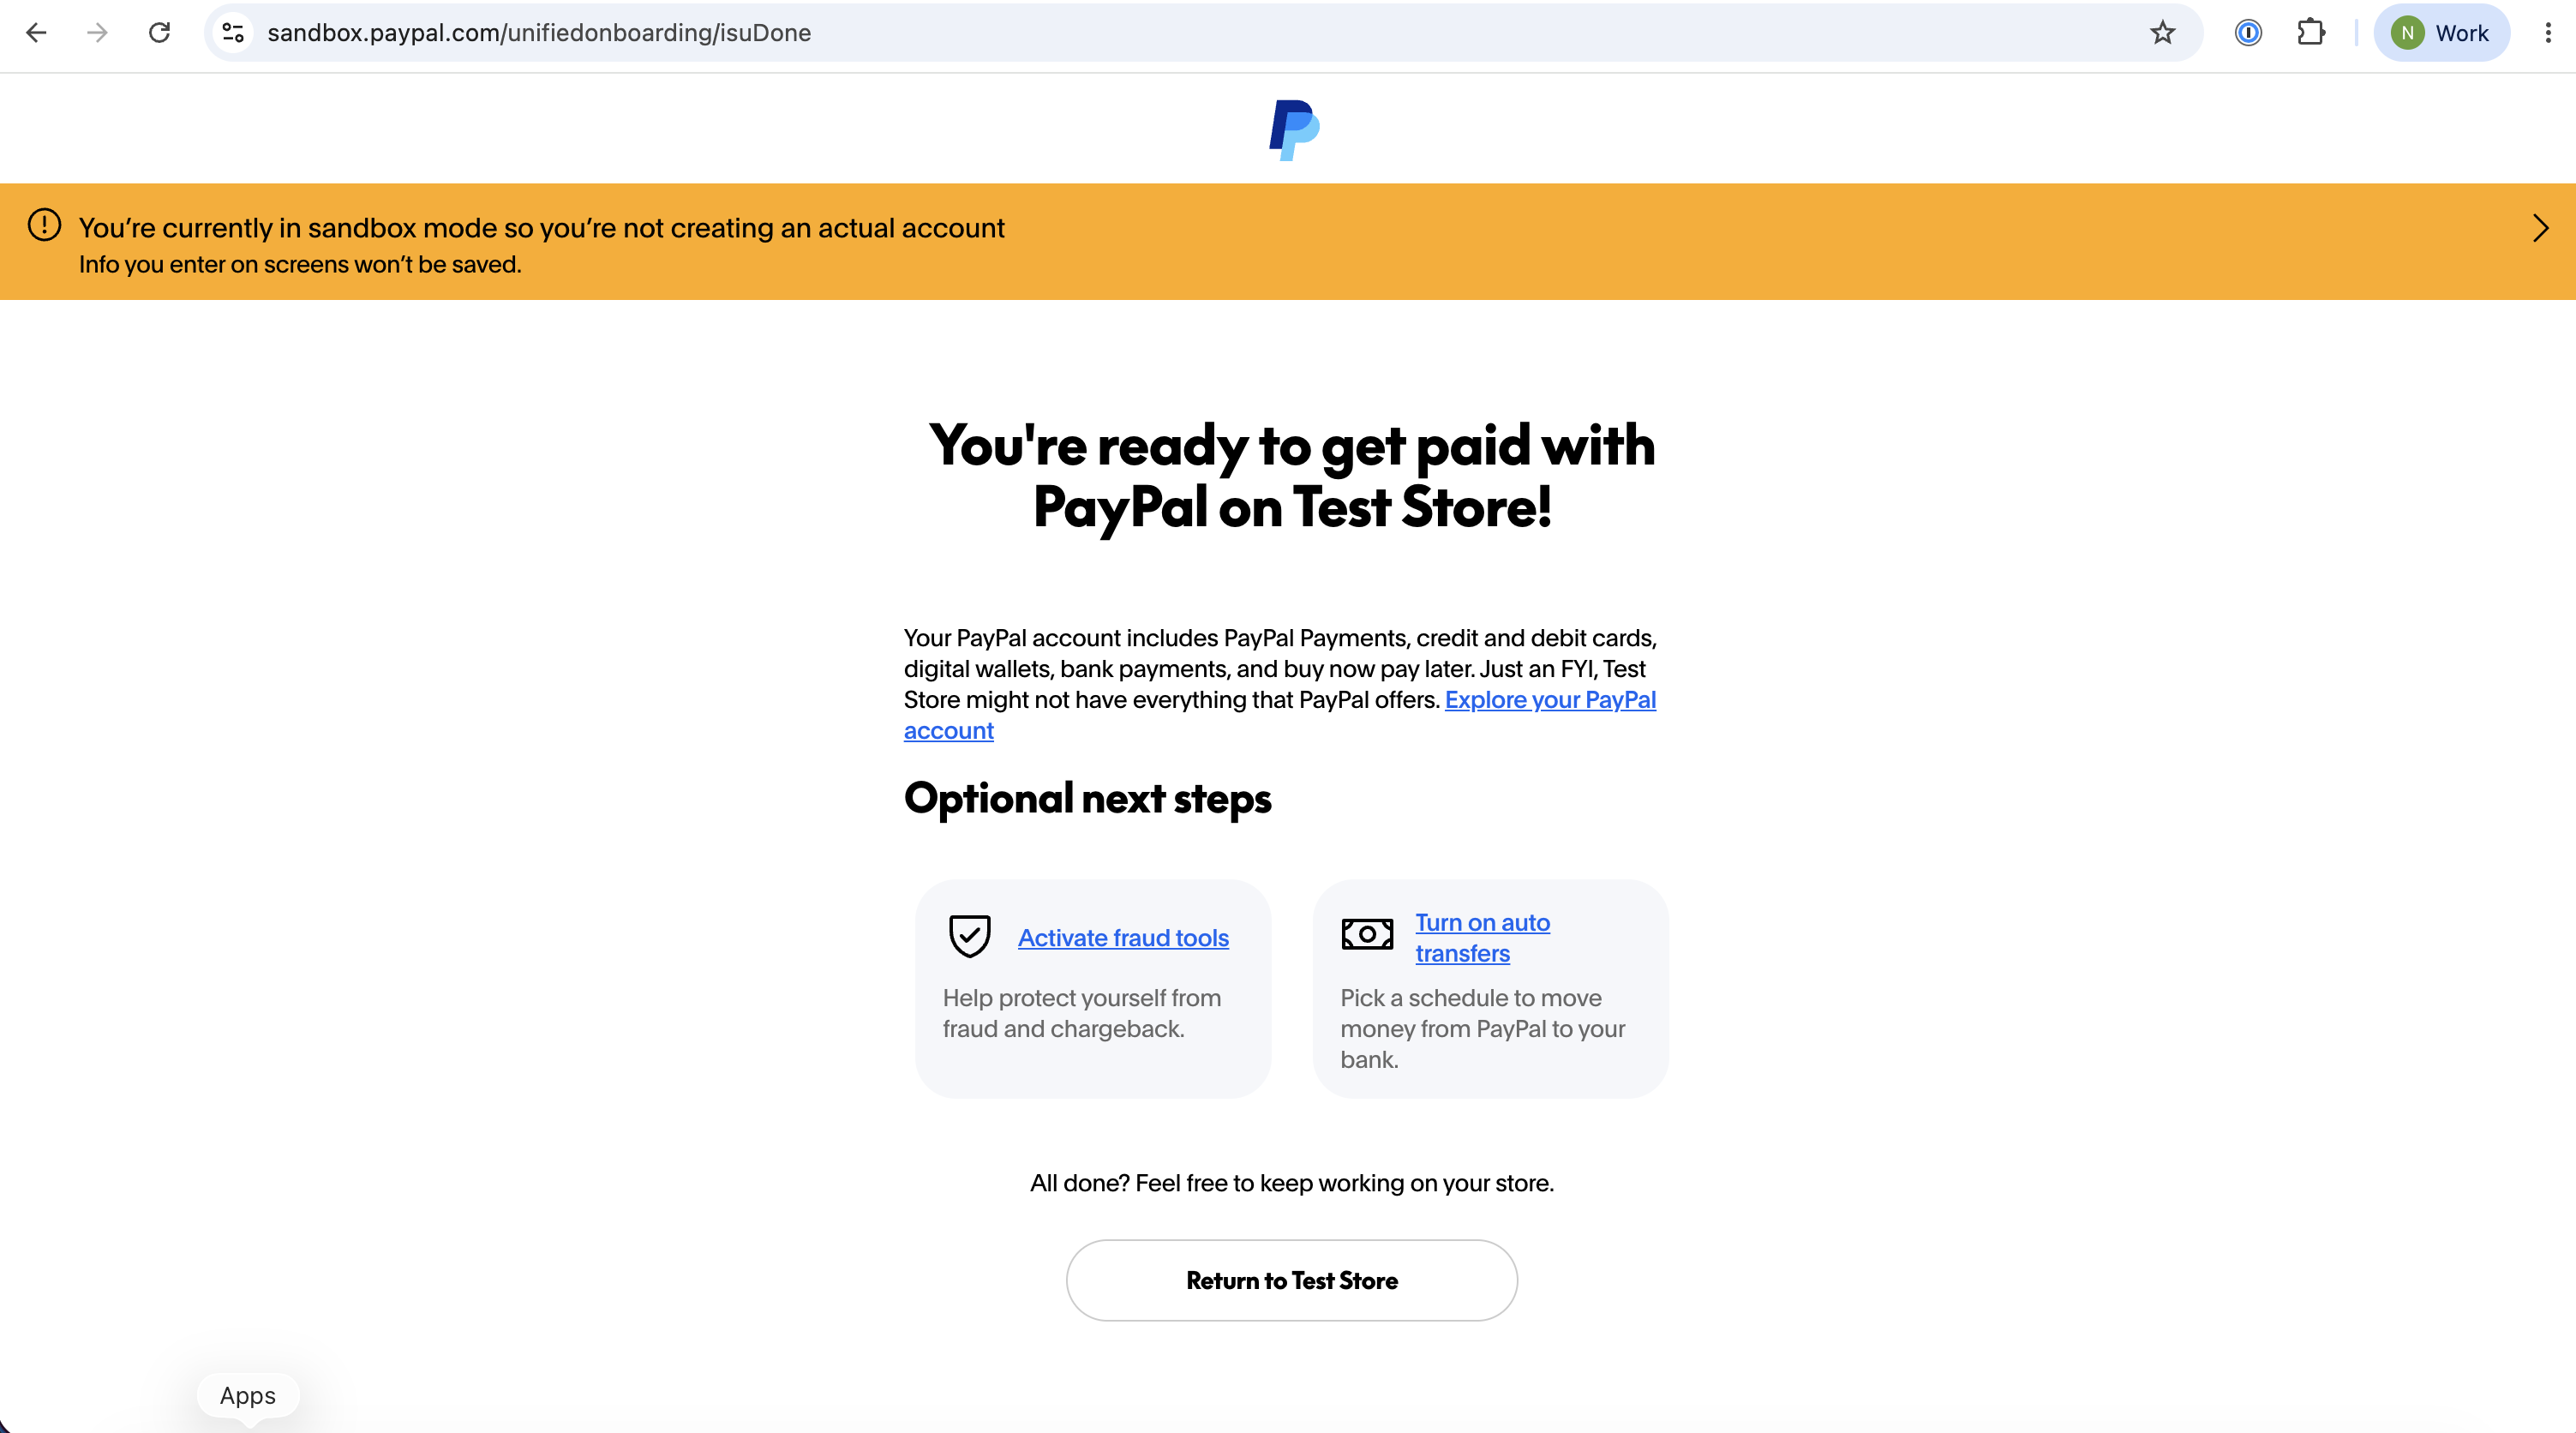
After you return to the Payrails Portal, your PayPal configuration is saved automatically. Once the process is complete, you will be redirected to the integration details page.
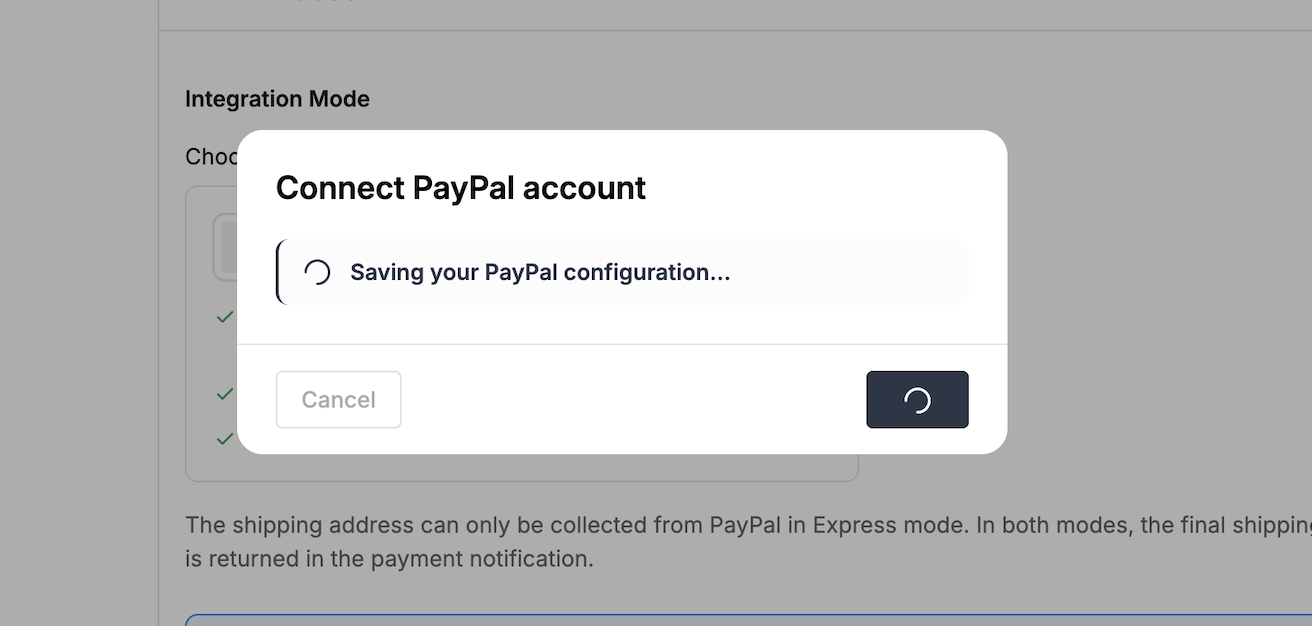
Your PayPal integration is now ready to process payments.
ImportantAfter authorizing Payrails, select Return to Store to return to the Payrails Portal. The integration is not completed until you return to Payrails and the onboarding flow finishes successfully.
Continue onboarding
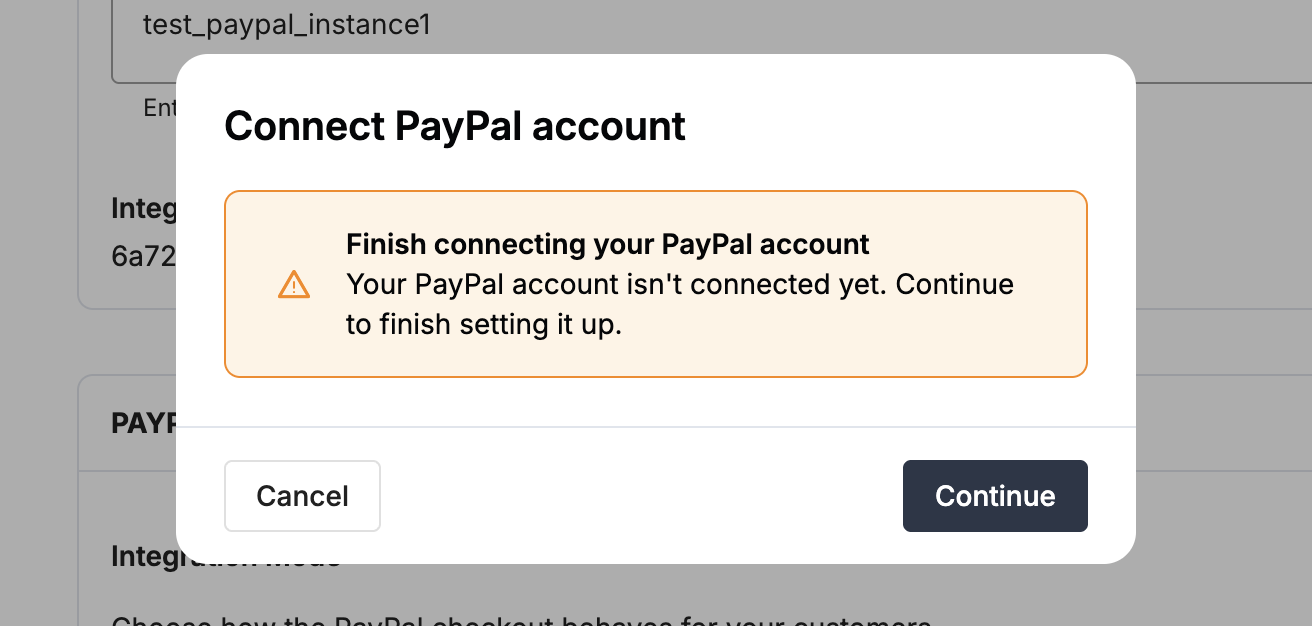
If the onboarding process is interrupted after you authorize PayPal—for example, if the browser is closed or the redirect back to Payrails does not complete—return to the original Payrails Portal tab. If the onboarding wasn't completed, the dialog will display a Continue button.
Select Continue to resume and complete the onboarding process.
Editing an existing PayPal integration
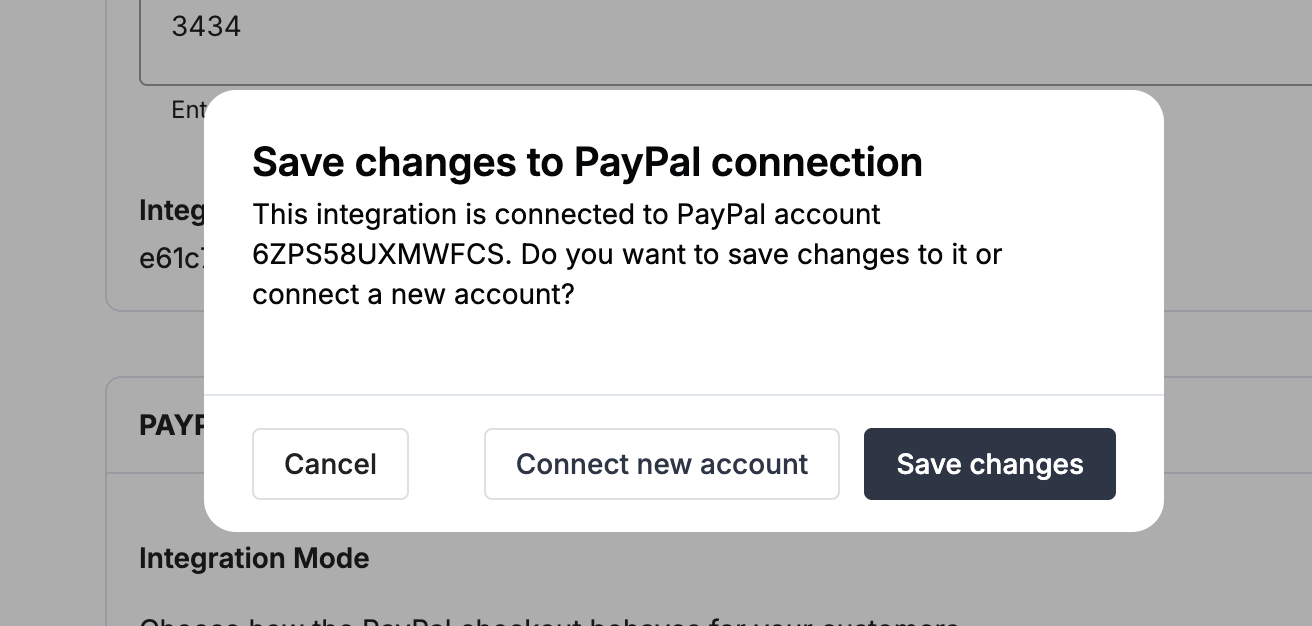
In edit mode, when you re-open PayPal integration, the configuration screen identifies the currently connected PayPal account and lets you choose between keeping the existing connection or connecting a different PayPal account.
When you select Save account, a dialog offers two options:
-
Save Changes — It will preserve the current connection.
-
Connect new account — start a fresh OAuth flow with a different PayPal account.
Next steps
Before processing live traffic, verify that your integration has been configured successfully.
- We recommend confirming that:
- The PayPal account is connected successfully.
- The integration status is healthy.
- The correct workspace is selected.
- A test payment completed successfully.
- Once verified in test mode, repeat the setup in live mode.
→ Continue to: Test a payment
Updated about 1 month ago