
Adyen
A step-by-step guide for setting up your Adyen dispute integration in the Payrails portal.
Who should use this guideThis guide is intended for merchants who:
- Use Payrails as chargeback
- Use Adyen Disputes
We use a server-to-server integration with Adyen, so your account must be enabled to process dispute. If this isn’t enabled, chargebacks won’t work in production. Please contact your Adyen account manager or support team to activate it.
How to request permission for Disputes API management
-
Locate the credential used for the integration with Payrails (eg "WS_XXXXXX").
- On the section "Permissions > UNCATEGORIZED"
- locate and check the checkbox: "[X] API dispute management"
- Click "Save changes"
-
Email [email protected].
Optionally copy the Payrails Support team.
In your request, confirm that Payrails will act as the chargeback orchestrator:
Dear Adyen team,
Please enable "Permissions > UNCATEGORIZED > API dispute management" on WS user "WS_XXXXX" for "MERCHANT_NAME" to be used with Payrails Integration.
Create and configure an Adyen integration in Payrails
- Log in to the Payrails portal.
- Go to Settings → Integrations.
- Select Add instance to create a new Adyen integration configuration.
- Select the Workspaces where this integration should be available.
About Workspaces
Workspaces determine where this integration is available. They let you isolate provider setups by region or business line, or share the same configuration across multiple Workspaces.
Step 1: Choose the integration type
- Select Dispute and continue to the next step.
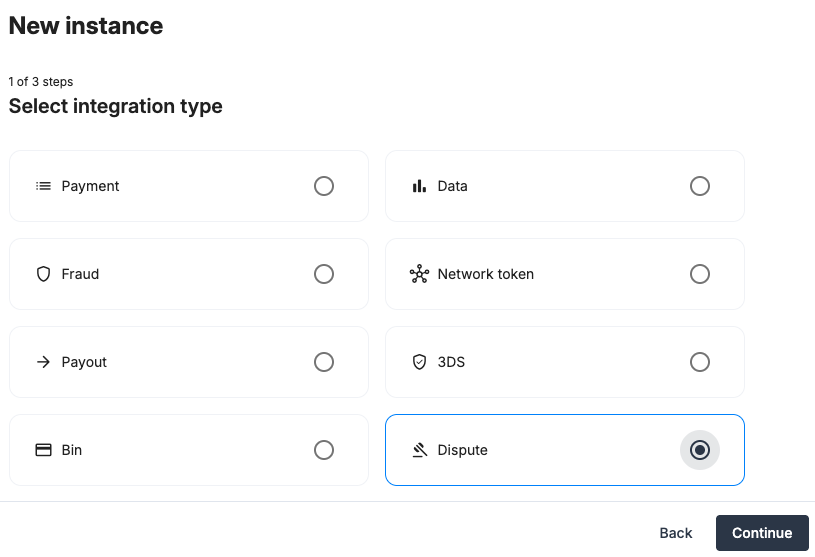
Step 2: Choose the provider
- Select Adyen and continue to the next step.
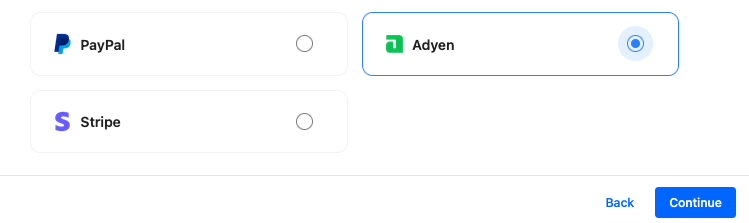
Step 3: Configure your Adyen integration
What you’ll need from AdyenBefore you begin, make sure you have access to:
- Adyen merchant account name
- Adyen API key (Web Service User)
- Prefix (production only)
- Webhook HMAC key
Log in to your Adyen merchant dashboard to complete this step.
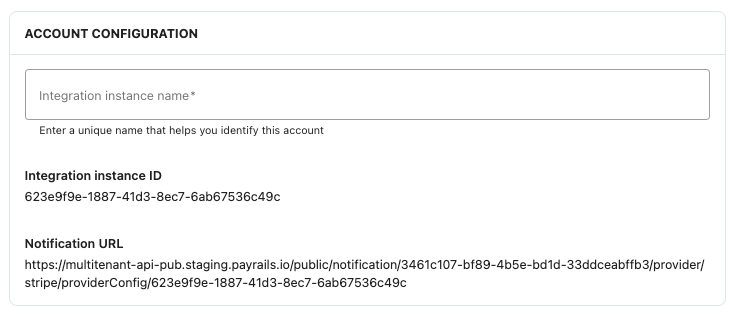
Integration instance name
In Payrails
- Enter an Instance name for your integration.
Merchant account name
In Adyen
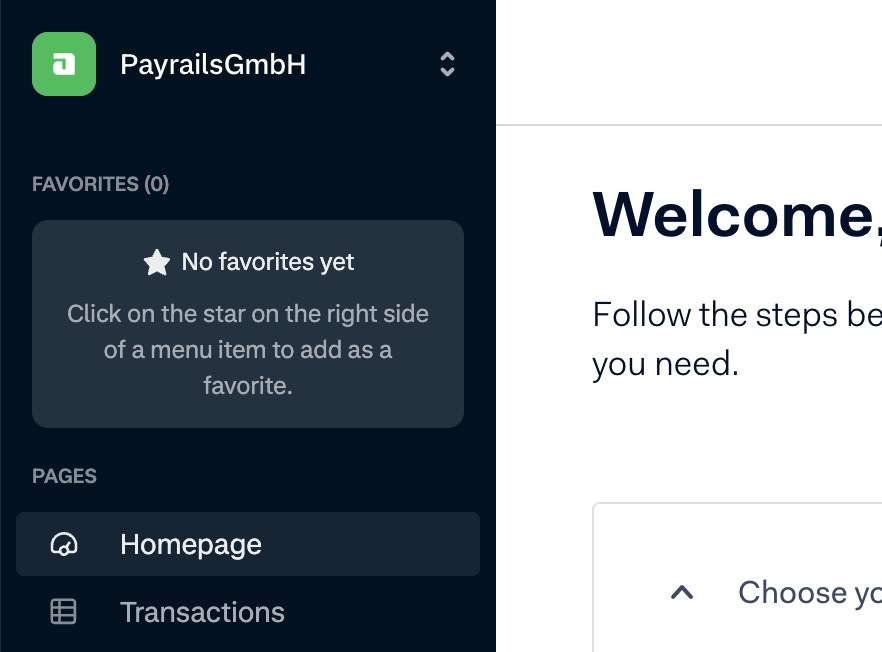
- Log in to your Adyen dasboard.
- Click the company logo or name in the top-left corner.
- From the list of merchant accounts, copy the Merchant account name
(not the company account).
In Payrails
- Paste the value into the Merchant account name field.
Prefix (production only)
The prefix is required in production but not in staging.
You can leave this field blank in staging environments.
In Adyen
- Go to Developers → API URLs.
- Copy the Prefix value.
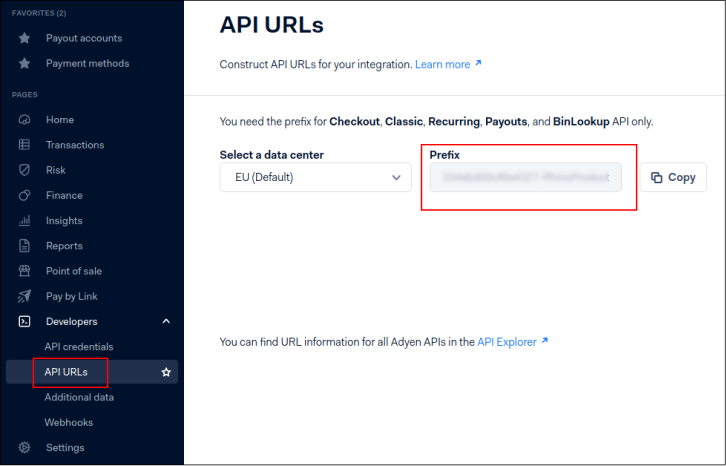
In Payrails
- Paste the value into the Prefix field.
API key
Use a dedicated Web Service User API key and store it securely.
In Adyen
- Go to Developers → API credentials.
- Select Create new credential.
- Choose Web Service User.
- Create the credential and copy the API key.
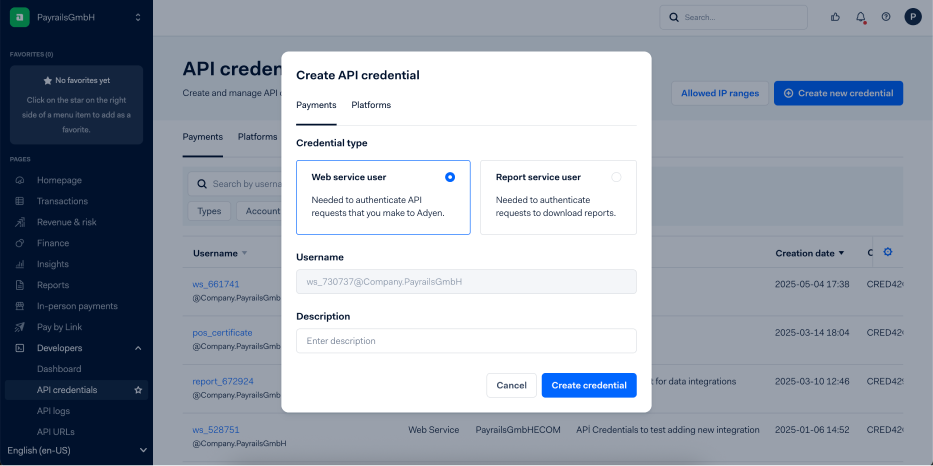
In Payrails
- Paste the value into the API key field.
HMAC key (webhook signing key)
Payrails uses Adyen webhooks to receive asynchronous chargeback status updates.
Create the webhook in the same environment (test or live) as your Payrails integration.
In Payrails
- Copy the Notification URL from the webhook section.
In Adyen
- Go to Developers → Webhooks.
- Create a new Standard webhook.
- Select only the merchant account you are configuring.
- Paste the Payrails notification URL into the URL field.
- In Security, generate a new HMAC key and copy it.
- In Events, enable all standard events.
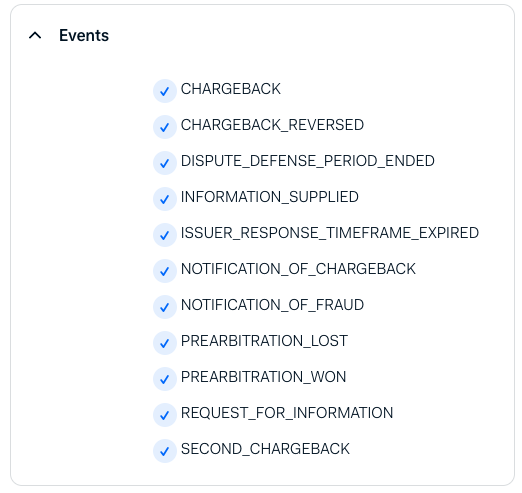
Save the webhook configuration.
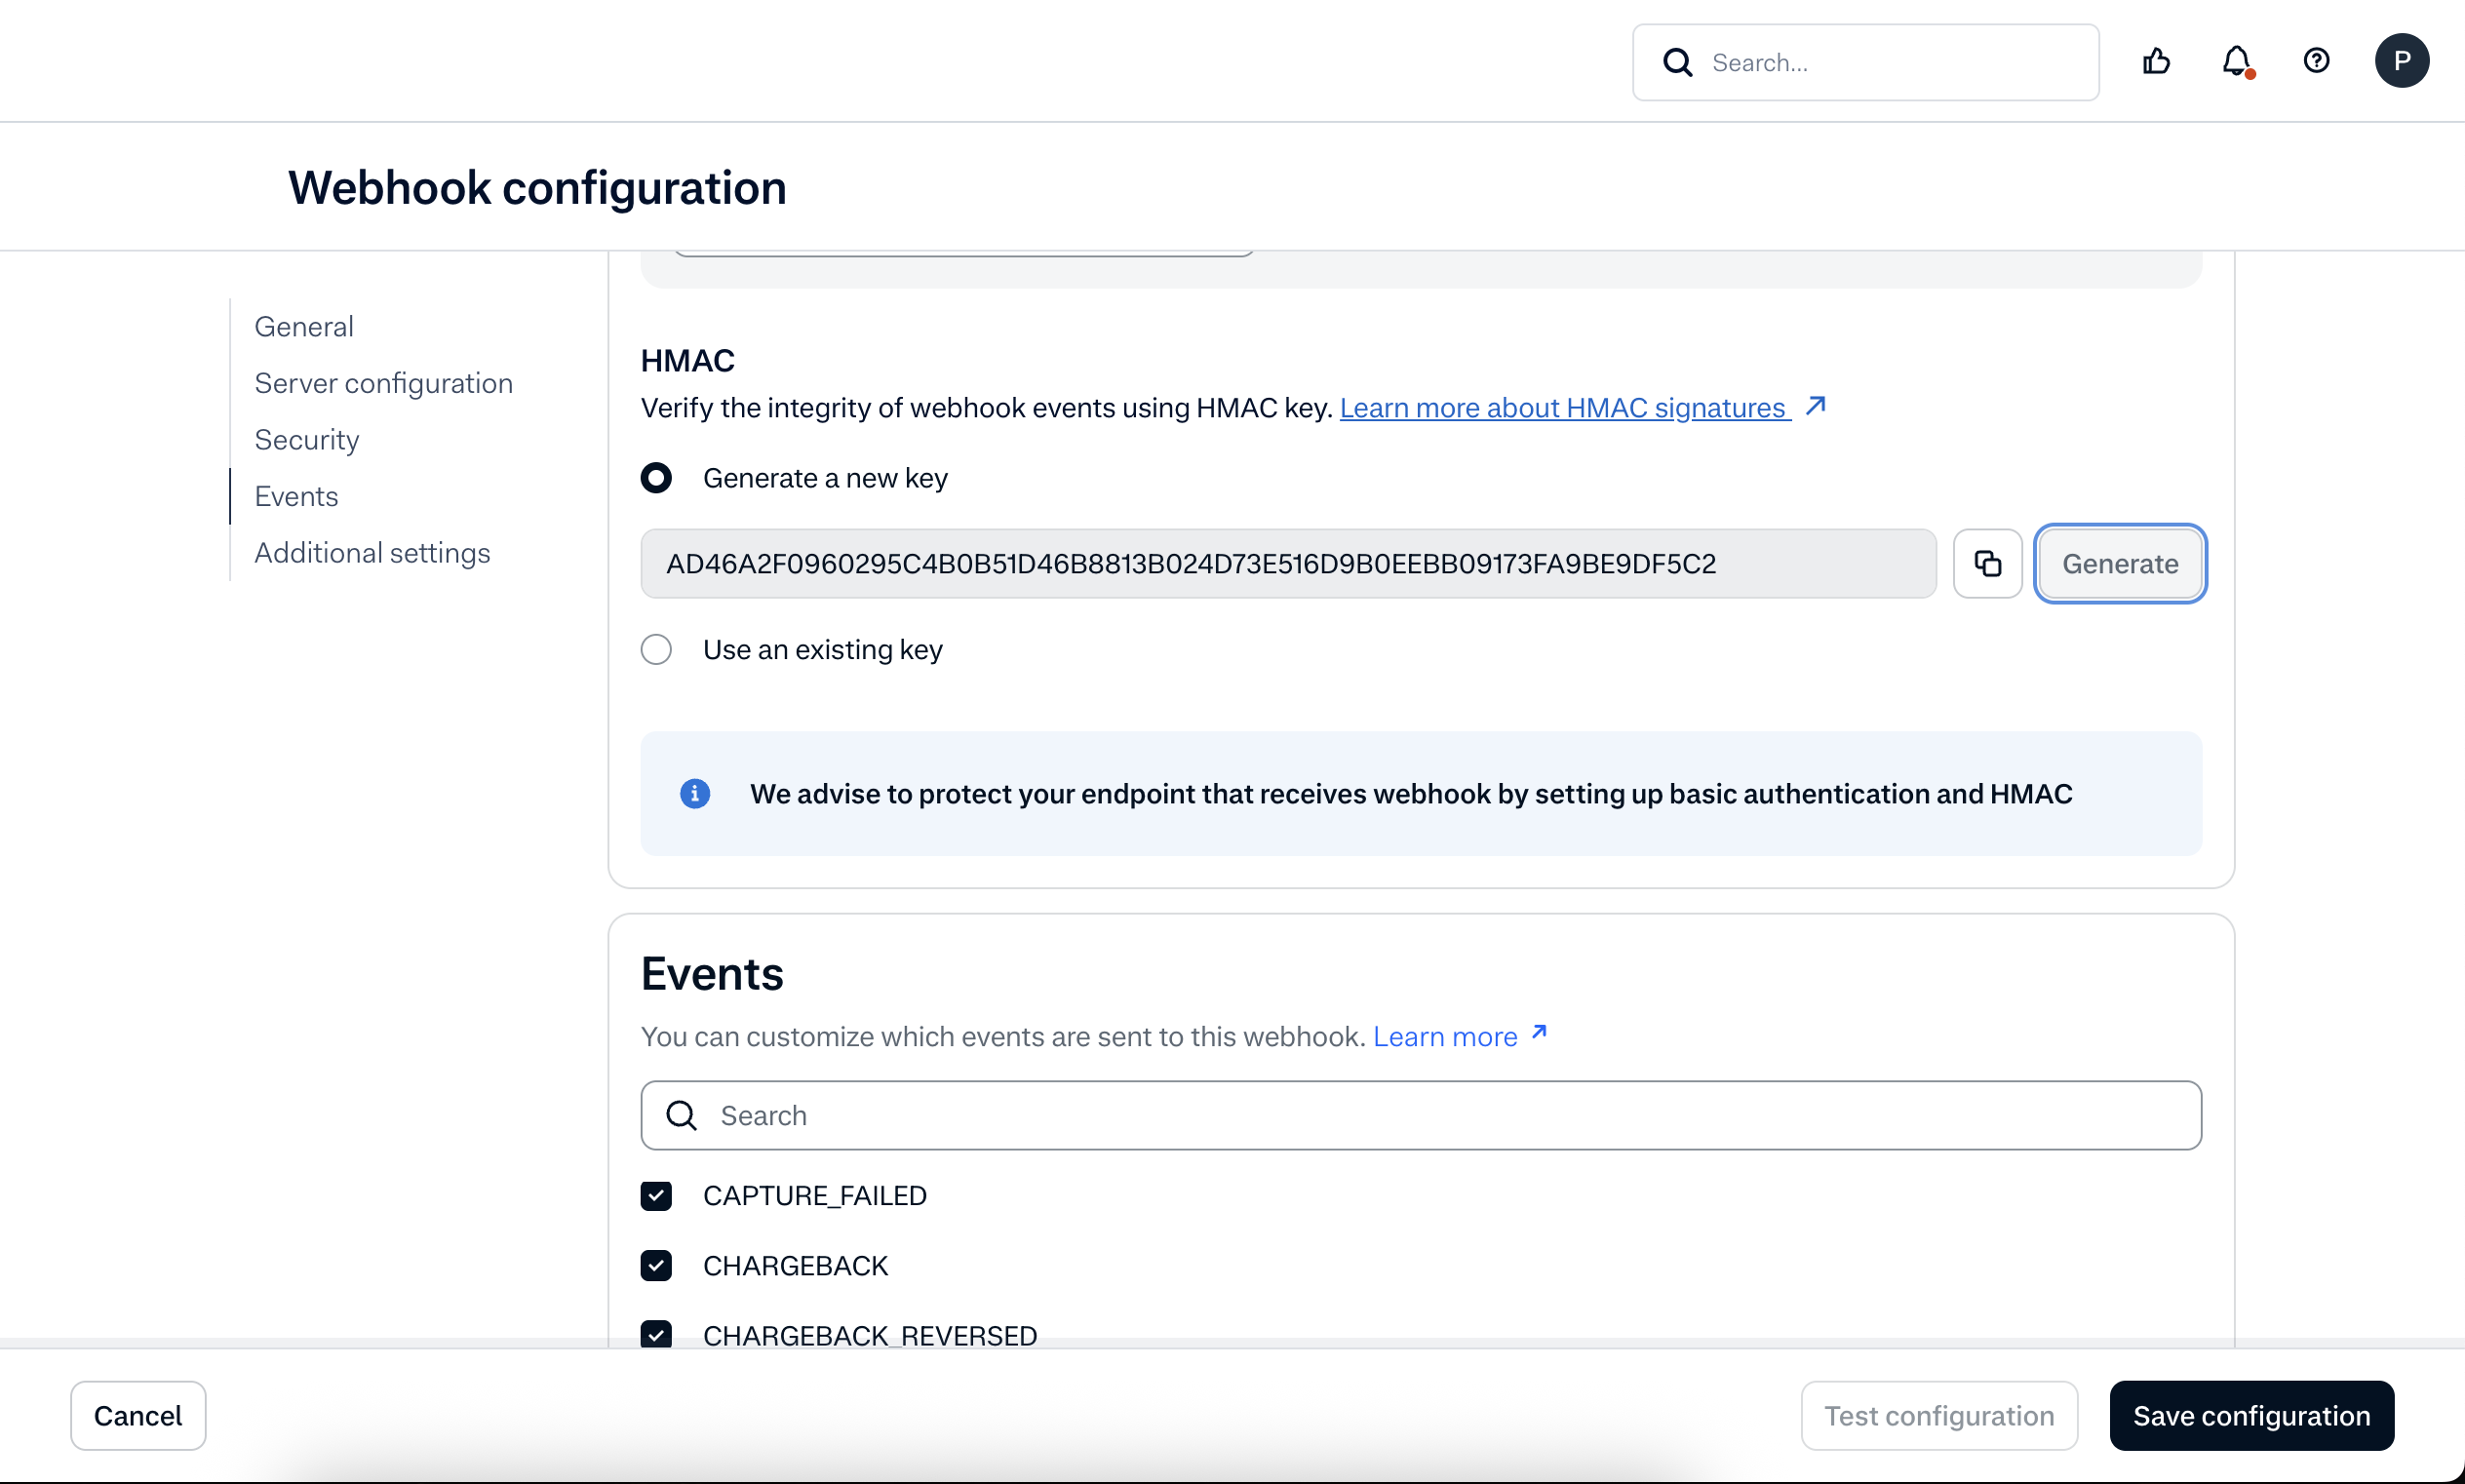
In Payrails
- Paste the HMAC key into the HMAC key field.
- Return to the integration overview after your changes are saved.
Enable the integration
In Payrails
- Select Save account Save the configuration to enable the integration.
The Enabled status confirms that the Adyen integration is active.
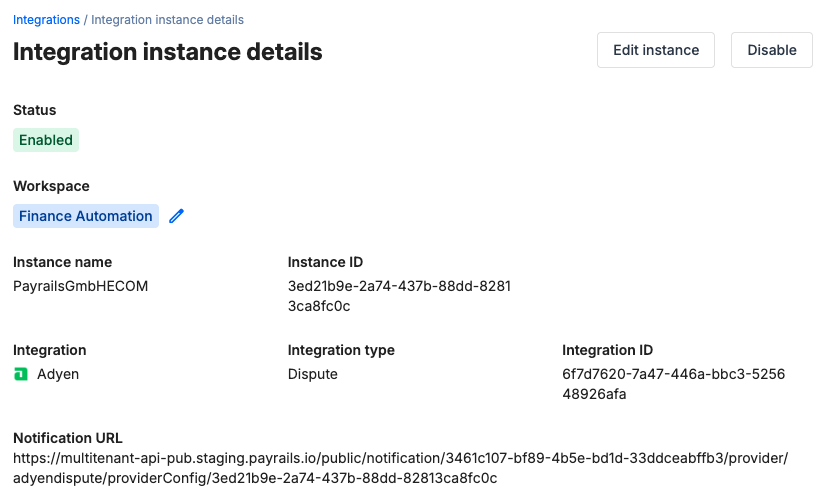
Your Adyen integration is now ready to process chargebacks
Next steps
- Run a test payment triggering a chargeback using a Adyen test card.
- Verify that:
- The dispute appears in Adyen.
- The chargeback status updates correctly in Payrails.
- Once verified in test mode, repeat the setup in live mode.
Updated 4 months ago