
2C2P
A step-by-step guide for setting up your 2C2P payments integration in the Payrails portal.
Who should use this guideThis guide is intended for merchants who:
- Use Payrails as a payment orchestrator
- Use 2C2P to accept payments across South-East Asia
- Want to accept card payments (and VietQR in Vietnam) through 2C2P's hosted payment page
2C2P uses a hosted payment page (redirect) integration: your shopper is redirected to 2C2P to enter their card details or scan the QR and to complete the 3DS/OTP challenge, so raw card data never passes through your checkout.
Create and configure a 2C2P integration in Payrails
Following are the initial steps to set up 2C2P:
- Log in to the Payrails portal.
- Go to Settings → Integrations → Payments.
- Select Add instance to create a new 2C2P integration configuration.
- Select the workspaces where this integration should be available.
About workspaces
Workspaces determine where this integration is available. They let you isolate provider setups by region or business line, or share the same configuration across multiple workspaces.
Step 2: Choose the provider
Select 2C2P and continue to the next step.
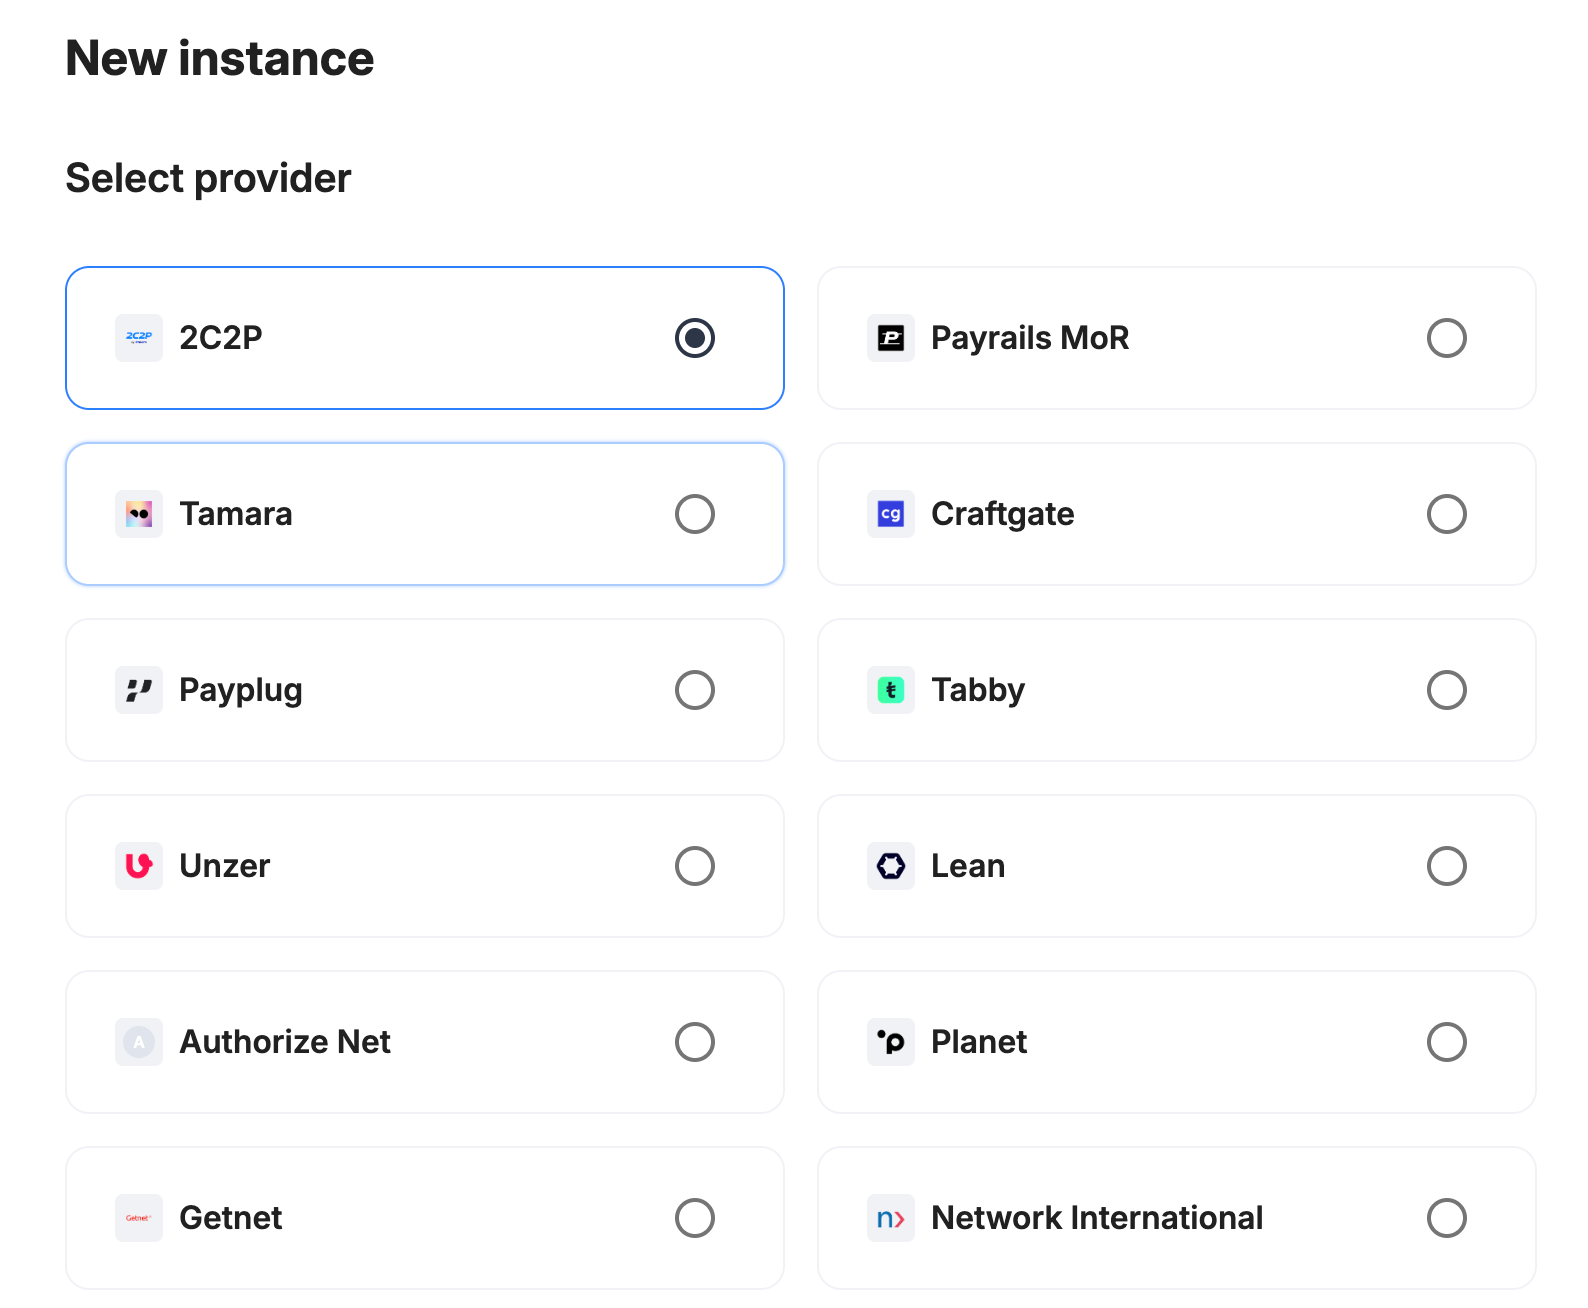
Step 3: Configure your 2C2P integration
What you'll need from 2C2PBefore you begin, make sure you have access to your 2C2P Merchant Portal and the following:
- Merchant ID
- Secret key (used to sign requests to 2C2P's Payment API)
- For capture, void and refund only: an RSA key pair — your merchant private key and 2C2P's public key (log in to your 2C2P Merchant Portal to complete this step)
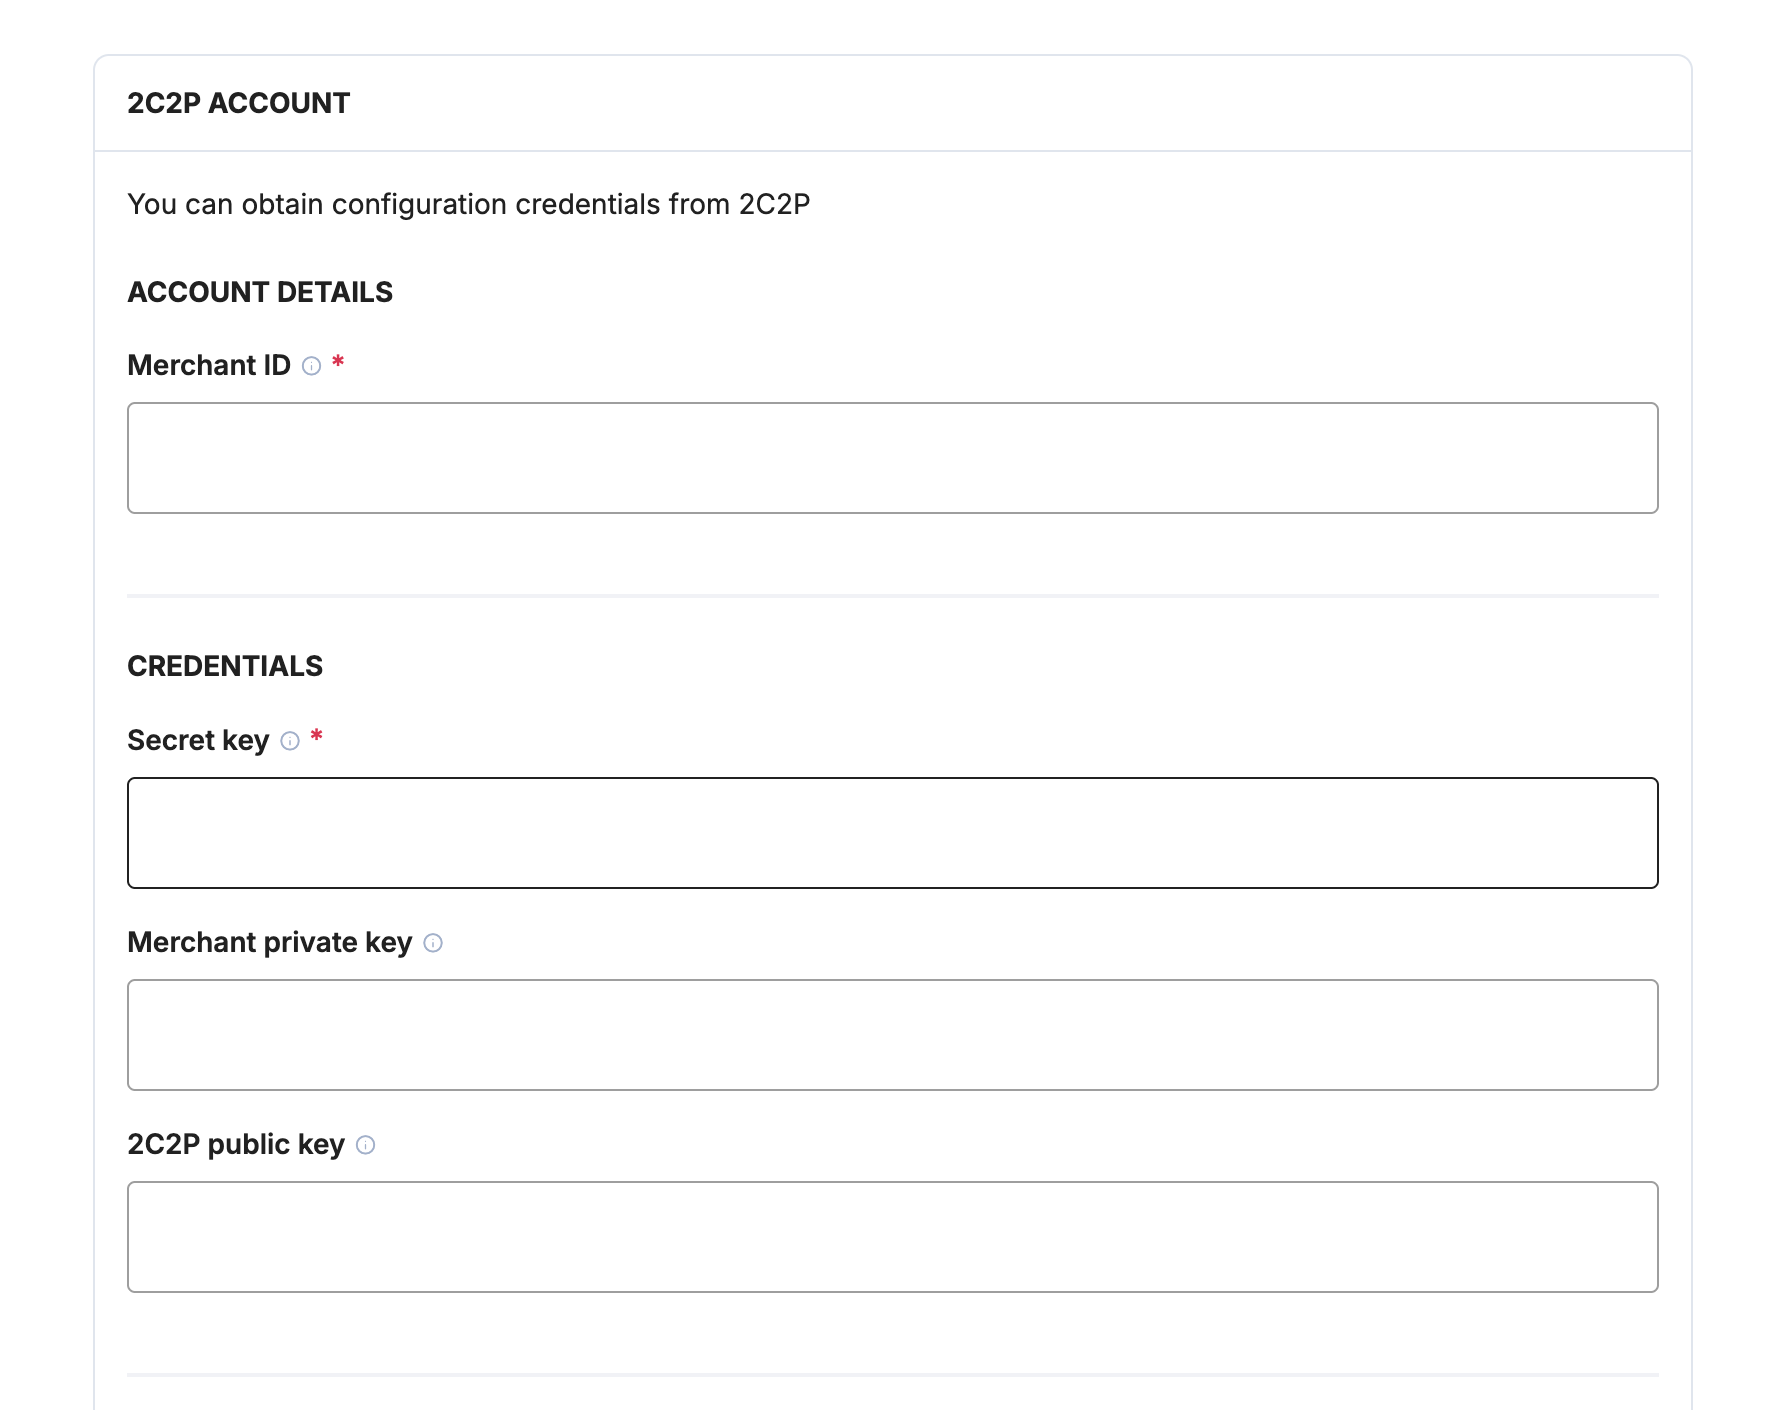
Integration instance name
An integration instance is a specific payment provider setup in Payrails. You can create multiple instances for each provider based on region, currency, or business needs. Choose a clear, consistent name, as it is used in routing.
In Payrails
- Enter an Instance name for your integration.
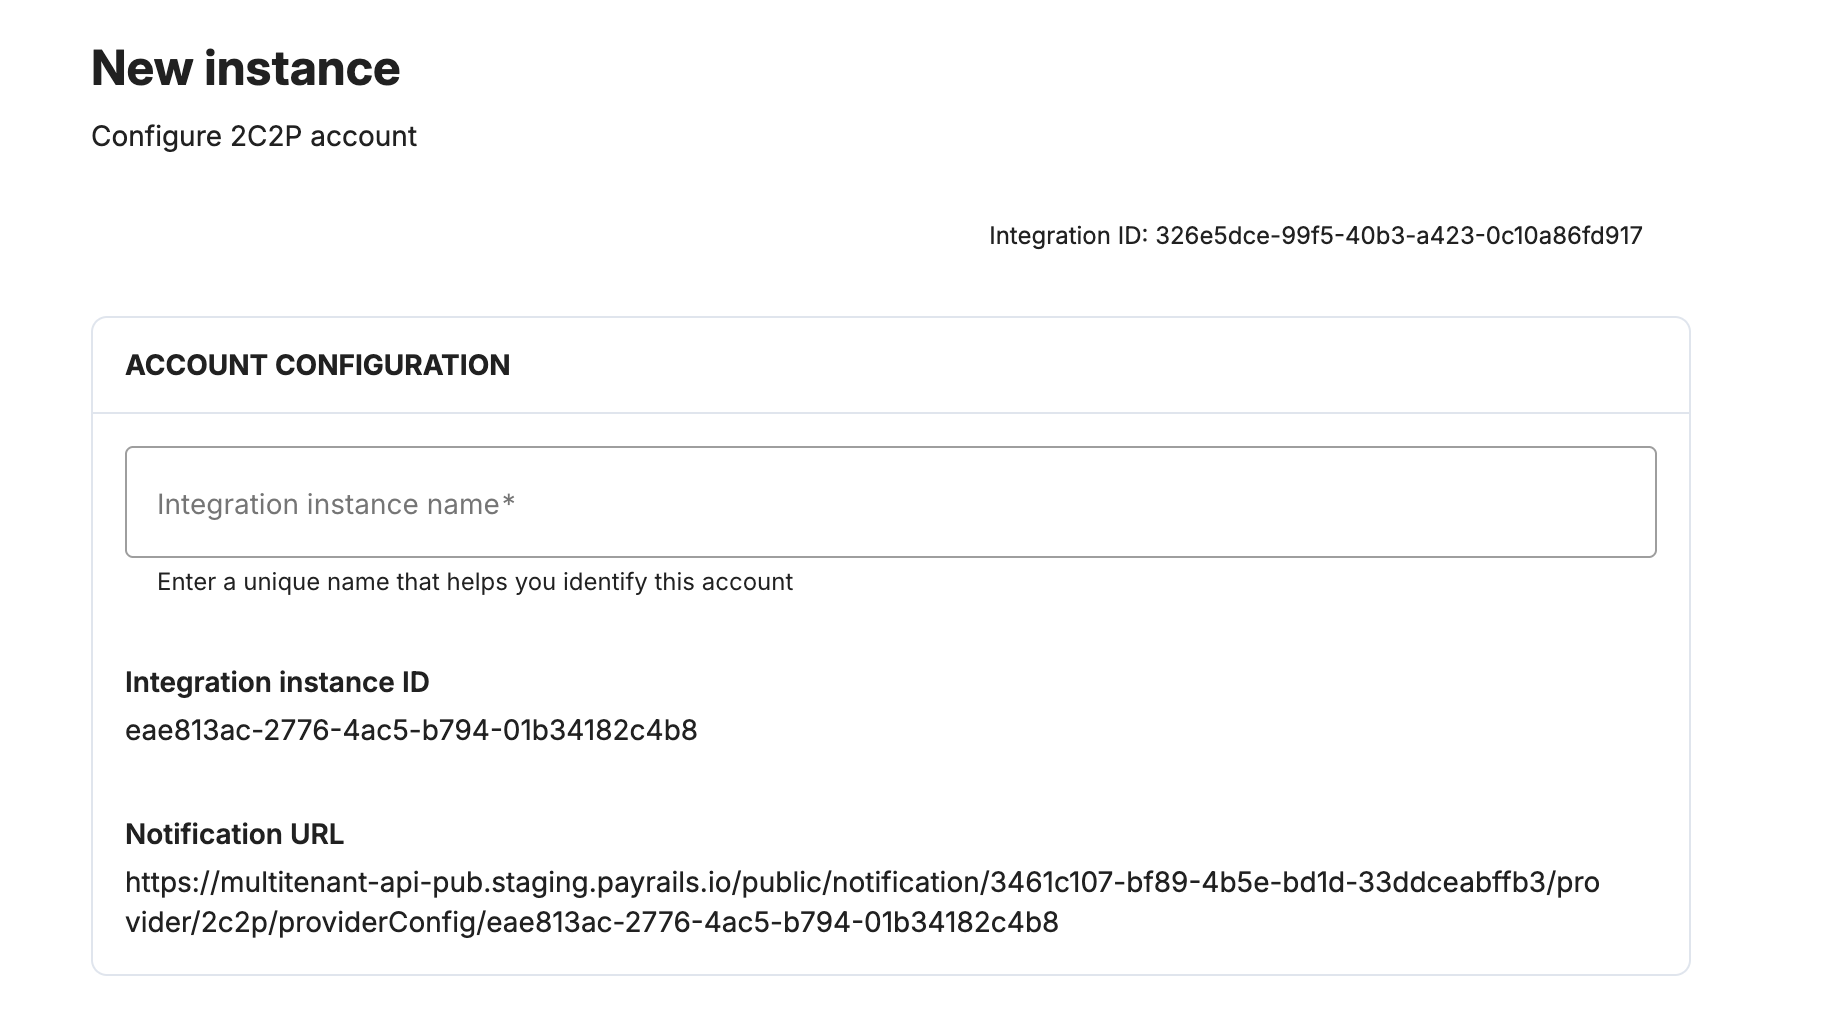
Merchant ID
In 2C2P
- In your 2C2P Merchant Portal, locate and copy your Merchant ID.
In Payrails
- Paste the value into the Merchant ID field.
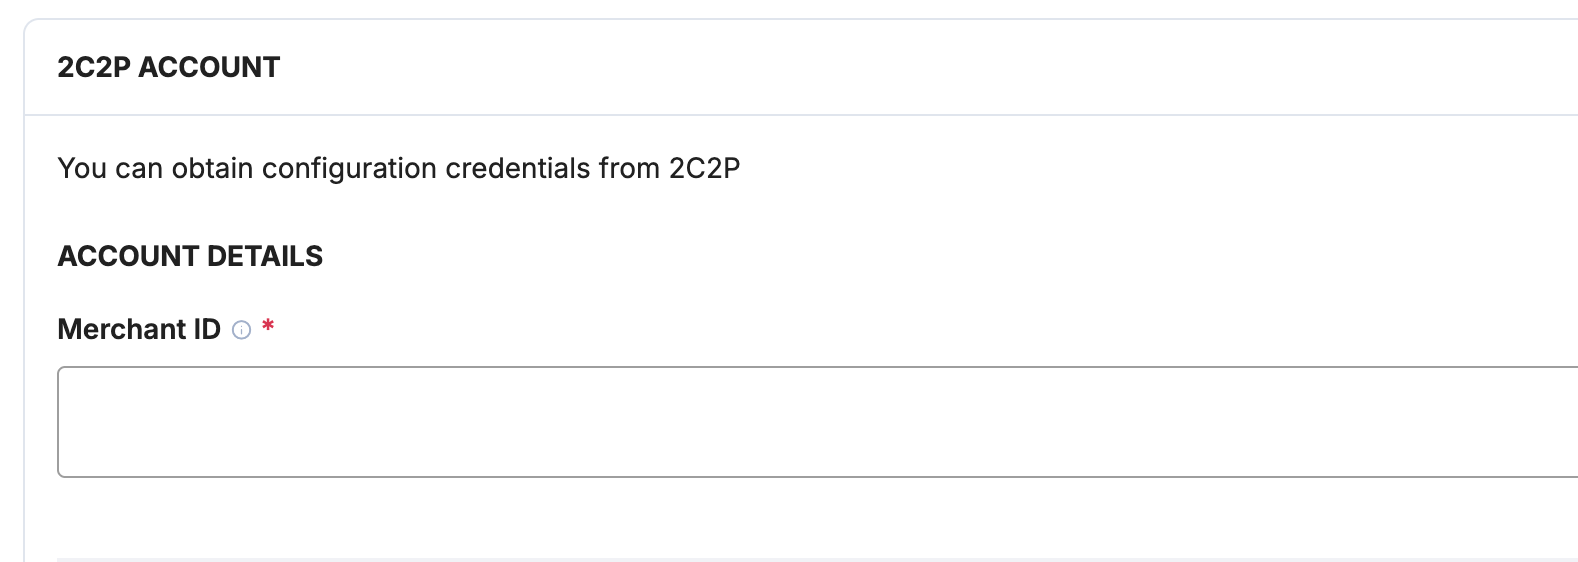
Secret key
In 2C2P
- In your 2C2P Merchant Portal, open your API / developer settings and copy the Secret key.
In Payrails
- Paste the value into the Secret key field.
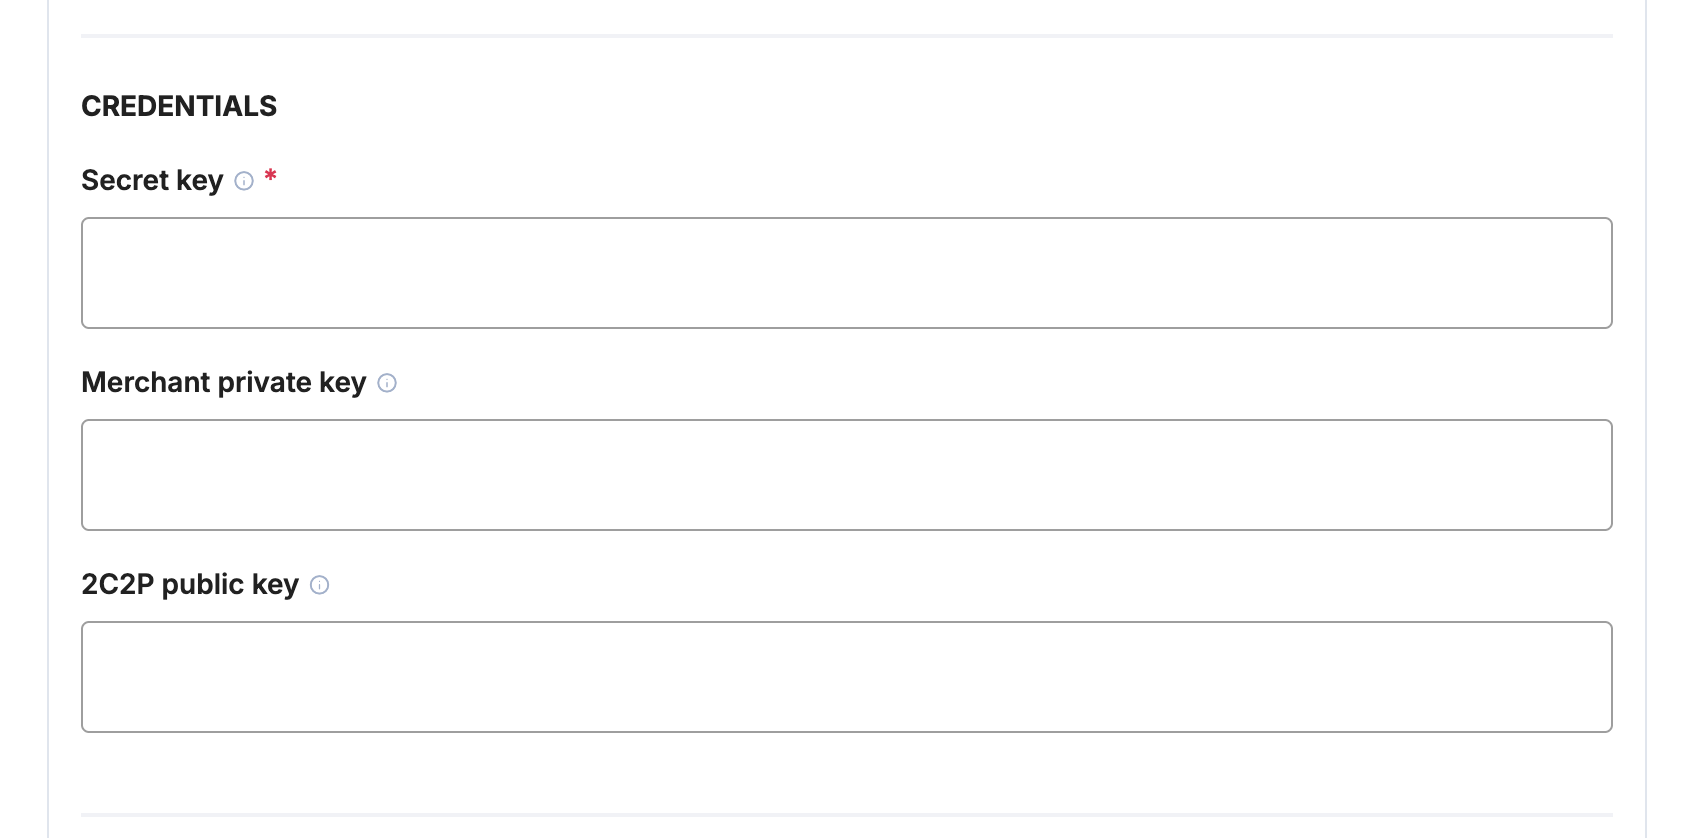
Merchant private key & 2C2P public key (for capture, void & refund)
These credentials are only required if you want to capture, void or refund payments through Payrails. Authorization and the hosted payment page work without them — you can add them later. (Capture, void and refund use 2C2P's encrypted maintenance API, which requires this key exchange.)
In 2C2P
- Generate an RSA key pair for your merchant account.
- Upload your public key / certificate to the 2C2P Merchant Portal and set it as the default key.
- Download 2C2P's public key from the portal (the key used for encrypted requests).
In Payrails
- Paste your merchant private key (PEM) into the Merchant private key field.
- Paste 2C2P's public key (PEM) into the 2C2P public key field.
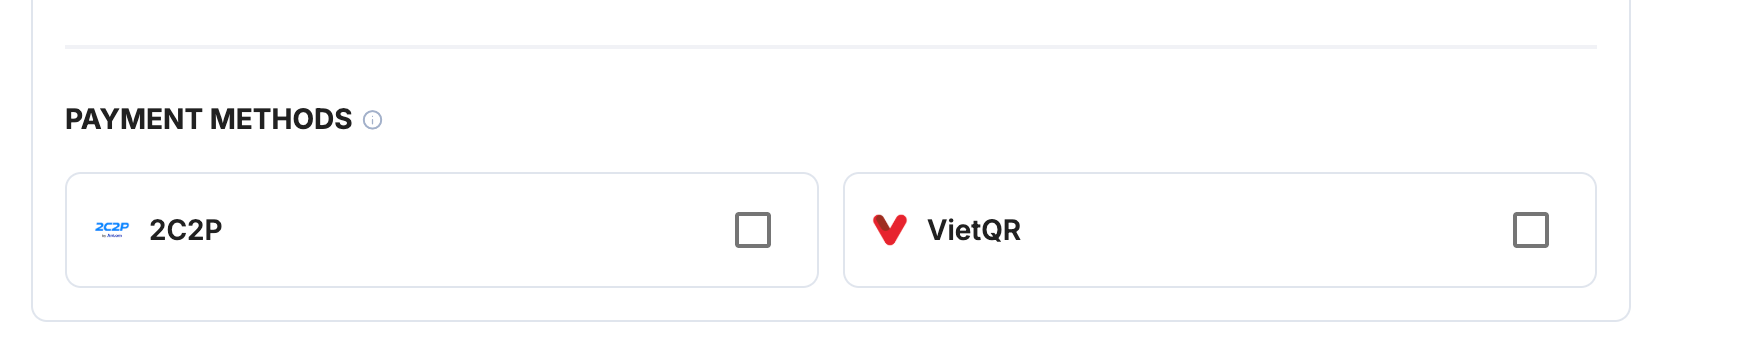
Payment methods
In Payrails
- Under Payment methods, select the methods you want to enable for this integration: 2C2P (cards) and/or VietQR (Vietnam).
Notifications: Payrails sends the notification (webhook) URL to 2C2P automatically with every payment, so there is no separate webhook to configure in the 2C2P portal.
Enable the integration
In Payrails
- Select Save account to save the configuration and enable the integration.
- The Enabled status confirms that the 2C2P integration is active.
Your 2C2P integration is now ready to process payments.
Next steps
- Run a test payment in test mode using a 2C2P test card (for example, Visa
4111 1111 1111 1111, any future expiry date, CVV123; complete the challenge on 2C2P's hosted page with OTP123456). Use a supported currency such as THB or VND. - Verify that:
- The payment appears in your 2C2P Merchant Portal.
- The payment status updates correctly in Payrails.
- Once verified in test mode, repeat the setup in live mode.
→ Continue to: Test a payment
Updated 23 days ago