
Getnet
A step-by-step guide for setting up your Getnet payments integration in the Payrails portal.
Who should use this guideThis guide is intended for merchants who:
- Use Payrails as a payment orchestrator
- Use Getnet Payments
- Are approved to process raw card data
Because we use a server-to-server integration with Getnet, both of the following must be in place before raw card processing works in production:
- Your Getnet account is approved to process raw card data
- A valid PCI-DSS Attestation of Compliance (AoC) is in place
If either is missing, payments won't work in production. Contact your Getnet account manager or support team to activate both.
Note: Getnet is region-specific. Separate provider accounts exist per market — Argentina (ARG), Chile (CHL), Mexico (MEX), and Mexico–US (MEX-US). Configure one Getnet integration per region you operate in.
Create and Configure a Getnet Integration in Payrails
- Log in to the Payrails portal
- Go to Settings → Integrations
- Select Add instance to create a new Getnet integration configuration
- Select the Workspaces where this integration should be available
About Workspaces: Workspaces determine where this integration is available. They let you isolate provider setups by region or business line, or share the same configuration across multiple Workspaces.
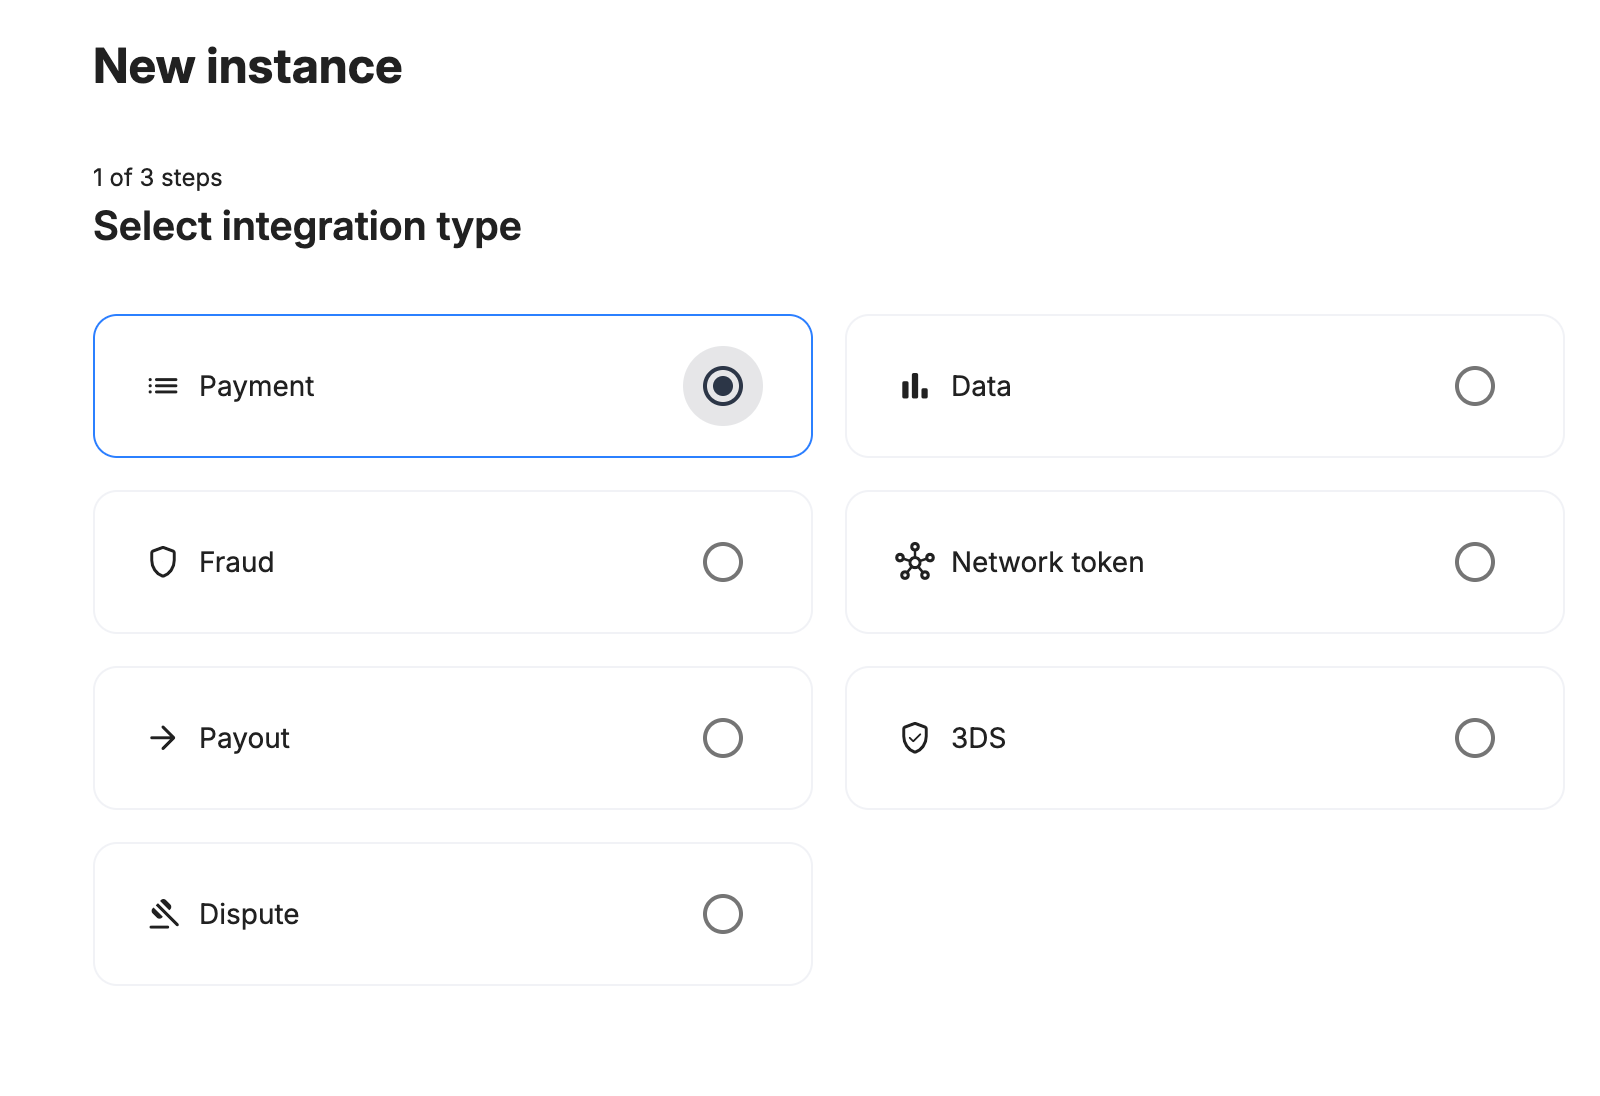
Step 1: Choose the Integration Type
- Select Payment and continue to the next step.
Step 2: Choose the Provider
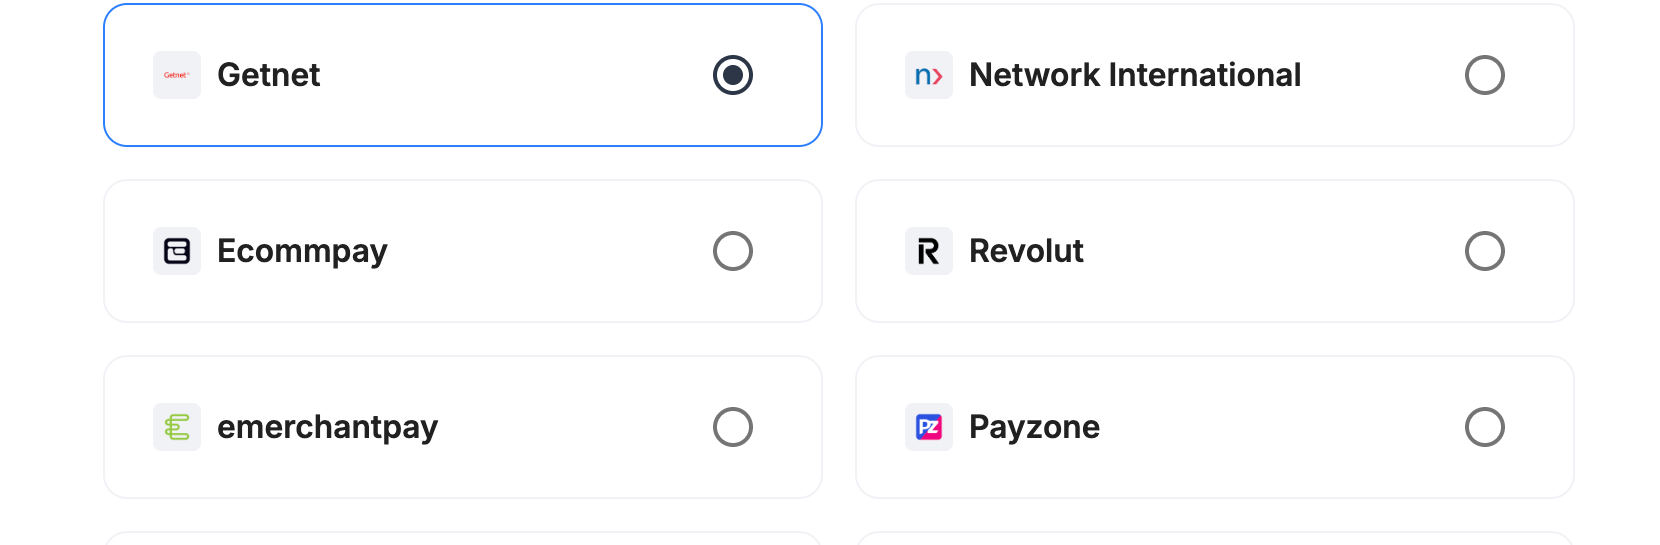
-
Select Getnet and continue to the next step
Step 3: Configure Your Getnet Integration
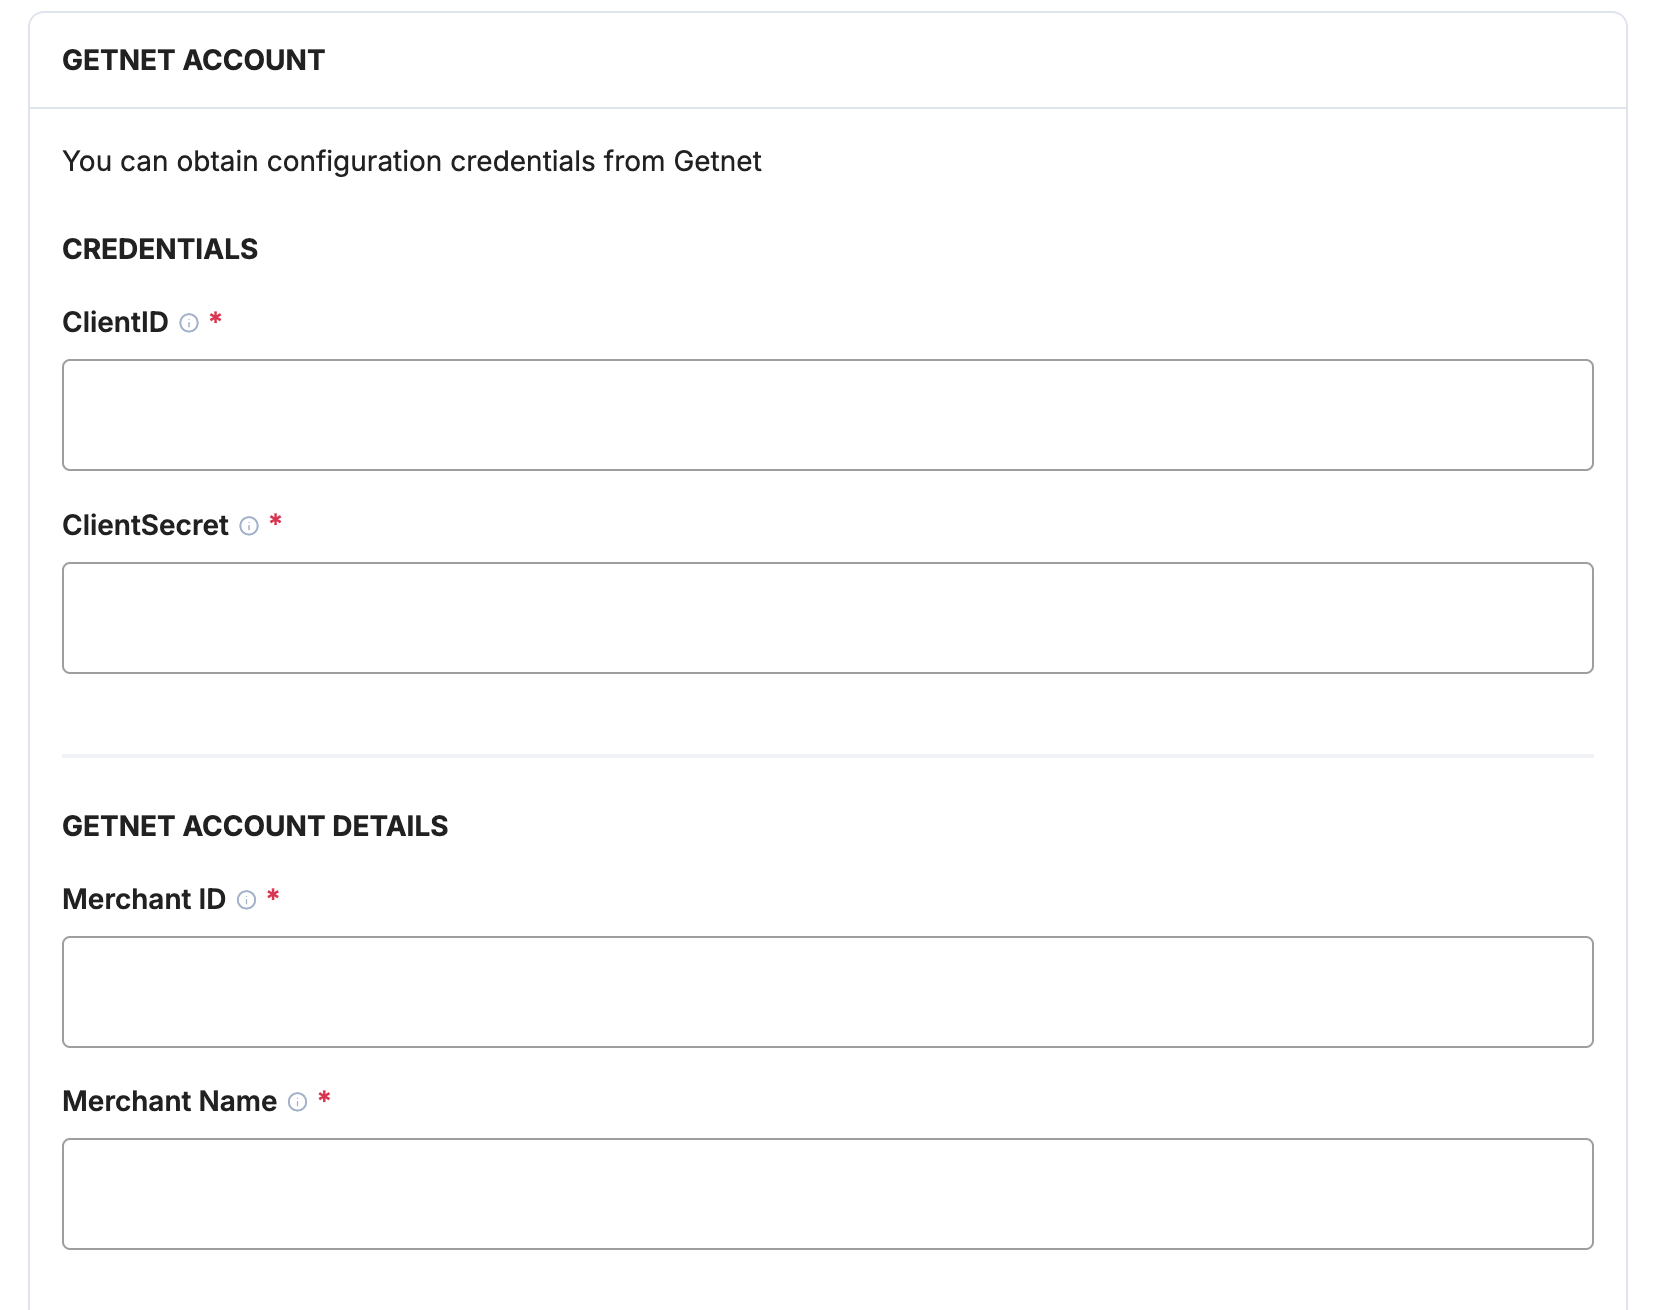
What You'll Need from GetnetGetnet authenticates via OAuth2 client credentials, which Getnet issues to you when API access is provisioned for your merchant account. Before beginning, ensure you have:
- Client ID (OAuth2)
- Client Secret (OAuth2)
- Merchant / Seller ID
- Merchant name
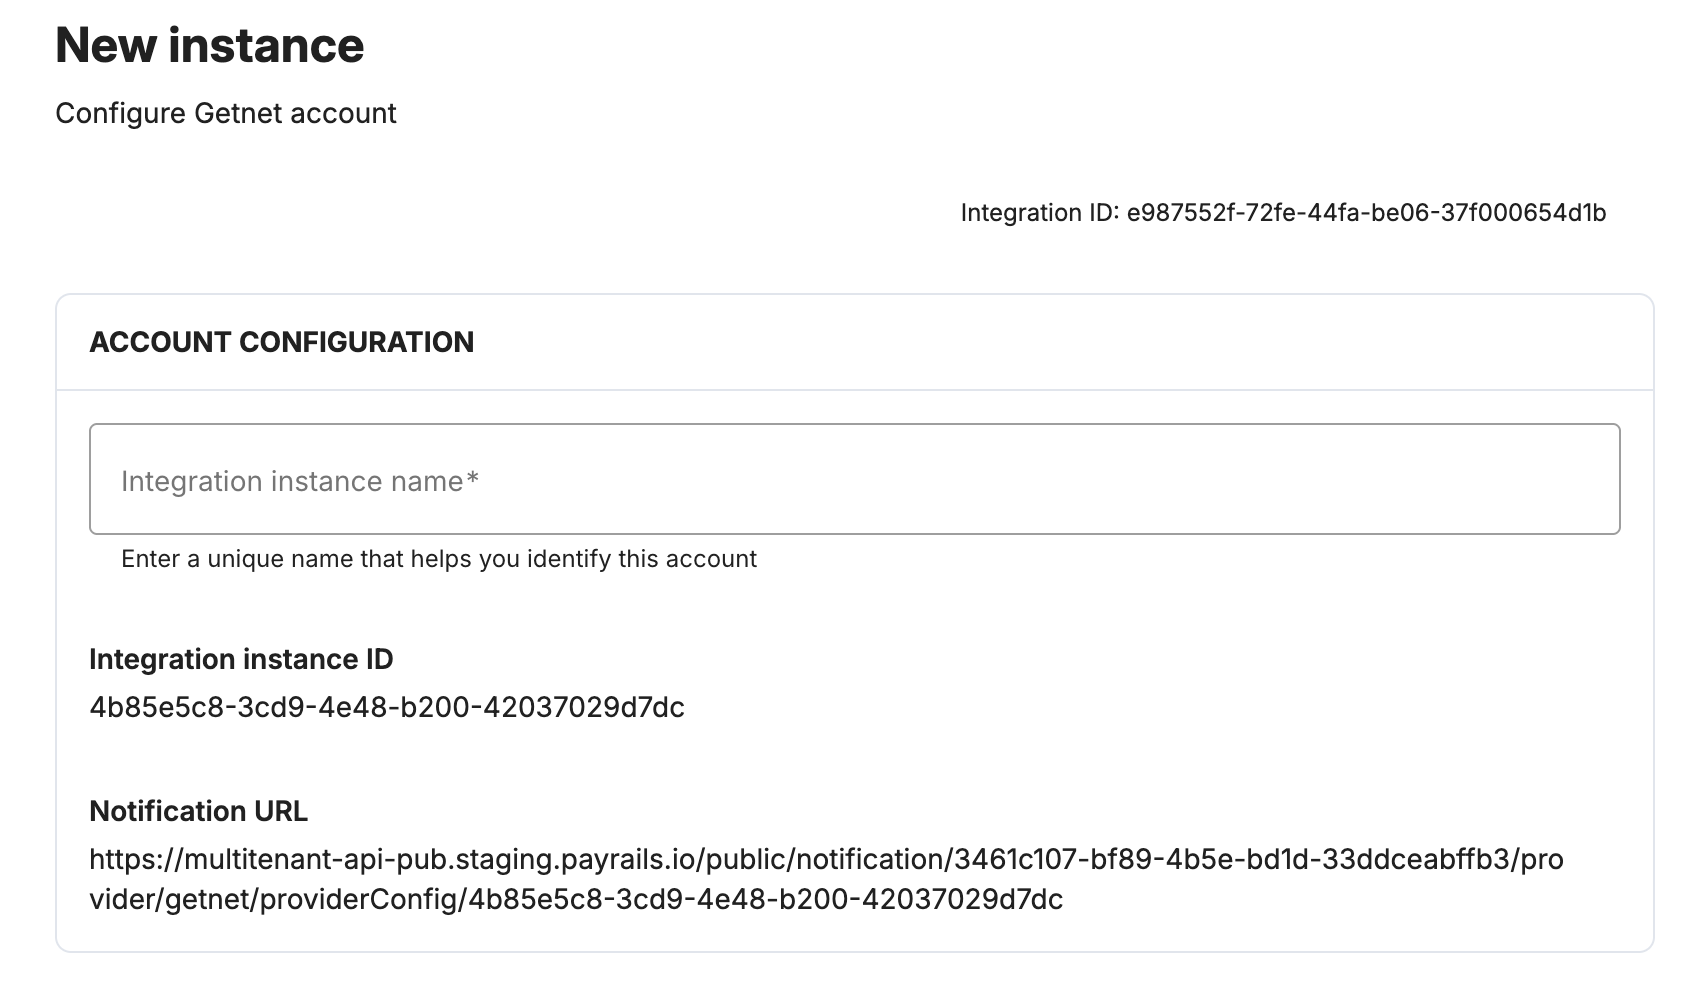
Integration Instance Name
An integration instance is a specific payment provider setup in Payrails. Multiple instances can be created per provider based on region, currency, or business needs. Because Getnet is region-specific, include the region in the name (for example, Getnet ARG or Getnet MEX). Choose a clear, consistent name for routing purposes.
In Payrails:
- Enter an Instance name for your integration
API Credentials
In Getnet:
- Sign in to your Getnet merchant account
- Locate the OAuth2 Client ID and Client Secret issued for your account
In Payrails:
- Enter the credentials into the corresponding fields:
| Field | Required | Description |
|---|---|---|
| Client ID | Required | Getnet Client ID, issued by Getnet. Stored masked. |
| Client Secret | Required | Getnet Client Secret, issued by Getnet. Stored masked. |
Account Details
In Payrails:
- Enter your Getnet account details:
| Field | Required | Description |
|---|---|---|
| Merchant ID | Required | Merchant / Seller ID of the Getnet account (the Getnet "Seller ID") |
| Merchant Name | Required | Merchant name of the Getnet account |
Payment Methods
In Payrails:
- Select Card to enable Getnet card payments for this integration
Enable the Integration
In Payrails:
- Select Save account to enable the integration
The Enabled status indicates that the Getnet integration is active. Your Getnet integration is now ready to process payments.
Next Steps
- Run a test payment using a supported Getnet test card
- Verify that:
- The payment appears in Getnet
- The payment status updates correctly in Payrails
- Once verified in test mode, repeat the setup in live mode
Updated 2 months ago