
Tamara
A step-by-step guide for setting up your Tamara payments integration in the Payrails portal.
Tamara is a Buy Now, Pay Later (BNPL) payment method. This guide covers adding Tamara as a payment method through Payrails.
Who Should Use This GuideThis guidance applies to merchants who:
- Use Payrails as a payment orchestrator
- Want to offer Tamara (Buy Now, Pay Later) as a payment method to their customers
- Have an active Tamara merchant account with access to the Tamara Partner Portal
Note: Tamara is a Buy Now, Pay Later payment method, not a card scheme — no raw card processing is required. Tamara is available in supported markets in the region; confirm coverage for your market with your Tamara account manager.
Create and Configure a Tamara Integration in Payrails
- Log in to the Payrails portal
- Go to Settings → Integrations
- Select Add instance to create a new Tamara integration configuration
- Select the Workspaces where this integration should be available
About Workspaces: Workspaces determine where this integration is available. They let you isolate provider setups by region or business line, or share the same configuration across multiple Workspaces.
Step 1: Choose the Integration Type
- Select Payment and continue to the next step
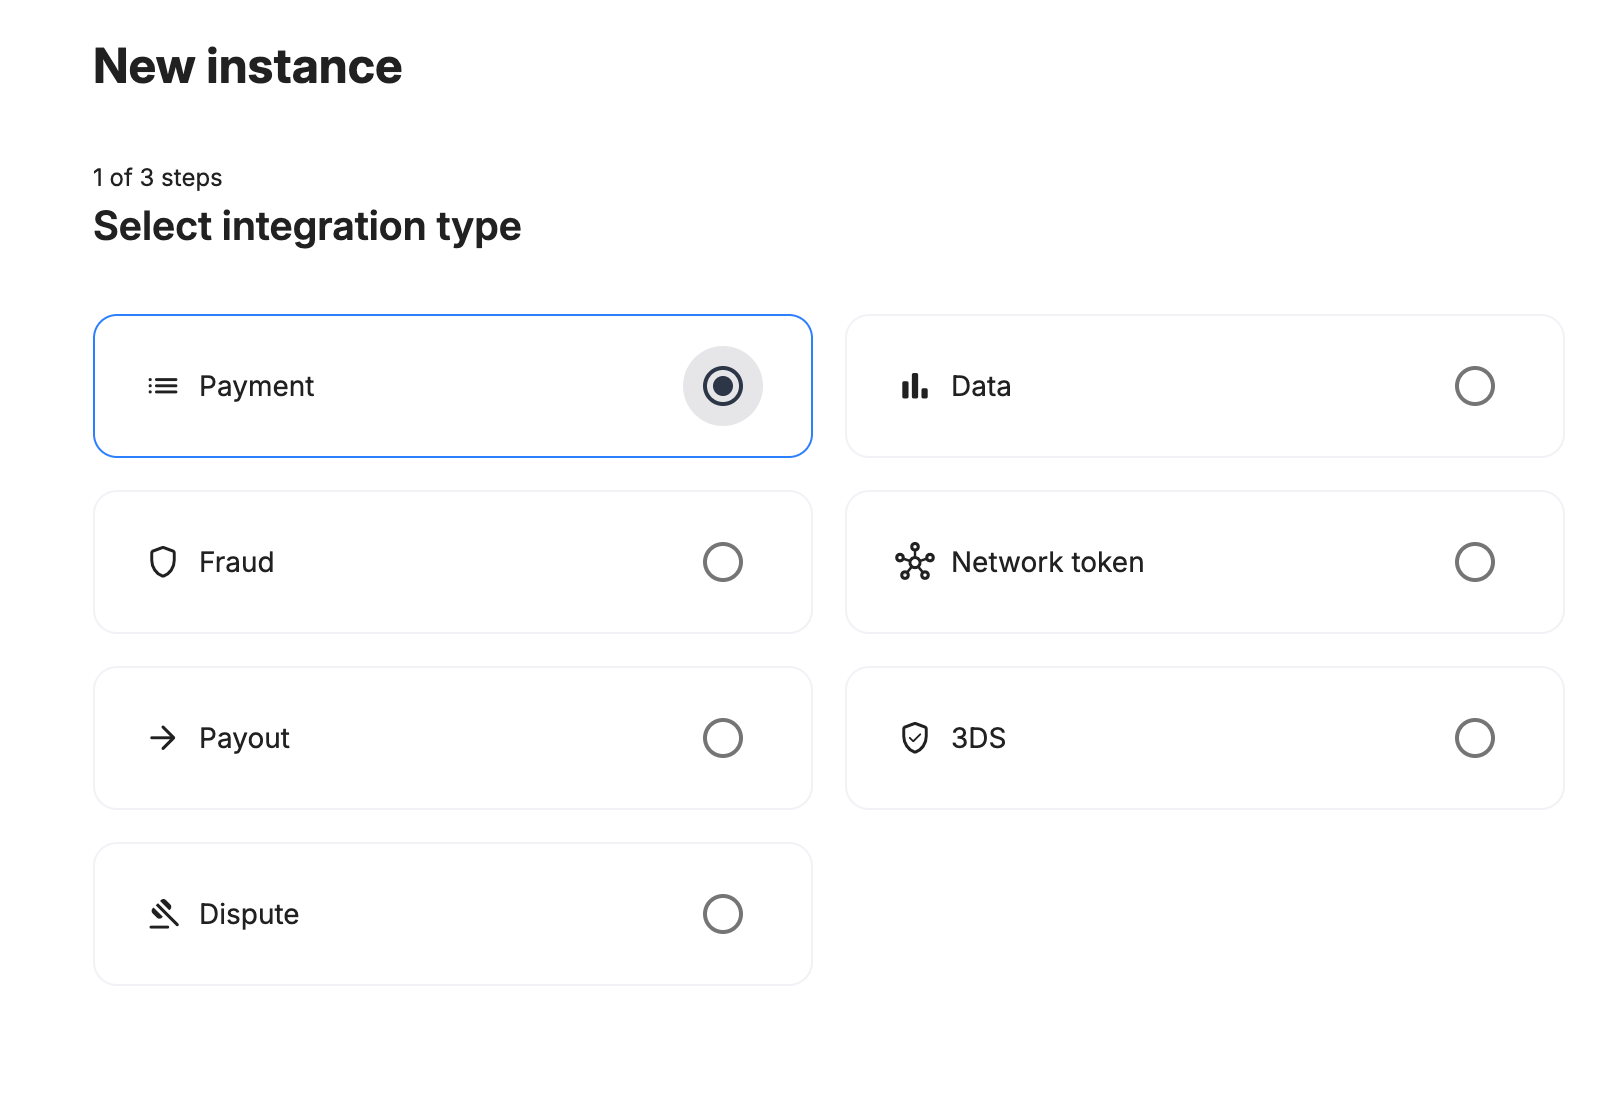
Step 2: Choose the Provider
- Select Tamara and continue to the next step
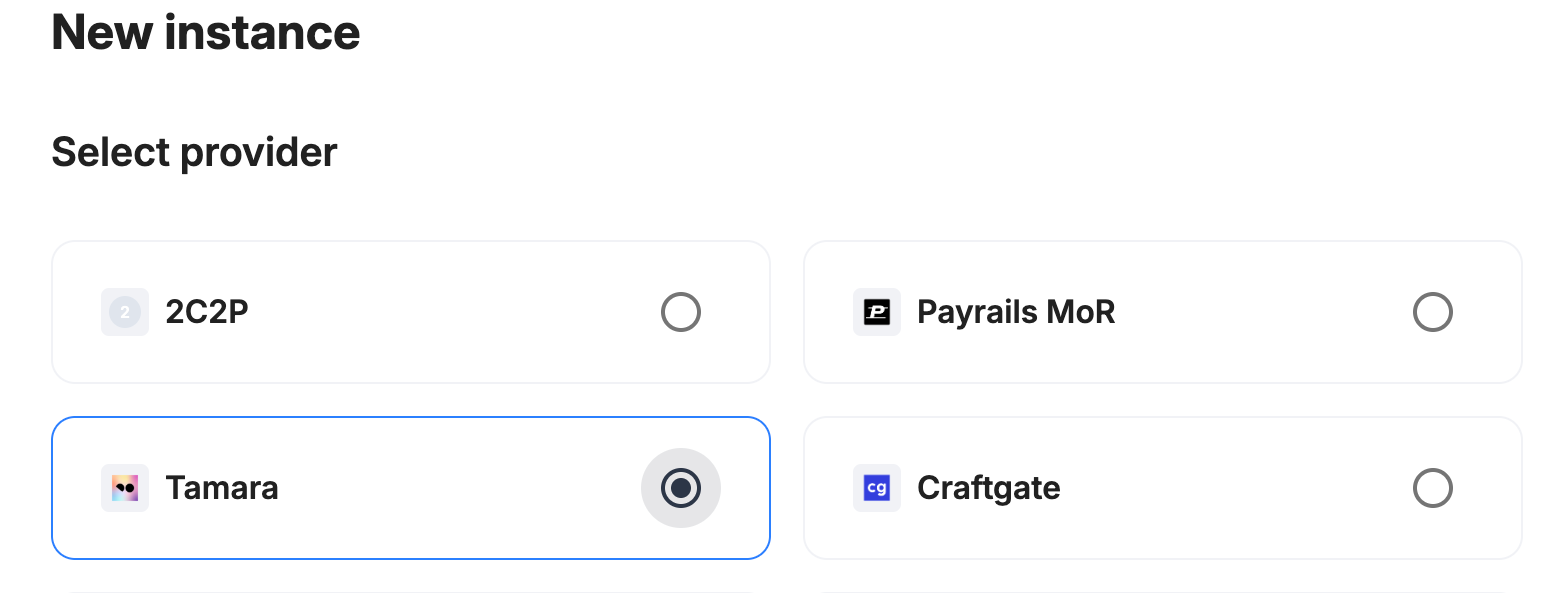
Step 3: Configure Your Tamara Integration
What You'll Need from TamaraBefore beginning, ensure you have:
- Access to the Tamara Partner Portal
- The API credentials issued by Tamara for your merchant account
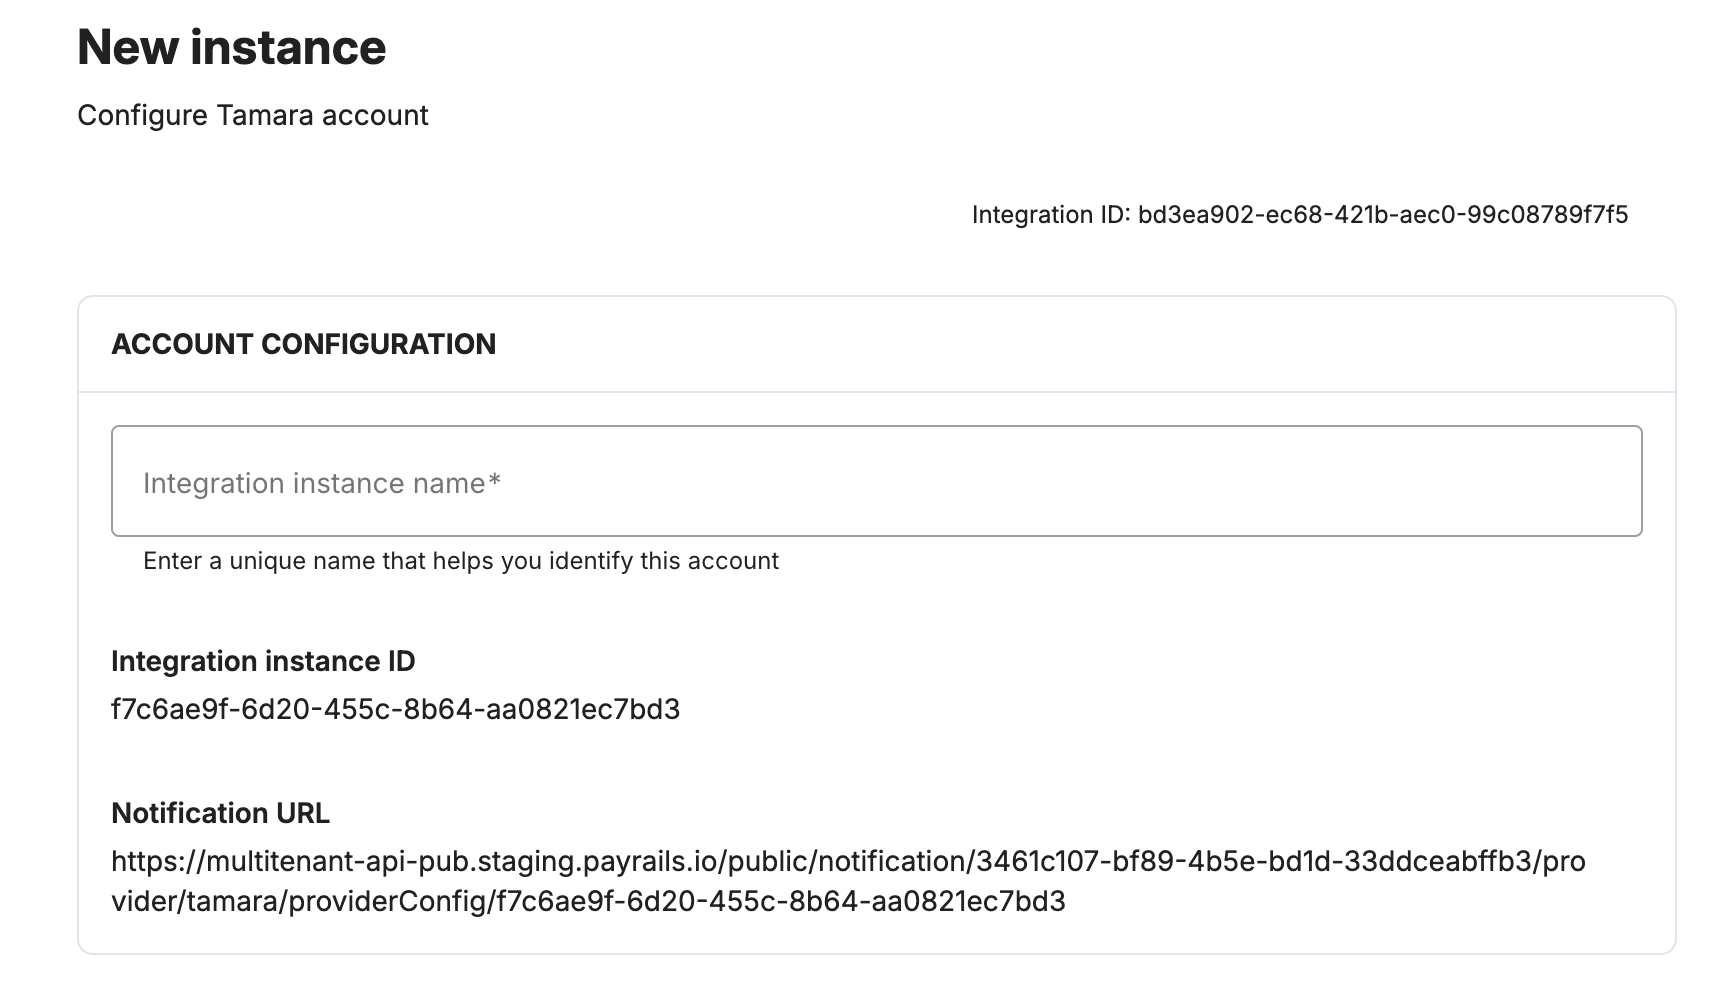
Integration Instance Name
An integration instance is a specific payment provider setup in Payrails. Multiple instances can be created per provider based on region, currency, or business needs. Choose a clear, consistent name for routing purposes.
In Payrails:
- Enter an Instance name for your integration
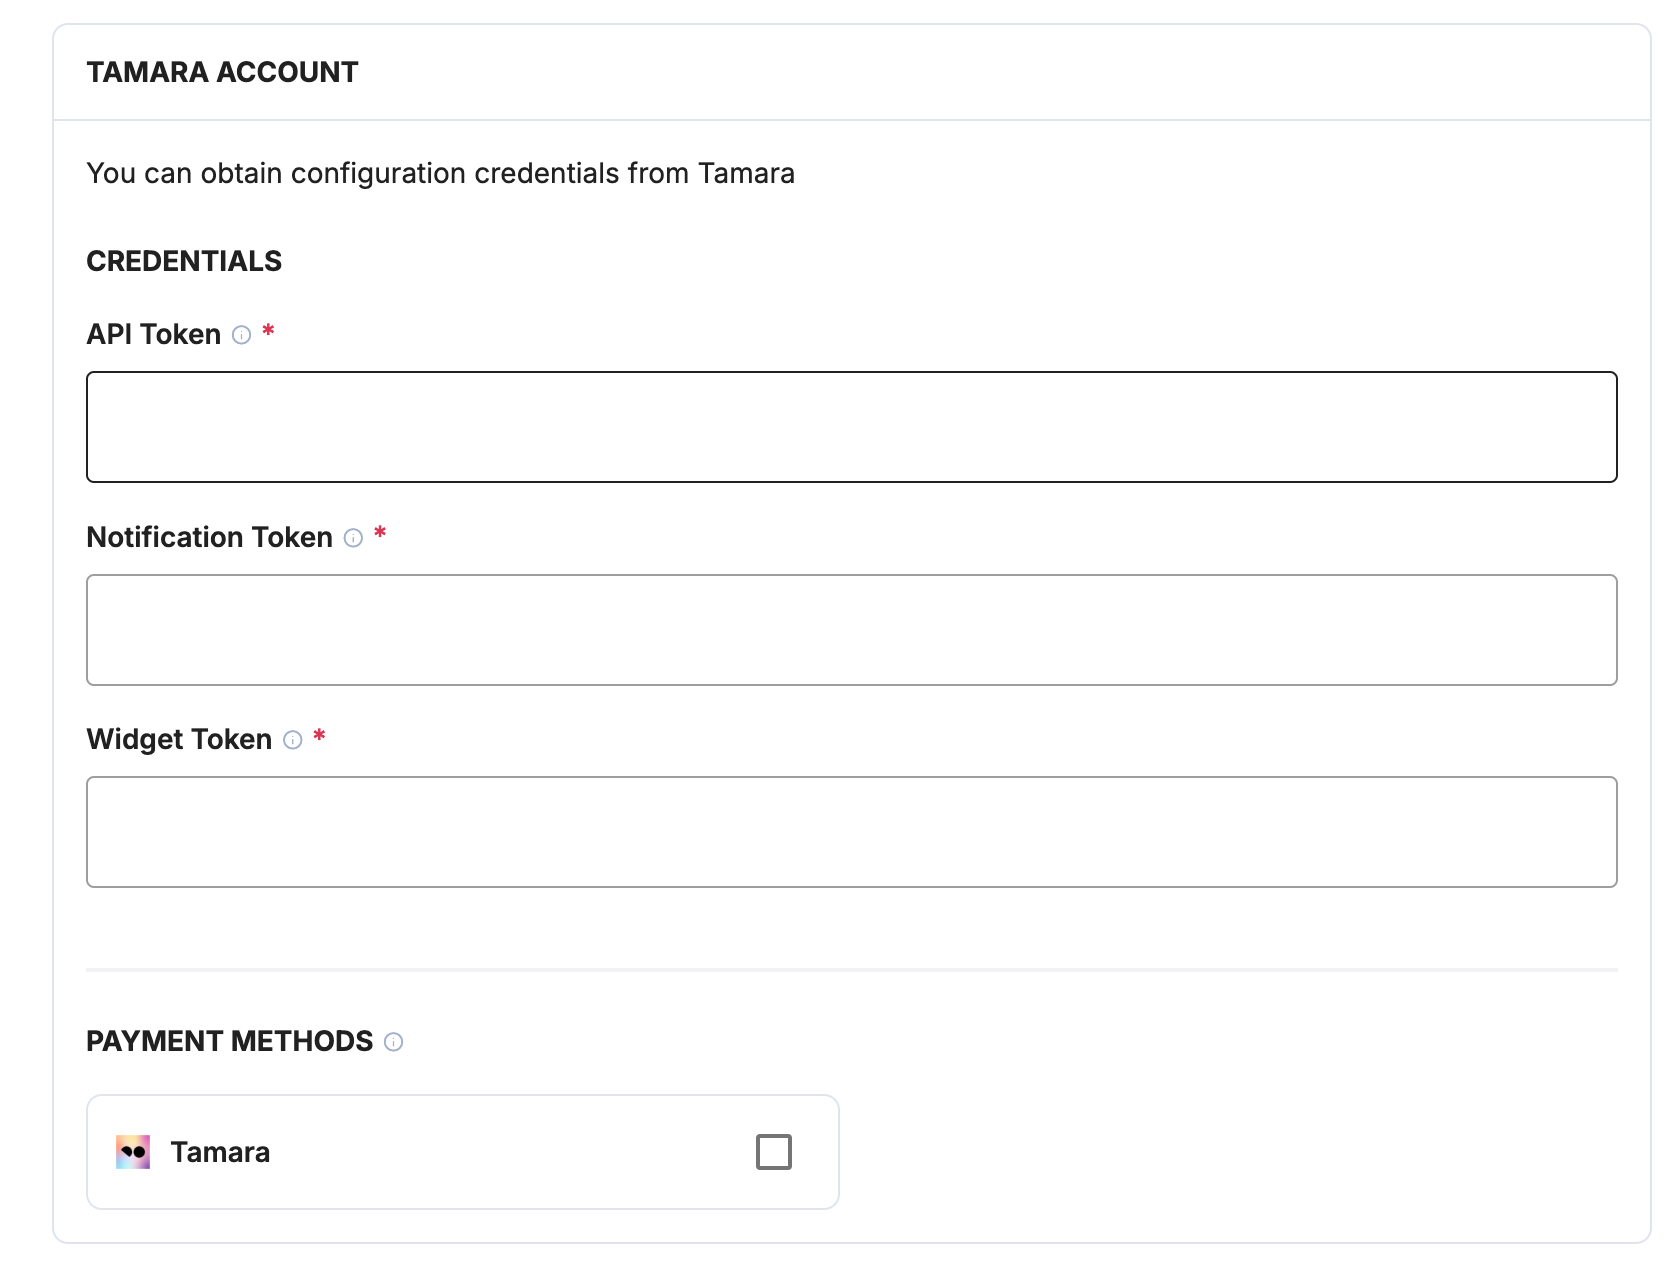
API Credentials
In Tamara:
- Retrieve the API credentials issued for your merchant account from the Tamara Partner Portal
In Payrails:
- Enter the credentials into the corresponding fields
Webhooks (Notifications)
Note: Payrails uses Tamara webhooks to receive asynchronous payment status updates.
Warning: Register the webhook in the same environment (test or live) as your Payrails integration.
In Tamara:
- Log in to the Tamara Partner Portal
- Go to Settings → General Settings → Webhooks, then select Add webhooks
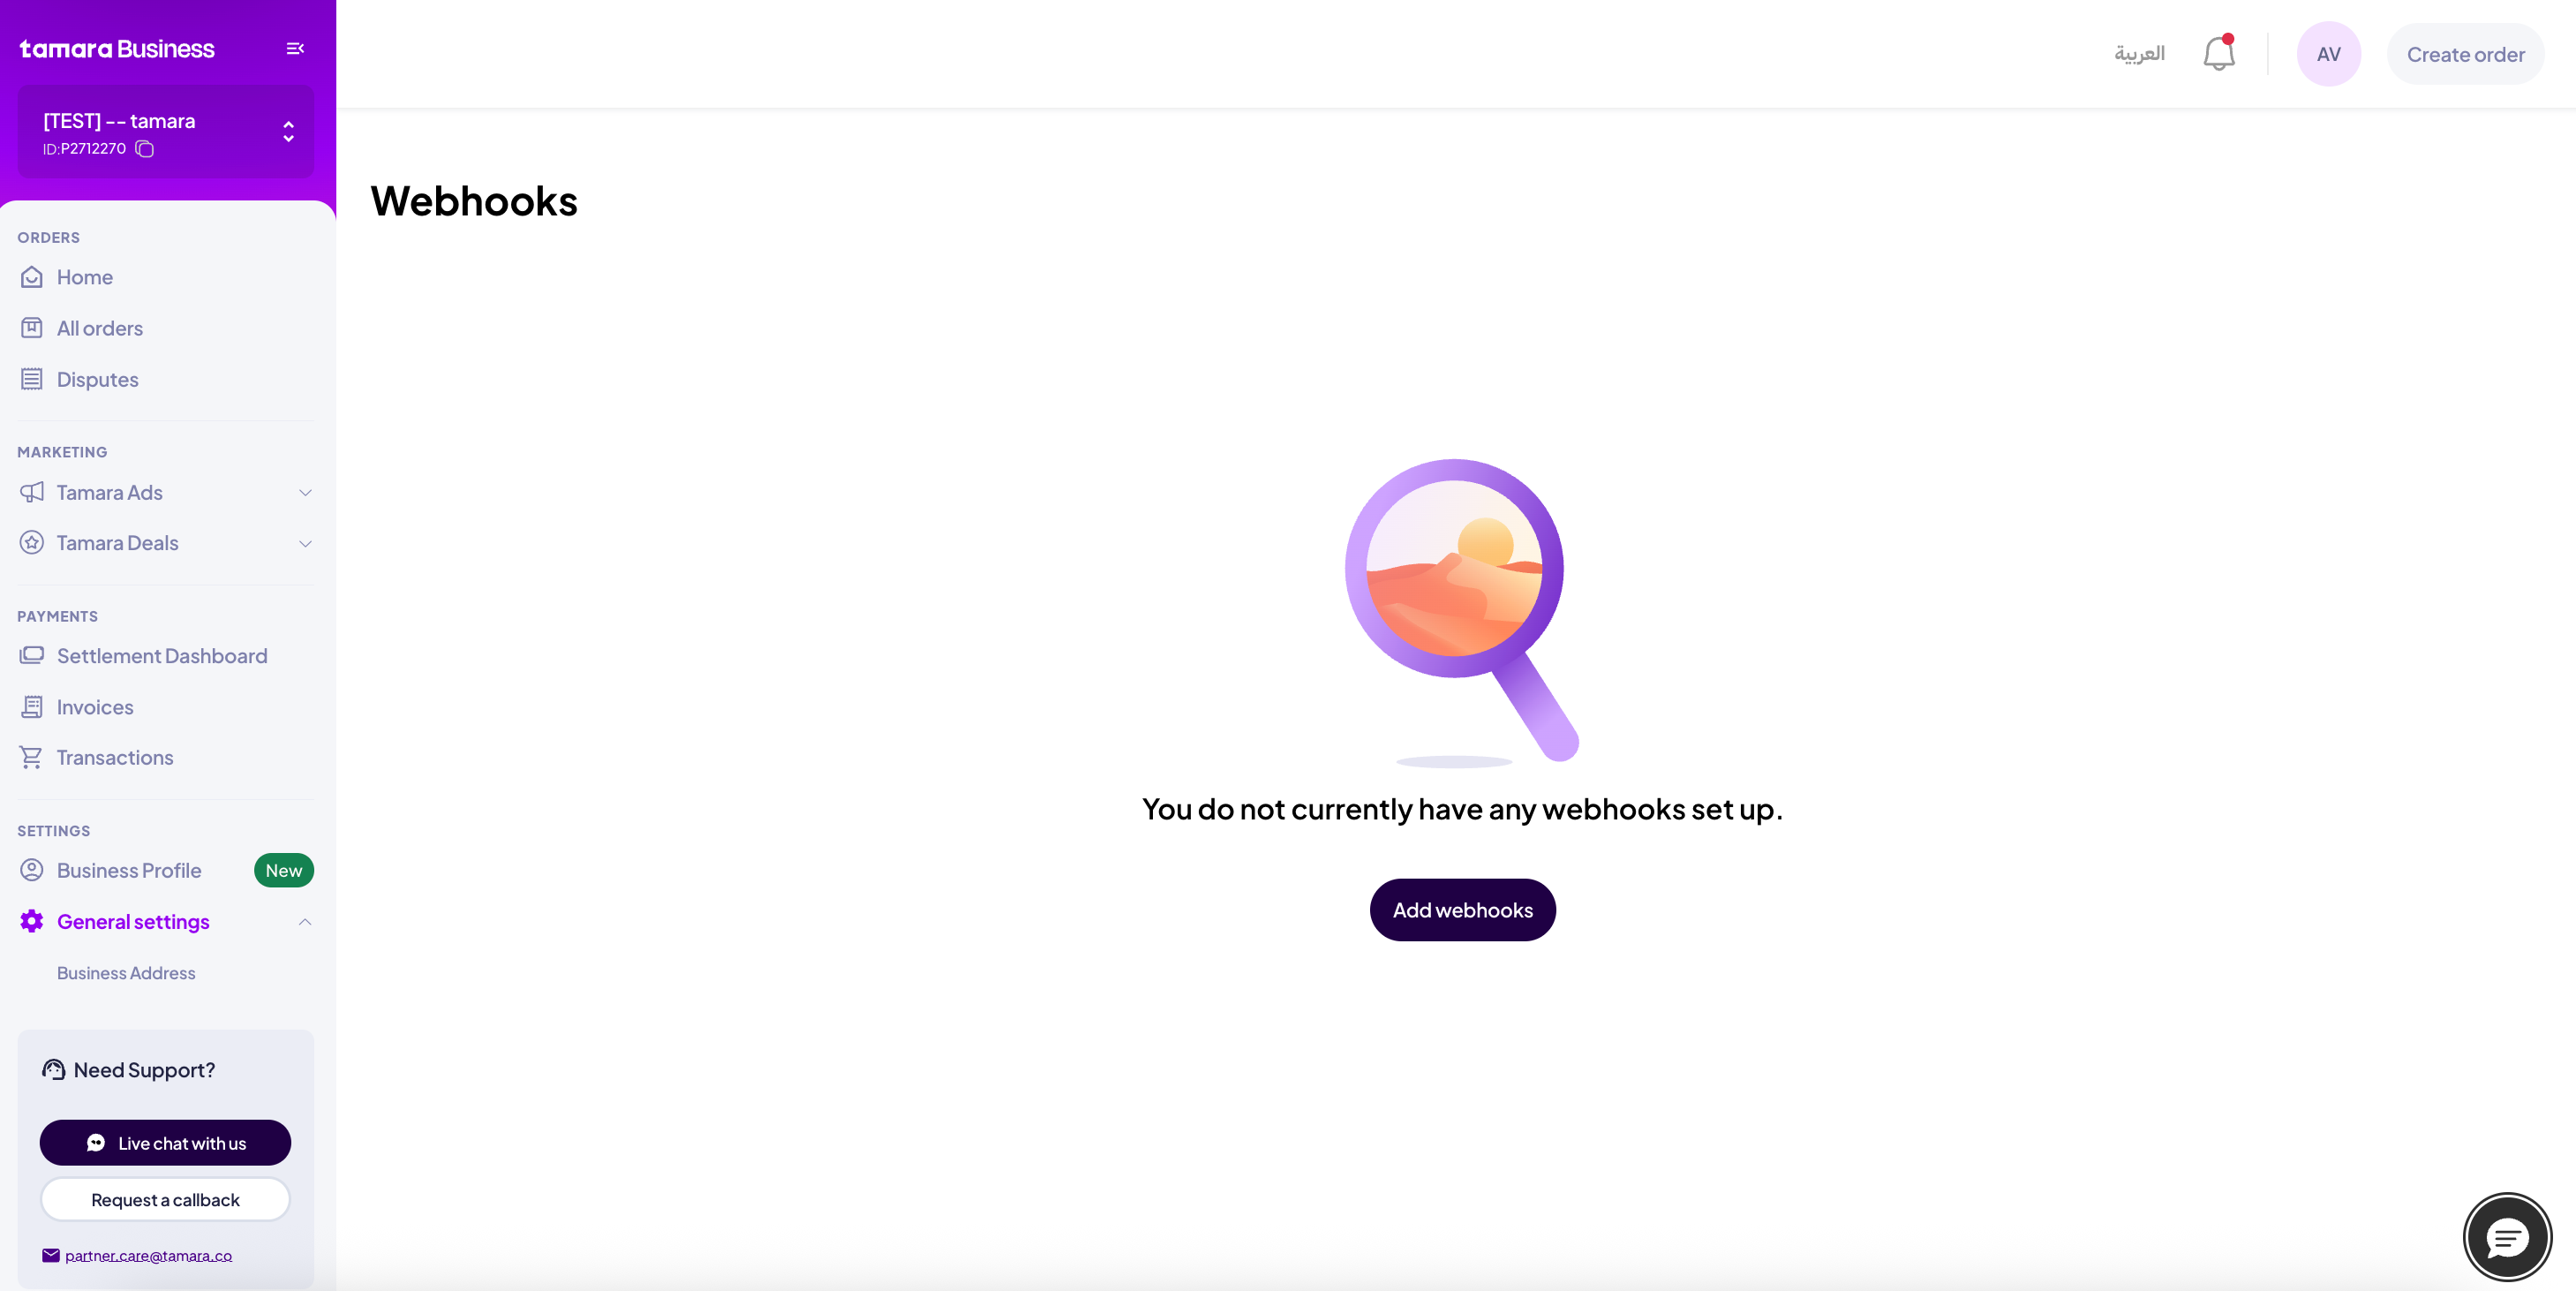
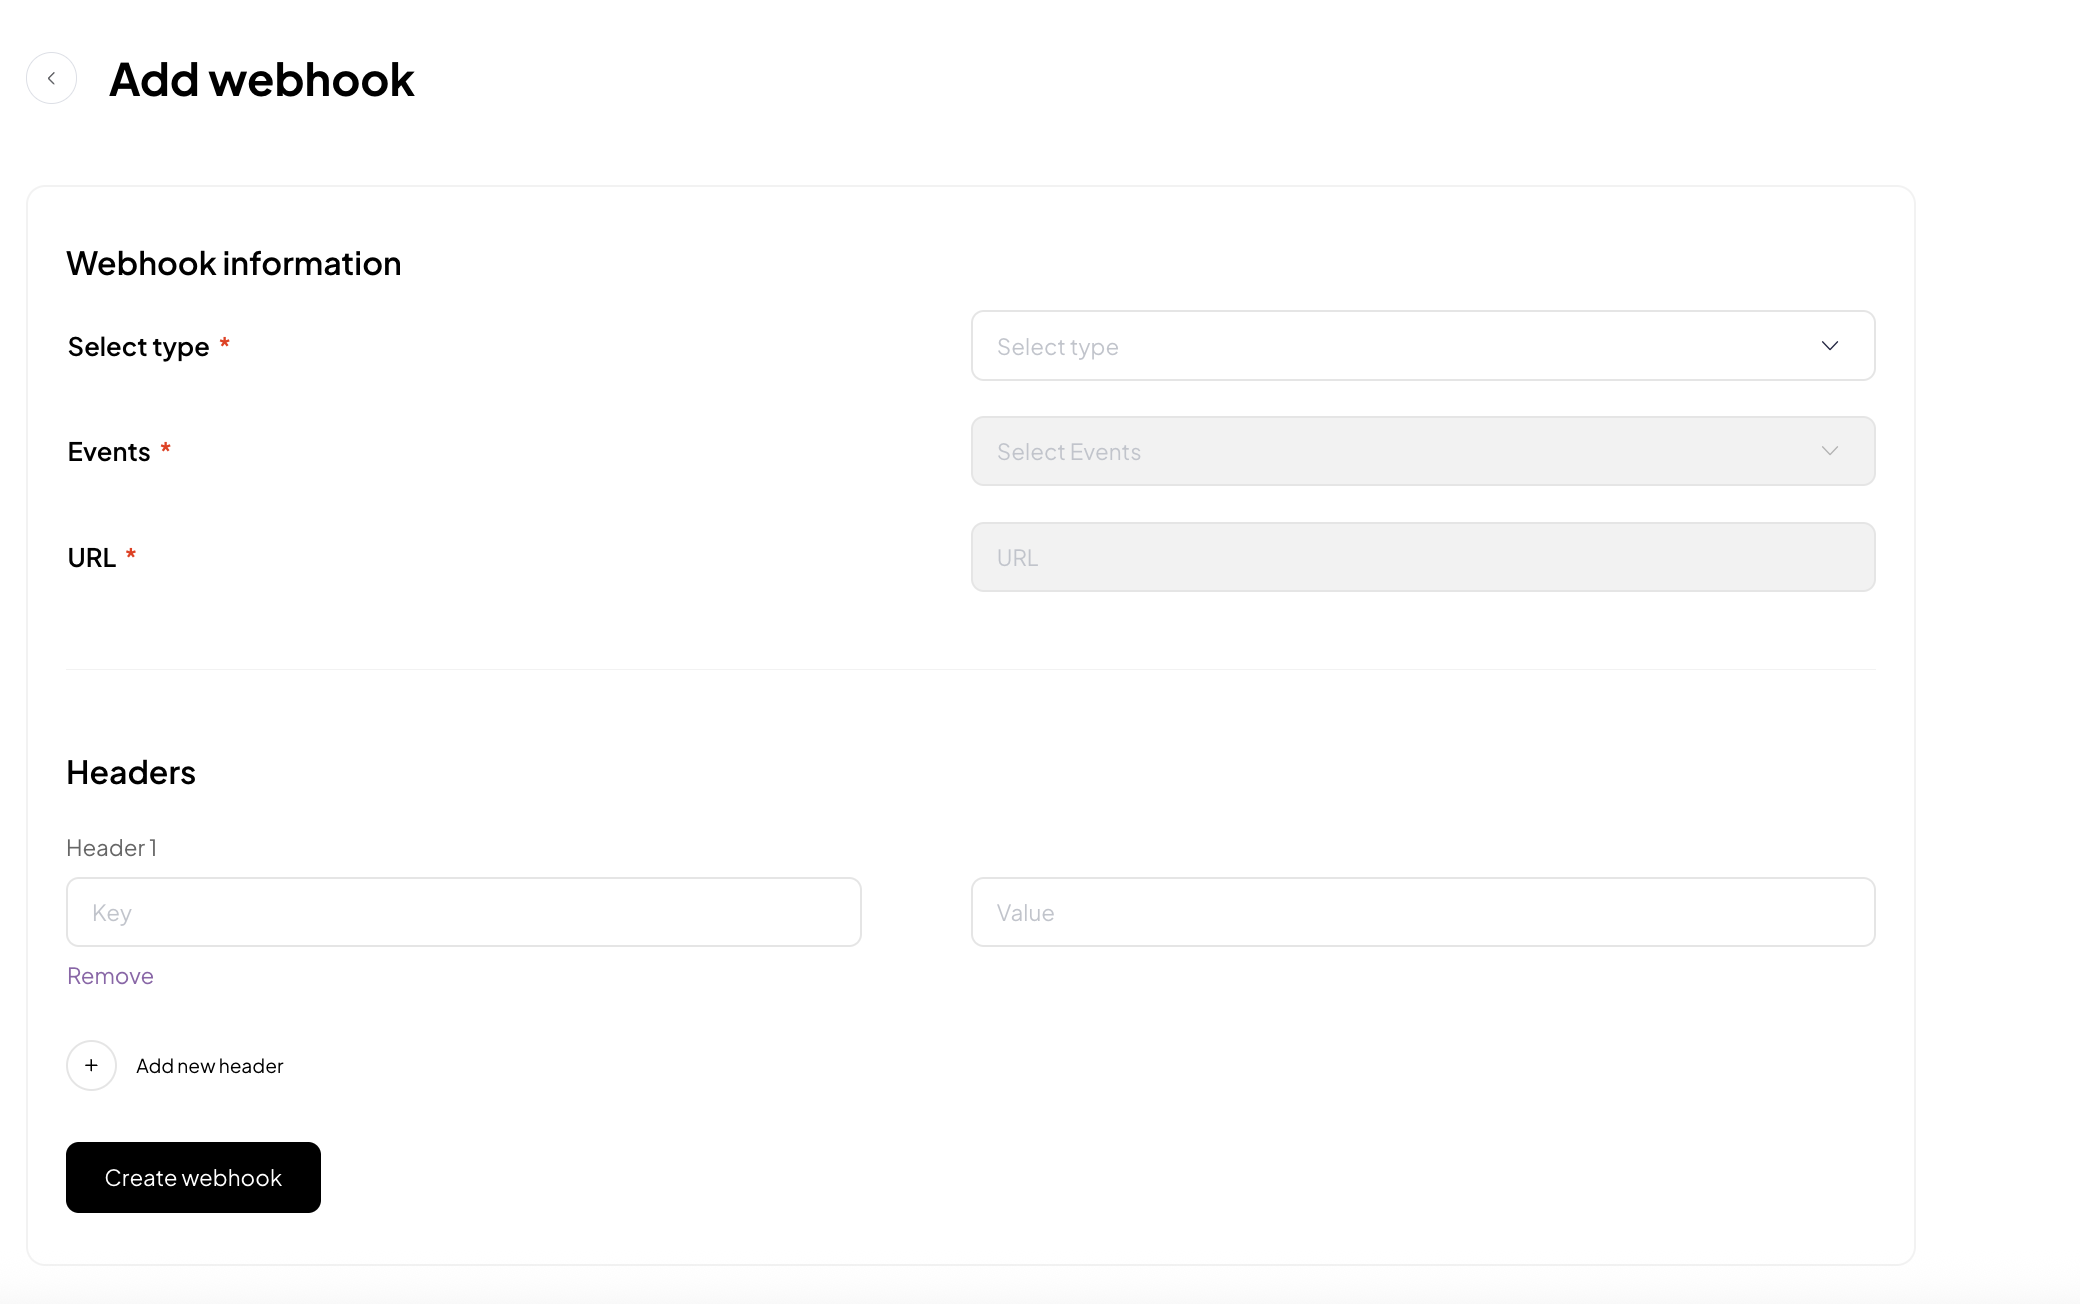
- Enter the following, then select Create Webhook:
- Type: select Order
- Events: select the status changes you want to be notified about — the Approved event is mandatory
- URL: enter the Notification URL from Payrails (use HTTPS; maximum 255 characters)
- (Optional) Add any headers your endpoint requires
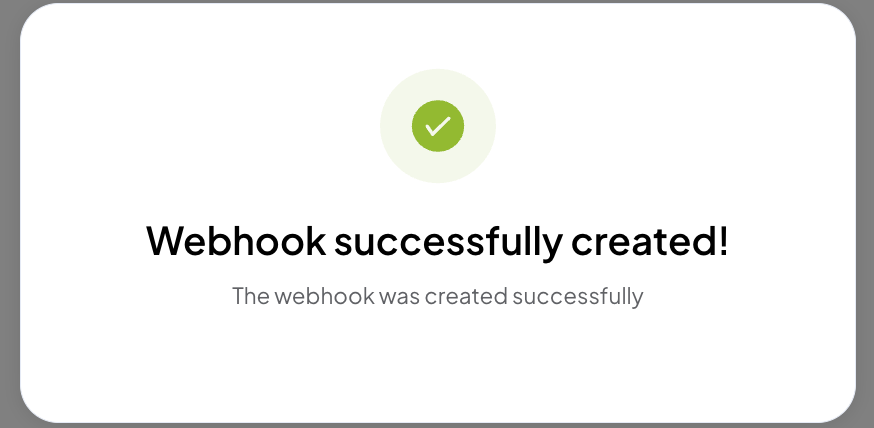
- The webhook is added successfully. Payloads are sent via HTTP POST to your registered notification URL.
Payment Methods
In Payrails:
- Select Tamara to enable it as a payment method for this integration
Note — capture mode: Tamara supports manual capture only. Build your payment workflow with manual capture mode. If you prefer captures to happen automatically, you can enable auto-capture at the account level in Tamara.
Enable the Integration
In Payrails:
- Select Save account to enable the integration
The Enabled status indicates that the Tamara integration is active. Your Tamara integration is now ready to process payments.
Next Steps
- Run a test payment using Tamara's test flow
- Verify that:
- The payment appears in the Tamara Partner Portal
- The payment status updates correctly in Payrails
- Once verified in test mode, repeat the setup in live mode
Updated 20 days ago